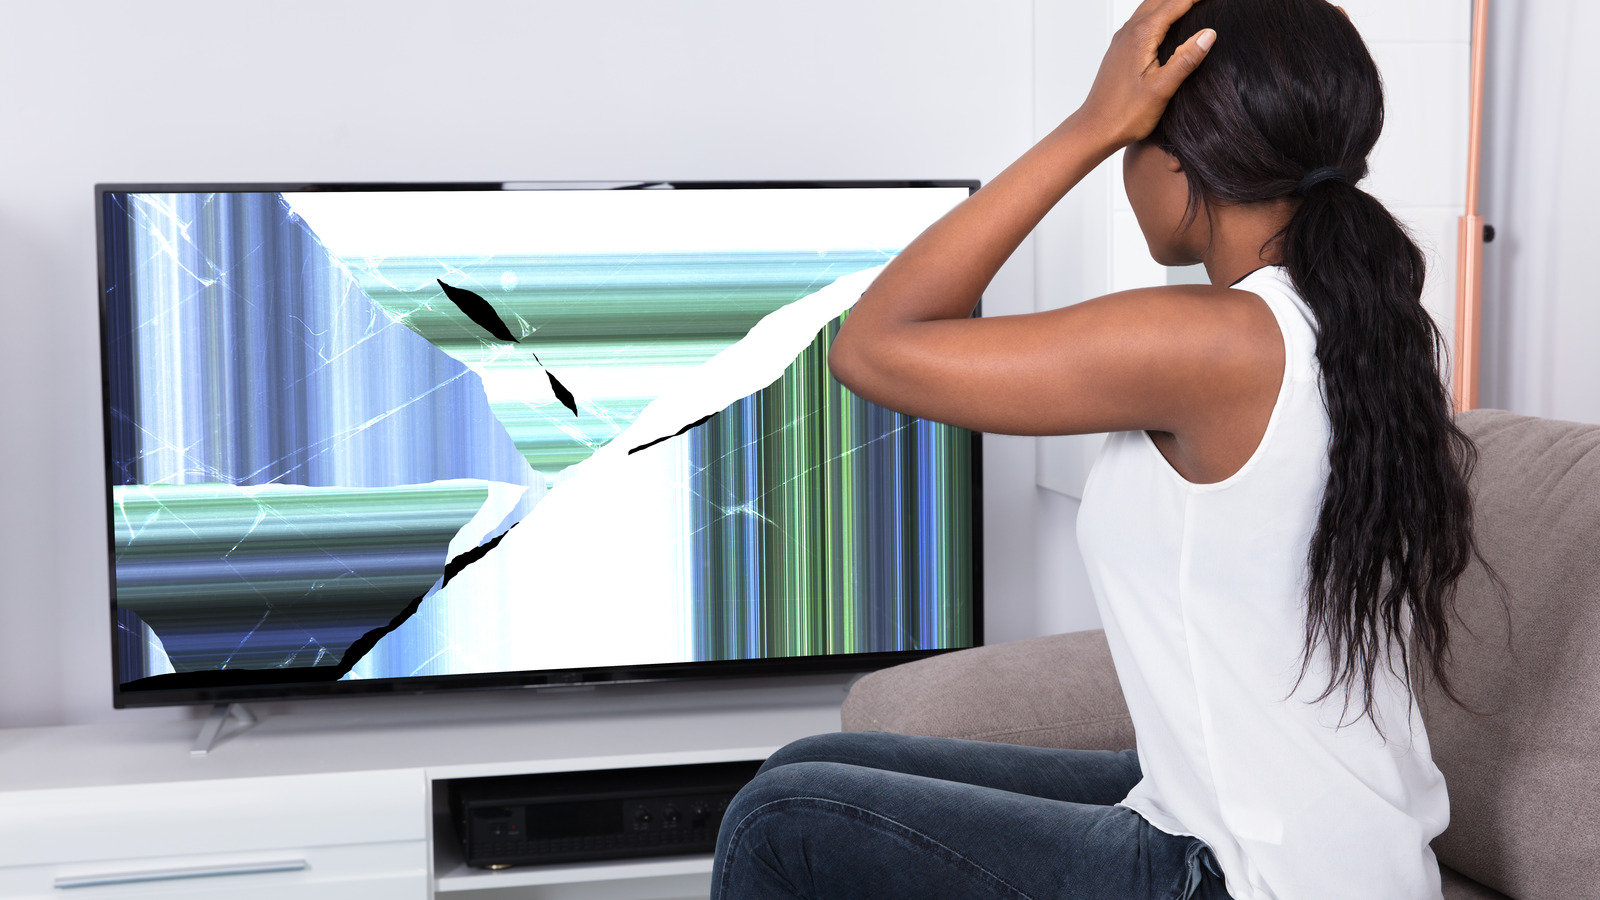
Listen up, folks. We’ve all been there—sitting on the couch, enjoying your favorite show or gaming session when BAM, disaster strikes. You notice a crack on that beautiful flat screen TV of yours. Now, before you panic and throw in the towel, let me tell you something: repairing a cracked flat screen TV is totally doable. Yeah, you heard me right. With a bit of know-how and the right tools, you can save yourself a ton of cash and maybe even learn a thing or two in the process. So, buckle up and let’s dive into how you can fix that cracked screen like a pro.
Now, I know what you’re thinking. “Is it really worth fixing a cracked TV?” The short answer? It depends. If the damage isn’t too severe, or if the TV is still relatively new, fixing it might be a better option than shelling out for a brand-new one. Plus, who doesn’t love a good DIY project, right? Whether you’re doing it for budget reasons or just because you want to flex those handyman skills, this guide’s got you covered.
Before we jump into the nitty-gritty, let’s talk about why knowing how to repair a cracked flat screen TV is essential. In today’s world, TVs are more than just entertainment devices—they’re practically part of the family. From movie nights to virtual meetings, your TV plays a huge role in your daily life. So, when it gets damaged, it’s not just about the cost of replacement—it’s about convenience, too. Let’s make sure you can get your screen back in action without breaking the bank.
Understanding the Problem: Types of Cracks and Their Impact
Alright, let’s get technical for a sec. Not all cracks are created equal. Some are minor, barely noticeable, while others can render your TV completely useless. Here’s a quick rundown of the different types of cracks you might encounter:
- Surface Cracks: These are the smallest and most common type. They only affect the outer layer of the screen and usually don’t interfere with the TV’s functionality.
- Deep Cracks: These bad boys go deeper into the screen and can cause issues with picture quality. If you see black spots or distorted images, it’s likely due to a deep crack.
- Shattered Screen: If your screen looks like a Picasso painting gone wrong, chances are it’s shattered. In this case, repair might not be the best option unless you’re feeling extra ambitious.
Understanding the type of crack you’re dealing with is crucial because it will determine the best course of action. Don’t worry—we’ll cover all the possibilities in this guide, so you’re fully equipped to tackle whatever comes your way.
Tools You’ll Need: The DIY Fixer’s Arsenal
Before you dive headfirst into the repair process, you’ll need to gather a few essential tools. Think of these as your trusty sidekicks in this battle against the cracked screen. Here’s what you’ll need:
- Screen repair kit (available online or at electronics stores)
- Microfiber cloth
- Isopropyl alcohol
- Plastic scraper
- Screwdriver set
- Protective gloves
Now, I know what you’re thinking. “Do I really need all this stuff?” Trust me, having the right tools makes a world of difference. It’s like trying to fight a dragon with a toothpick versus a sword—tools matter, folks.
Where to Find Quality Tools
When it comes to tools, quality matters. You don’t want to waste your time and effort using subpar gear that might end up damaging your TV further. Here are a few trusted sources where you can find top-notch repair tools:
- Amazon: A one-stop shop for all your repair needs. Just make sure to read the reviews before you buy.
- eBay: Great for finding affordable options, but proceed with caution and check seller ratings.
- Local electronics stores: Sometimes, nothing beats the good ol’ in-person shopping experience. Plus, you can ask for advice from the experts.
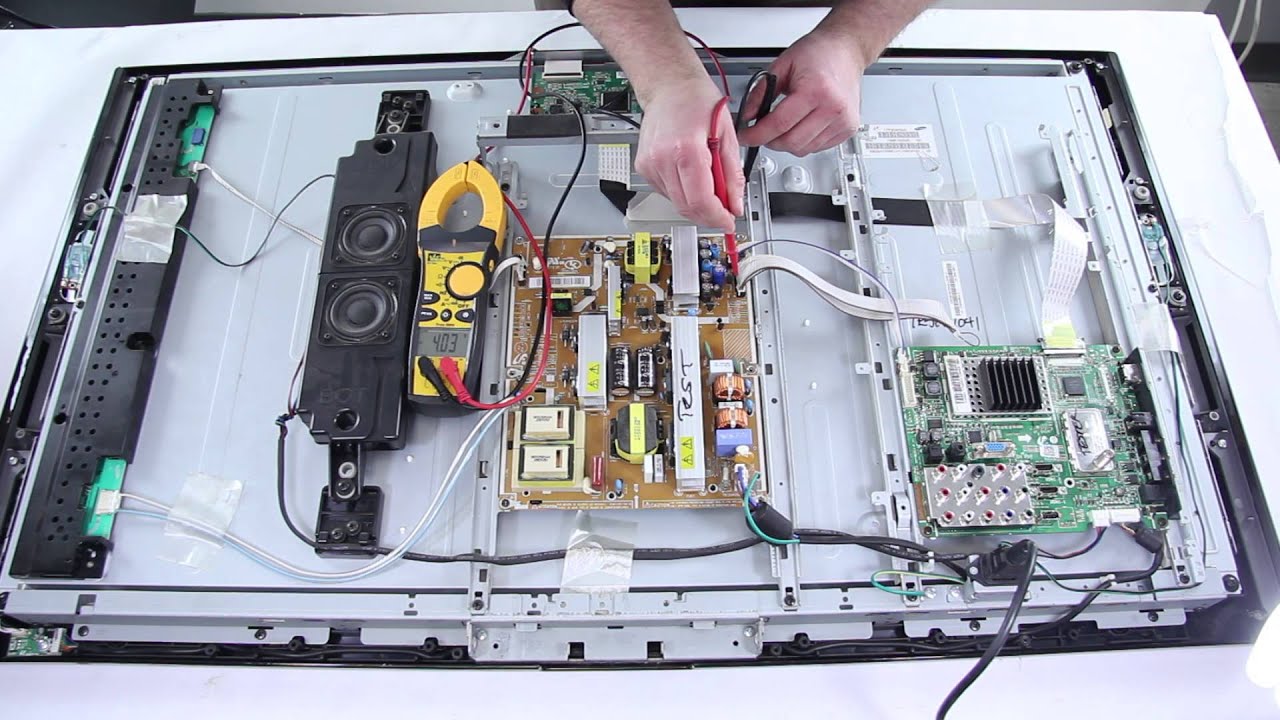
Step 1: Assessing the Damage
The first step in any repair project is assessing the damage. You can’t fix something if you don’t know what’s broken, right? Here’s how you can evaluate the extent of the crack:
Inspect the Screen: Turn off the TV and examine the screen closely. Look for any signs of damage beyond the visible crack, such as discoloration or broken pixels.
Check for Functional Issues: Turn the TV back on and see if the crack affects the picture quality. Are there black spots? Distorted images? These are important clues that will help you determine the best repair method.
Take Photos: Document the damage by taking pictures. This will come in handy if you need to consult a professional or refer back to the issue later.
Why This Step Matters
Skipping this step is like going into battle without a strategy. You need to know exactly what you’re dealing with before you can plan your attack. Plus, having a clear understanding of the damage will help you decide whether repair is feasible or if it’s time to say goodbye to your trusty TV.
Step 2: Cleaning the Screen
Now that you’ve assessed the damage, it’s time to clean the screen. This step might seem simple, but it’s crucial for ensuring a smooth repair process. Here’s how you can do it:
Turn Off the TV: Safety first, folks. Make sure your TV is completely powered off before you start cleaning.
Use Isopropyl Alcohol: Mix a small amount of isopropyl alcohol with water and apply it to a microfiber cloth. Gently wipe the screen in a circular motion, being careful not to apply too much pressure.
Let It Dry: Allow the screen to air dry completely before moving on to the next step. Patience is key here.
Why Cleaning Matters
A clean screen is a happy screen. Removing dirt, dust, and debris ensures that the repair process goes smoothly and reduces the risk of further damage. Think of it as giving your TV a spa day before the big surgery.
Step 3: Applying the Repair Kit
Now comes the fun part—applying the repair kit. This is where the magic happens, folks. Follow these steps carefully:
Prepare the Kit: Most repair kits come with everything you need, including a resin solution and applicator. Make sure you read the instructions thoroughly before you begin.
Apply the Resin: Using the applicator, carefully apply the resin to the cracked area. Be sure to cover the entire crack, but don’t overdo it—you don’t want a gooey mess on your hands.
Let It Cure: Allow the resin to cure according to the manufacturer’s instructions. This usually takes a few hours, so plan accordingly.
Pro Tips for Using the Kit
Here are a few tips to make the most out of your repair kit:
- Work in a well-ventilated area to avoid inhaling fumes.
- Use protective gloves to keep your hands clean and safe.
- Don’t rush the process—take your time and do it right the first time.
Step 4: Testing the Repair
Once the resin has cured, it’s time to test the repair. Turn on your TV and check for any improvements in picture quality. If the crack was minor, you should notice a significant difference. If the damage was more severe, you might still see some imperfections, but hey, it’s better than nothing, right?
What If It Doesn’t Work?
Don’t panic if the repair doesn’t yield the results you hoped for. Sometimes, cracks are just too deep to fix with a DIY approach. In that case, it might be time to consider professional repair or replacement. But don’t give up just yet—there are still options available.
Step 5: Professional Repair vs. Replacement
If your DIY efforts don’t quite cut it, you have two main options: professional repair or replacement. Here’s a quick breakdown of both:
Professional Repair: If the crack is too deep or if you’re not comfortable attempting a fix yourself, taking your TV to a professional might be the best option. They have the expertise and tools to handle even the toughest repairs.
Replacement: If the cost of repair outweighs the value of your TV, or if the damage is too extensive, replacement might be the smarter choice. Look for deals and discounts to save some cash.
When to Choose Each Option
Here’s a quick guide to help you decide:
- Choose Repair If: The crack is minor, and you’re comfortable attempting a DIY fix or trusting a professional.
- Choose Replacement If: The crack is severe, or the cost of repair is too high compared to the value of your TV.
Conclusion: You’ve Got This!
And there you have it, folks—a comprehensive guide on how to repair a cracked flat screen TV. Whether you’re a seasoned DIYer or a first-timer, this process can save you a ton of money and give you a sense of accomplishment. Remember, the key to success is patience, preparation, and a positive attitude.
So, what are you waiting for? Grab your tools, roll up your sleeves, and get to work. And don’t forget to share your experience in the comments below. Who knows? You might just inspire someone else to take on their own repair project. Happy fixing!
Table of Contents