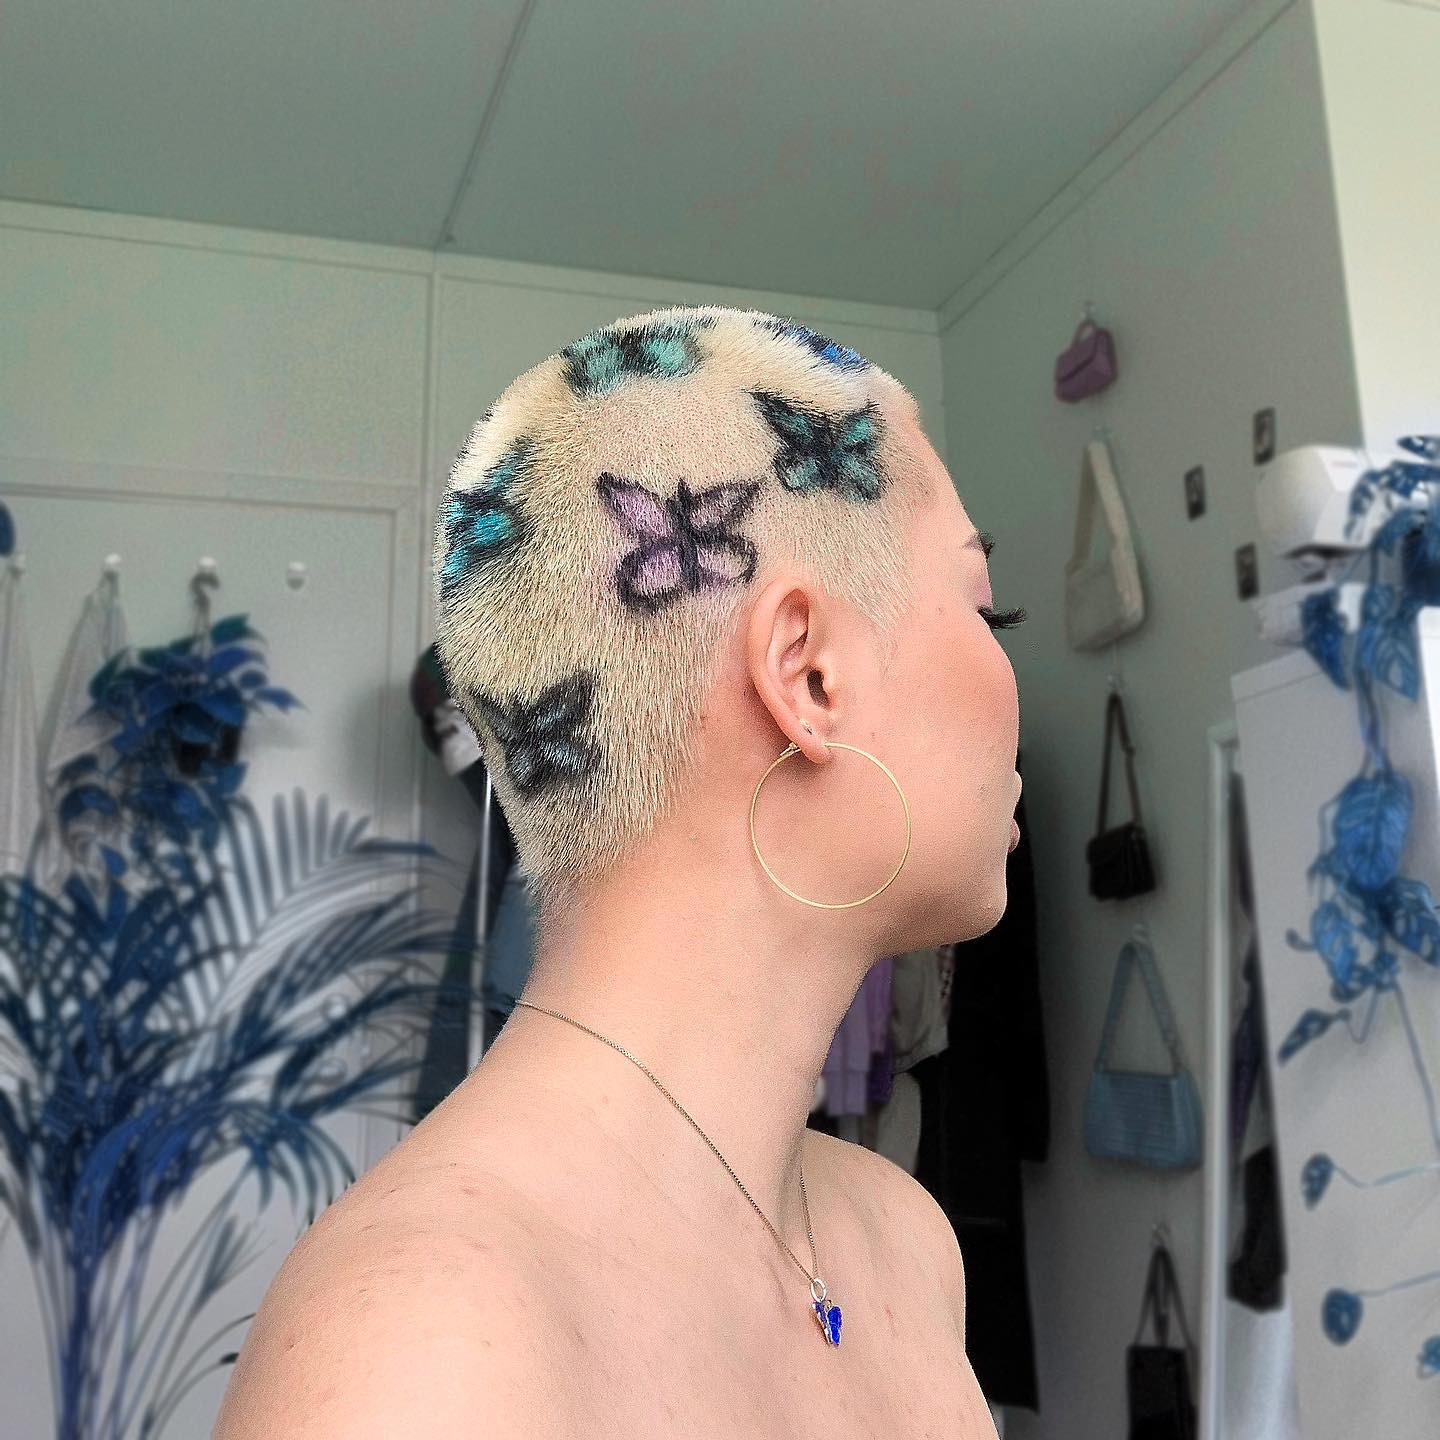
Are you ready to take your buzzcut game to the next level? Bleaching your buzzcut can be an exciting way to refresh your style and express yourself. But hold up—before you grab that bleach, let’s break down exactly how to bleach buzzcut the right way. Whether you’re doing it at home or considering a professional touch, we’ve got all the tips, tricks, and secrets you need to know.
Bleaching a buzzcut might sound intimidating, but trust me, it’s easier than you think. With the right tools, techniques, and precautions, you can achieve that stunning platinum blonde or any other shade you’re aiming for. Just remember, patience is key here. Rushing the process could lead to uneven results or worse—damaged hair.
In this article, we’ll dive deep into the world of buzzcut bleaching. From understanding your hair type to choosing the best products, we’ll cover everything you need to know. So, if you’re ready to rock that bleached buzzcut like a pro, let’s get started!
Table of Contents
- Understanding Your Buzzcut
- Tools You’ll Need
- Preparing Your Hair for Bleach
- The Bleach Process
- Aftercare Tips for Bleached Hair
- Common Mistakes to Avoid
- Safety Tips When Bleaching
- Professional vs. Home Bleaching
- Frequently Asked Questions
- Conclusion
Understanding Your Buzzcut
Before we jump into the nitty-gritty of how to bleach buzzcut, let’s first talk about what makes a buzzcut unique. A buzzcut is typically a very short haircut that’s uniform all over. This means there’s less room for error when applying bleach, but also less damage since there’s not much length to worry about.
Now, here’s the deal: your hair type plays a huge role in how the bleach will turn out. If you’ve got coarse or curly hair, the process might take longer. On the flip side, fine hair might lighten faster but could also be more prone to damage. Knowing your hair’s texture and porosity beforehand will help you prepare better.
Why Bleach a Buzzcut?
Bleaching a buzzcut isn’t just about changing your look; it’s about making a statement. Think about it—platinum blonde buzzcuts have been rocking the fashion world for years now. Celebrities like Miley Cyrus and Justin Bieber have shown us how versatile and edgy a bleached buzzcut can be.
Plus, with shorter hair, the maintenance is minimal. No more worrying about roots showing after a few weeks. Just touch-ups every couple of months, and you’re good to go. And hey, if you ever get tired of the look, it grows out pretty quickly!
Tools You’ll Need
Alright, let’s talk about the essentials. If you’re planning to bleach your buzzcut at home, you’ll need the right tools and products. Don’t skimp on quality here because cheap bleach can lead to disastrous results. Here’s a list of must-haves:
- Bleach powder (preferably high-quality)
- Developer cream (20 or 30 volume works best)
- Gloves (to protect your skin)
- A mixing bowl and brush
- Old towels (to catch drips)
- Shampoo and conditioner (specifically for color-treated hair)
- Toners (optional, but recommended for neutralizing brassiness)
Pro tip: Always do a strand test first. This will give you an idea of how your hair reacts to the bleach and help prevent unexpected surprises.
Preparing Your Hair for Bleach
Preparation is everything, folks. If you rush this step, you might end up with uneven results or even damaged hair. Follow these steps to ensure your buzzcut is ready for the big transformation:
Step 1: Wash and Dry Your Hair
Start by washing your hair with a clarifying shampoo. This removes any buildup from styling products or dirt. Make sure to dry your hair completely before applying the bleach. Wet hair can dilute the mixture and affect the final result.
Step 2: Trim Any Damaged Ends
Trimming your hair before bleaching helps remove split ends and ensures a clean slate. It also prevents further damage during the bleaching process. Even though buzzcuts are short, a quick trim never hurts.
Fun fact: Did you know that bleaching can actually make your hair appear thicker? That’s because it lifts the cuticle, giving it a fuller look. So, don’t worry if your buzzcut seems a bit sparse—bleach can work wonders!
The Bleach Process
Now comes the exciting part—the actual bleaching process. Follow these steps carefully to achieve that perfect platinum buzzcut:
Mixing the Bleach
In a non-metallic bowl, mix one part bleach powder with two parts developer cream. Stir until you get a smooth, creamy consistency. Be sure to wear gloves during this step to avoid skin irritation. Also, work in a well-ventilated area to prevent inhaling fumes.
Applying the Bleach
Using a brush, apply the bleach evenly across your buzzcut. Start from the back and work your way forward. Make sure to cover every strand, paying extra attention to the edges and hairline. Timing is crucial here—leave the bleach on for about 25-35 minutes, depending on your desired level of lightness.
Rinsing and Conditioning
Once the time is up, rinse the bleach thoroughly with cool water. Avoid using hot water as it can cause the bleach to lift too much and damage your scalp. After rinsing, apply a deep conditioning treatment to restore moisture and prevent dryness.
Aftercare Tips for Bleached Hair
Congratulations! You’ve successfully bleached your buzzcut. But the journey doesn’t end here. Proper aftercare is essential to maintain the health and vibrancy of your new look. Here are some tips to keep your bleached buzzcut looking fresh:
- Use sulfate-free shampoo and conditioner designed for color-treated hair.
- Apply a hydrating mask once a week to keep your hair soft and hydrated.
- Avoid washing your hair daily to prevent stripping it of natural oils.
- Protect your hair from sun exposure by wearing a hat or using UV protection spray.
Remember, bleached hair requires extra TLC. Treat it right, and it’ll reward you with a stunning, long-lasting look.
Common Mistakes to Avoid
Even the best-laid plans can go awry if you’re not careful. Here are some common mistakes people make when bleaching their buzzcuts:
- Leaving the bleach on for too long, which can lead to severe damage.
- Not wearing gloves, causing skin irritation or discoloration.
- Skipping the strand test, resulting in unexpected outcomes.
- Using poor-quality products that don’t deliver the desired results.
By avoiding these pitfalls, you’ll increase your chances of achieving a flawless bleached buzzcut. Trust me, it’s worth the extra effort.
Safety Tips When Bleaching
Your safety should always come first. Here are some important safety tips to keep in mind:
- Always perform a patch test on your skin to check for allergies.
- Work in a well-ventilated area to avoid inhaling harmful fumes.
- Keep a bowl of water nearby in case you need to rinse quickly.
- Follow the instructions on the bleach packaging carefully.
Safety first, folks. There’s no point in risking your health for a trendy hairstyle.
Professional vs. Home Bleaching
So, should you go pro or DIY? That depends on your comfort level and experience. Professional stylists have the expertise and tools to achieve precise results, but they come at a cost. On the other hand, bleaching at home can save you money, but it requires patience and precision.
Consider your budget, time, and skill level before making a decision. If you’re unsure, consulting with a professional might be the safer route.
Frequently Asked Questions
Got questions? We’ve got answers. Here are some frequently asked questions about how to bleach buzzcut:
Q: How long does it take to bleach a buzzcut?
A: The entire process can take anywhere from 30 minutes to an hour, depending on your hair type and desired level of lightness.
Q: Can I bleach my buzzcut without damaging it?
A: Yes, with the right products and techniques, you can minimize damage. Always use high-quality bleach and follow aftercare tips to maintain hair health.
Q: How often should I bleach my buzzcut?
A: It’s best to wait at least 6-8 weeks between bleaching sessions to allow your hair to recover.
Conclusion
There you have it—everything you need to know about how to bleach buzzcut like a pro. From understanding your hair type to mastering the bleaching process, we’ve covered all the bases. Remember, patience and preparation are key to achieving that flawless platinum buzzcut.
Now, it’s your turn to take action. Share this article with your friends, leave a comment below, or check out our other styling tips. And most importantly, don’t forget to rock that new look with confidence!