Have you ever found yourself staring at a piece of trim, wondering how to cut angles perfectly? Well, you're not alone! Cutting angles for trim is one of those tasks that can make even the most seasoned DIY enthusiasts scratch their heads. But fear not, my friend—this article will be your ultimate companion in mastering this skill. Whether you're working on baseboards, crown molding, or window casings, we've got you covered!
Let’s be real here—trim work can either make or break the look of your home. Those little details matter big time. And when it comes to cutting angles, precision is key. You don’t want gaps that scream "amateur hour," right? That’s why understanding how to cut angles for trim is a game-changer. It’s not just about having the right tools; it’s about knowing the techniques that will save you time, money, and frustration.
Now, if you're here, chances are you're ready to level up your skills. Lucky for you, we’ve put together a comprehensive guide that breaks down everything you need to know about cutting angles for trim. From the basics to advanced tips, we’ll walk you through step by step. So grab your tools, put on some tunes, and let’s dive into the world of perfect cuts!
Table of Contents
- Understanding Trim and Why Angles Matter
- Tools You'll Need for Cutting Angles
- How to Measure Angles for Trim Like a Pro
- Miter Saw Basics: Your Best Friend in Trim Cutting
- Coping vs. Miter: Which Method Should You Use?
- Common Trim Angles and Their Uses
- Tips for Avoiding Common Mistakes
- Advanced Techniques for Cutting Angles
- Troubleshooting Common Problems
- Final Thoughts and Next Steps
Understanding Trim and Why Angles Matter
Trim is more than just decoration—it’s the finishing touch that ties a room together. Think about it: those baseboards, crown moldings, and door casings add character and elegance to any space. But here’s the deal—getting those pieces to fit seamlessly requires cutting angles correctly. And let me tell you, a poorly cut angle can ruin the entire look.
Angles matter because they determine how well your trim fits together. When two pieces of trim meet at a corner, they need to form a perfect joint. This is where cutting angles comes into play. Whether you’re dealing with 90-degree corners or more complex angles, precision is crucial. And trust me, once you get the hang of it, you’ll feel like a woodworking wizard!
Now, before we dive into the nitty-gritty, let’s talk about the types of trim you might encounter. Baseboards, crown moldings, window casings, and door frames all require different approaches when it comes to cutting angles. But don’t worry—we’ll cover all of that in detail as we move forward.
Why Cutting Angles is Essential
Here’s the thing—trim doesn’t just magically fit together. You need to cut it at the right angles to ensure a snug fit. Without proper angles, you’ll end up with gaps that look unprofessional. And let’s face it—nobody wants that. Cutting angles for trim is like solving a puzzle. Each piece needs to fit perfectly to create a cohesive look.
So, whether you’re working on a simple baseboard project or tackling crown molding, mastering angle cuts will make your life easier. And hey, it’ll also make your home look like a million bucks!
Tools You'll Need for Cutting Angles
Before we get into the techniques, let’s talk about the tools you’ll need. Having the right tools makes all the difference when it comes to cutting angles for trim. Here’s a quick rundown of what you’ll need:
- Miter saw: This is your go-to tool for cutting precise angles. A compound miter saw is even better because it allows you to make bevel cuts as well.
- Miter box and hand saw: If you don’t have a power saw, a miter box and hand saw can still get the job done for smaller projects.
- Tape measure: Accurate measurements are key to cutting the right angles.
- Protractor or angle finder: These tools help you measure existing angles in your space.
- Clamps: Use these to hold your trim in place while you cut.
- Sandpaper: For smoothing out rough edges after cutting.
Having the right tools will save you time and frustration. Trust me, trying to cut angles with the wrong equipment is like trying to bake a cake without an oven—it just doesn’t work!
Choosing the Right Miter Saw
When it comes to cutting angles for trim, a miter saw is your best friend. But not all miter saws are created equal. Here are a few things to consider when choosing one:
- Sliding vs. fixed: A sliding miter saw gives you more cutting capacity, which is great for larger pieces of trim.
- Compound vs. single: A compound miter saw allows you to make bevel cuts, which is essential for crown molding.
- Blade size: A larger blade size gives you more cutting capacity, but it also adds weight to the saw.
Investing in a quality miter saw will make your life so much easier. Plus, it’ll last you for years to come. And hey, who doesn’t love a good power tool?
How to Measure Angles for Trim Like a Pro
Measuring angles accurately is the first step in cutting them correctly. Here’s a step-by-step guide to help you measure like a pro:
- Use a protractor or angle finder to measure the angle of the corner where the trim will go.
- Divide the angle by two to determine the miter angle you need to cut. For example, a 90-degree corner requires a 45-degree miter cut.
- Double-check your measurements to avoid mistakes.
Measuring angles might seem intimidating at first, but with practice, it becomes second nature. And remember, accuracy is key. A small mistake in measurement can lead to big gaps in your trim.
Using an Angle Finder
An angle finder is a handy tool that makes measuring angles a breeze. Simply place it in the corner where the trim will go, and it will display the angle for you. This tool is especially useful for irregular corners or when you’re working with crown molding.
Pro tip: Always double-check your angle finder readings with a protractor to ensure accuracy. It’s better to be safe than sorry!
Miter Saw Basics: Your Best Friend in Trim Cutting
Now that you’ve got your tools and measurements, let’s talk about using a miter saw. This bad boy is the star of the show when it comes to cutting angles for trim. Here’s how to use it effectively:
First things first, set up your miter saw on a stable work surface. Make sure it’s securely clamped down to avoid any movement while you’re cutting. Next, adjust the miter angle to match the angle you measured earlier. Most miter saws have a dial or digital display that makes this easy.
Once you’ve set the angle, position your trim against the fence and clamp it in place. This will help prevent any movement while you’re cutting. Now, here’s the fun part—pull the saw down smoothly and let it do its thing. Remember to keep your hands away from the blade and follow all safety guidelines.
Safety Tips for Using a Miter Saw
Safety should always be your top priority when using power tools. Here are a few tips to keep in mind:
- Wear safety goggles to protect your eyes from flying debris.
- Keep your hands away from the blade while cutting.
- Use clamps to hold your trim in place.
- Follow the manufacturer’s instructions for your specific saw.
Remember, a little caution goes a long way. You don’t want to end up with a trip to the emergency room because you got a little too cocky with your saw!
Coping vs. Miter: Which Method Should You Use?
When it comes to cutting angles for trim, you have two main options—miter cuts and coping cuts. But which one should you use? Let’s break it down:
Miter cuts involve cutting both pieces of trim at the same angle and fitting them together. This method is great for baseboards and door casings, but it can be tricky for crown molding. Coping cuts, on the other hand, involve cutting one piece of trim to fit the profile of the other. This method is ideal for crown molding and other complex trims.
When to Use Coping Cuts
Coping cuts are perfect for situations where walls aren’t perfectly square or when you’re working with crown molding. Here’s why:
- They allow for a more flexible fit, accommodating imperfections in walls.
- They create a cleaner look, especially with intricate trim profiles.
- They’re easier to adjust if the fit isn’t perfect.
While coping cuts might take a little more time, they’re worth it for those tricky corners. Plus, they’ll make your trim look like it was installed by a pro!
Common Trim Angles and Their Uses
Now that you know the basics, let’s talk about some common trim angles and their uses:
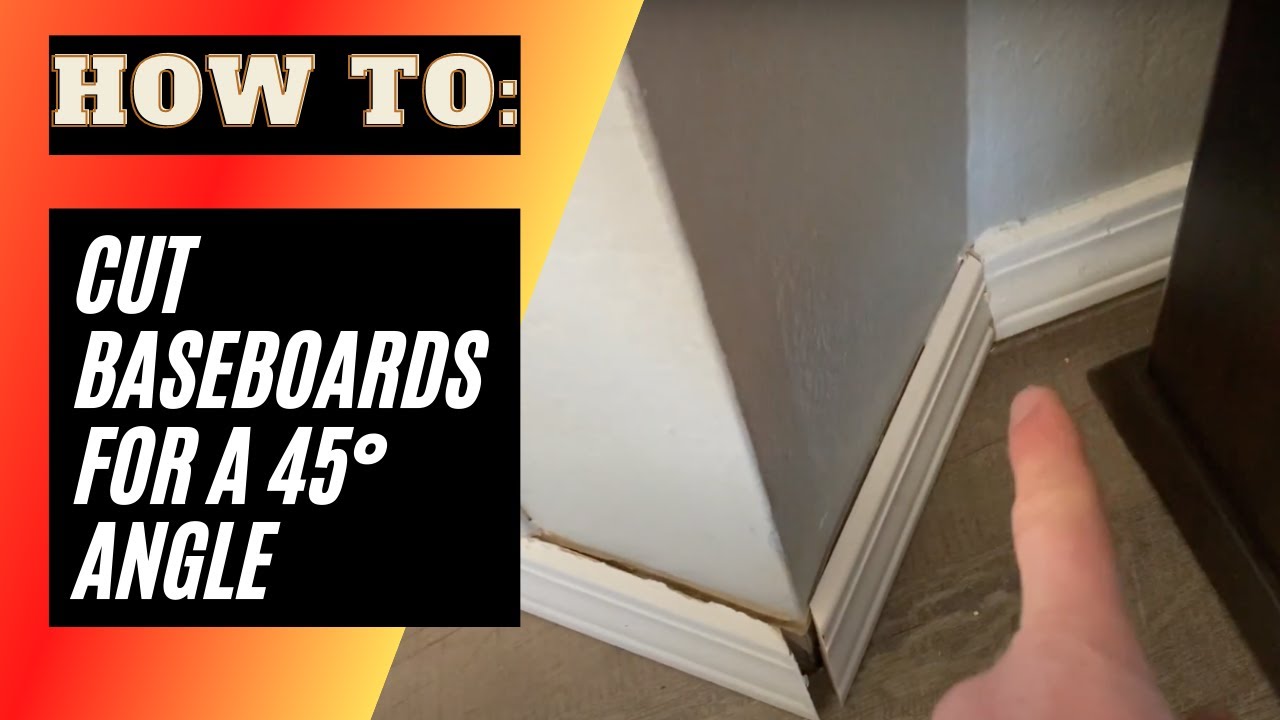
- 45-degree angle: Perfect for 90-degree corners, commonly used for baseboards and door casings.
- 22.5-degree angle: Ideal for octagonal corners or when you need a more intricate look.
- 31.6-degree angle: Commonly used for crown molding when walls meet ceilings at a 45-degree angle.
Understanding these angles will help you tackle a variety of trim projects with confidence. And hey, who doesn’t love a little variety in their woodworking?
Tips for Avoiding Common Mistakes
Mistakes happen, but there are a few things you can do to minimize them:
- Double-check your measurements before cutting.
- Use clamps to hold your trim in place while cutting.
- Test-fit your pieces before making final cuts.
- Start with scrap wood to practice your cuts.
Remember, practice makes perfect. The more you work with trim, the better you’ll get at cutting angles. And don’t be too hard on yourself if things don’t go perfectly the first time. Even the pros make mistakes sometimes!
Advanced Techniques for Cutting Angles
Ready to take your trim cutting to the next level? Here are a few advanced techniques to try:
Compound cuts involve cutting both the miter and bevel angles at the same time. This technique is essential for crown molding and other complex trims. To make compound cuts, adjust both the miter and bevel angles on your saw. It might take some practice, but once you get the hang of it, you’ll be unstoppable!
Another advanced technique is using a router to create coping cuts. This method gives you more control and precision, especially when working with intricate trim profiles. Just be sure to practice on scrap wood first to get the hang of it.
Troubleshooting Common Problems
Even the best woodworkers run into problems from time to time. Here are a few common issues and how to fix them:
- Gaps between trim pieces: Double-check your measurements and try test-fitting your pieces before making final cuts.
- Crooked cuts: Make sure your saw is properly calibrated and your trim is securely clamped in place.
- Rough edges: Use sandpaper to smooth out any rough spots after cutting.
Remember, troubleshooting is all part of the process. Don’t get discouraged if things don’t go perfectly