Listen up, folks! If you’ve ever wondered how to apply eyelets without a tool, you’ve landed in the right place. Picture this: you’re working on a leather project, or maybe fixing an old pair of shoes, and suddenly you realize you don’t have the fancy eyelet tool everyone swears by. Don’t panic! You’re about to discover some seriously cool hacks that will save your day—and your wallet. So, grab a cup of coffee or tea, because we’re diving deep into the world of DIY eyelet installation without the hassle of fancy equipment.
Let’s face it, sometimes life throws curveballs at us when we least expect it. Whether you’re a seasoned crafter or just someone trying to fix a torn piece of fabric, knowing how to apply eyelets without tool is a skill worth mastering. It’s not rocket science, but it does require a bit of creativity, patience, and some household items you probably already have lying around. Sound good? Let’s get started!
Before we jump into the nitty-gritty details, let’s set the stage. This guide isn’t just about teaching you a quick fix; it’s about empowering you with the knowledge to tackle any similar project confidently. By the end of this article, you’ll be able to apply eyelets like a pro, even if you don’t have access to the traditional tools. Ready? Let’s go!
Understanding Eyelets: What Are They and Why Do You Need Them?
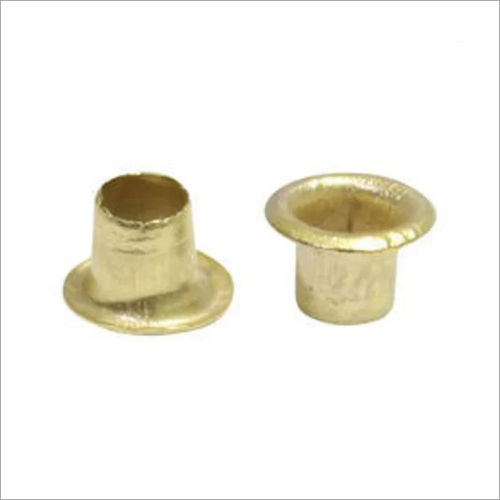
Eyelets are those little metal rings you often see on shoes, belts, handbags, and even clothing. They serve two main purposes: reinforcement and aesthetics. When you punch a hole in leather or fabric, the edges can fray or tear over time. An eyelet helps prevent that by creating a clean, sturdy opening. Plus, they add a touch of style to your projects. But here’s the kicker: you don’t need expensive tools to install them!
Now, you might be thinking, “Why bother learning how to apply eyelets without a tool?” Great question! Sometimes, you’re in a pinch and can’t run to the craft store. Other times, you simply want to save money. Whatever your reason, this guide will show you how to achieve professional results using everyday items.
Daftar Isi
- Understanding Eyelets: What Are They and Why Do You Need Them?
- Tools You Don’t Need and Tools You Do Need
- Step-by-Step Guide: How to Apply Eyelets Without a Tool
- Common Mistakes to Avoid
- Tips and Tricks for Perfect Eyelets
- Alternative Materials for Eyelet Installation
- FAQs About Applying Eyelets Without a Tool
- The Science Behind Eyelets: How They Work
- Creative Uses for Eyelets in Your Projects
- Conclusion: Level Up Your DIY Skills
Tools You Don’t Need and Tools You Do Need
First things first, let’s clear up some misconceptions. You don’t need a fancy eyelet setter or an expensive hammer to get the job done. In fact, most of the tools you’ll need are probably sitting in your kitchen drawer or toolbox right now. Here’s a quick list:
What You Don’t Need:
- Eyelet pliers
- Specialized hammers
- Drill machines (unless you’re feeling extra fancy)
What You Do Need:
- A sturdy hammer
- A nail or screw (depending on the size of your eyelet)
- A piece of scrap wood or anvil
- Eyelets (obviously!)
- A hole punch or sharp object to create the initial hole
See? Nothing too complicated. The key is to use what you have on hand and adapt it to the task at hand. And if you’re wondering how exactly to use these tools, don’t worry—we’ll cover that in the next section.
Step-by-Step Guide: How to Apply Eyelets Without a Tool
Alright, let’s get down to business. Here’s a step-by-step guide to applying eyelets without a tool:
Step 1: Prepare Your Material
Before you start punching holes, make sure your material is clean and flat. If you’re working with leather, consider applying a bit of conditioner to make it more pliable. For fabric, iron it to remove any wrinkles. This will help ensure a clean, even hole.
Step 2: Create the Hole
Use a hole punch or a sharp object like a nail to create the initial hole. Make sure the hole is slightly smaller than the eyelet you’re using. This will give the eyelet something to grip onto and prevent it from slipping out.
Step 3: Insert the Eyelet
Take your eyelet and insert the prongs through the hole. Make sure it’s centered and sitting flush against the material. If it’s not aligned properly, you might have trouble securing it later.
Step 4: Flatten the Prongs
This is where the hammer comes in. Place the material with the eyelet over a piece of scrap wood or an anvil. Use a nail or screw to press down on the eyelet, flattening the prongs. Tap gently at first, then increase the pressure until the prongs are fully flattened.
Step 5: Finish and Polish
Once the eyelet is secure, give it a quick polish with a damp cloth to remove any metal shavings or rough edges. And just like that, you’ve successfully applied an eyelet without a tool!
Common Mistakes to Avoid
Even the best DIYers make mistakes from time to time. Here are a few common pitfalls to watch out for:
- Using the Wrong Size Eyelet: Make sure the eyelet matches the size of your hole. Too big, and it won’t stay put. Too small, and it won’t fit.
- Hammering Too Hard: Start with light taps and gradually increase the pressure. Hammering too hard can damage your material or misshape the eyelet.
- Not Using a Base: Always place your material over a sturdy surface before hammering. This will prevent damage to your work surface and ensure a clean finish.
Tips and Tricks for Perfect Eyelets
Want to take your eyelet game to the next level? Here are a few tips and tricks to help you achieve professional results:
- Use a Damp Cloth: Placing a damp cloth over the eyelet before hammering can help prevent damage to the material.
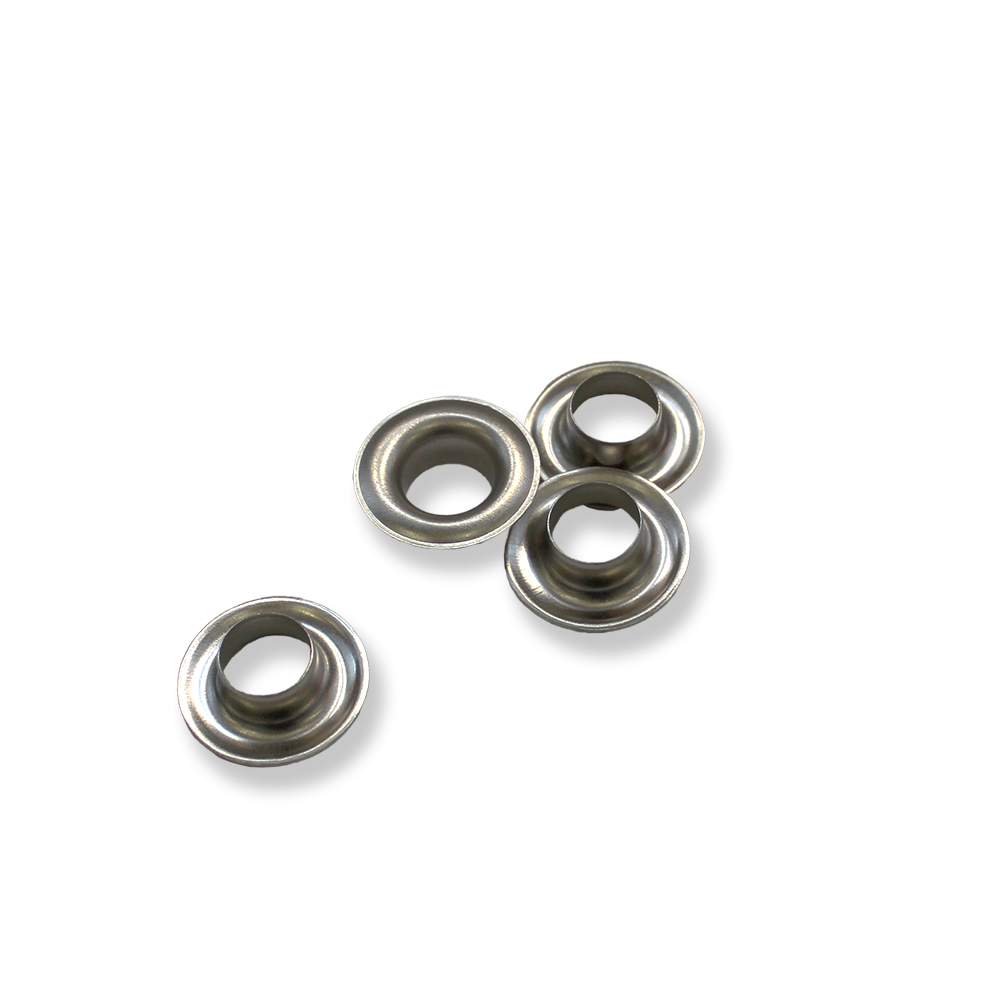
- Experiment with Different Materials: Try using different types of eyelets, such as brass or stainless steel, to add variety to your projects.
- Practice Makes Perfect: Don’t be afraid to practice on scrap material before tackling your main project. It’ll help you get a feel for the process.
Alternative Materials for Eyelet Installation
Sometimes, you might not have access to traditional eyelets. In those cases, consider using alternative materials like grommets or even metal washers. While they might not look exactly the same, they can still provide reinforcement and style to your projects.
Pros and Cons of Alternatives:
- Grommets: Stronger and more durable, but can be harder to install without a tool.
- Metal Washers: Easy to find and inexpensive, but may not provide the same level of reinforcement.
FAQs About Applying Eyelets Without a Tool
Got questions? We’ve got answers! Here are some frequently asked questions about applying eyelets without a tool:
- Can I use a regular hammer? Yes, a regular hammer works just fine. Just make sure it’s sturdy and has a smooth surface.
- What if I don’t have scrap wood? Any flat, sturdy surface will do. Just be careful not to damage it.
- Are there any safety precautions I should take? Always wear safety goggles and work in a well-ventilated area. And remember, take it slow!
The Science Behind Eyelets: How They Work
Ever wondered why eyelets are so effective? It all comes down to physics. When you flatten the prongs of an eyelet, you’re essentially creating a strong bond between the metal and the material. This bond prevents the edges of the hole from fraying and provides a smooth, even surface for threading or attaching other materials. Pretty cool, right?
Creative Uses for Eyelets in Your Projects
Eyelets aren’t just for shoes and belts. Get creative and incorporate them into your next project! Here are a few ideas:
- DIY Tote Bags: Add eyelets to the corners of your tote bag for extra reinforcement.
- Wall Hangings: Use eyelets to create hanging points for your favorite art pieces.
- Custom Jewelry: Incorporate eyelets into your jewelry designs for a unique touch.
Conclusion: Level Up Your DIY Skills
There you have it, folks! You now know how to apply eyelets without a tool like a true DIY pro. Whether you’re fixing an old pair of shoes or creating a stunning piece of art, this skill will come in handy time and time again. So, what are you waiting for? Grab your materials and get to work!
And don’t forget to share your creations with us in the comments below. We’d love to see what you’ve made! Also, if you found this article helpful, be sure to check out our other DIY guides for more inspiration. Happy crafting!