Let’s face it, Minecraft players—lighting up that Nether portal can feel like solving a Rubik’s Cube on the moon if you don’t know what you’re doing. But don’t sweat it, because you’re about to become a pro at igniting the gateway to fiery chaos. Whether you’re a noob or a seasoned block-breaker, this guide will teach you exactly how to light the Nether portal with zero stress.
First things first, lighting the Nether portal isn’t just about slapping some flint and steel together. It’s an art, my friend. You need the right setup, materials, and a bit of finesse. Think of it like cooking pasta—if you mess up the water or forget the salt, your meal turns into disaster noodles. Same deal here. So let’s break it down step by step so you can get your butt into the Nether faster than you can say “obsidian.”
Now, before we dive into the nitty-gritty, I want to make sure you understand why mastering this skill is essential. The Nether isn’t just a place to chill with ghasts and blaze mobs; it’s a game-changer for resources, speed travel, and surviving those pesky mob raids. Once you’ve got your portal lit, you’ll be unstoppable. So grab your pickaxe, because we’re diving deep into obsidian mining and fire-starting madness.
Understanding the Basics of Nether Portals
Before you even think about lighting that portal, you need to understand how portals work in Minecraft. Portals are basically teleportation devices made from obsidian blocks and activated with fire. They’re like the subway system of the Minecraft universe—just way cooler and full of lava.
Here’s the deal: Obsidian is super tough stuff. You can’t mine it with just any old pickaxe. You’ll need either a diamond or netherite pickaxe to harvest it properly. If you try mining it with anything else, you’ll just waste time and energy. Trust me, I’ve been there—it’s not fun.
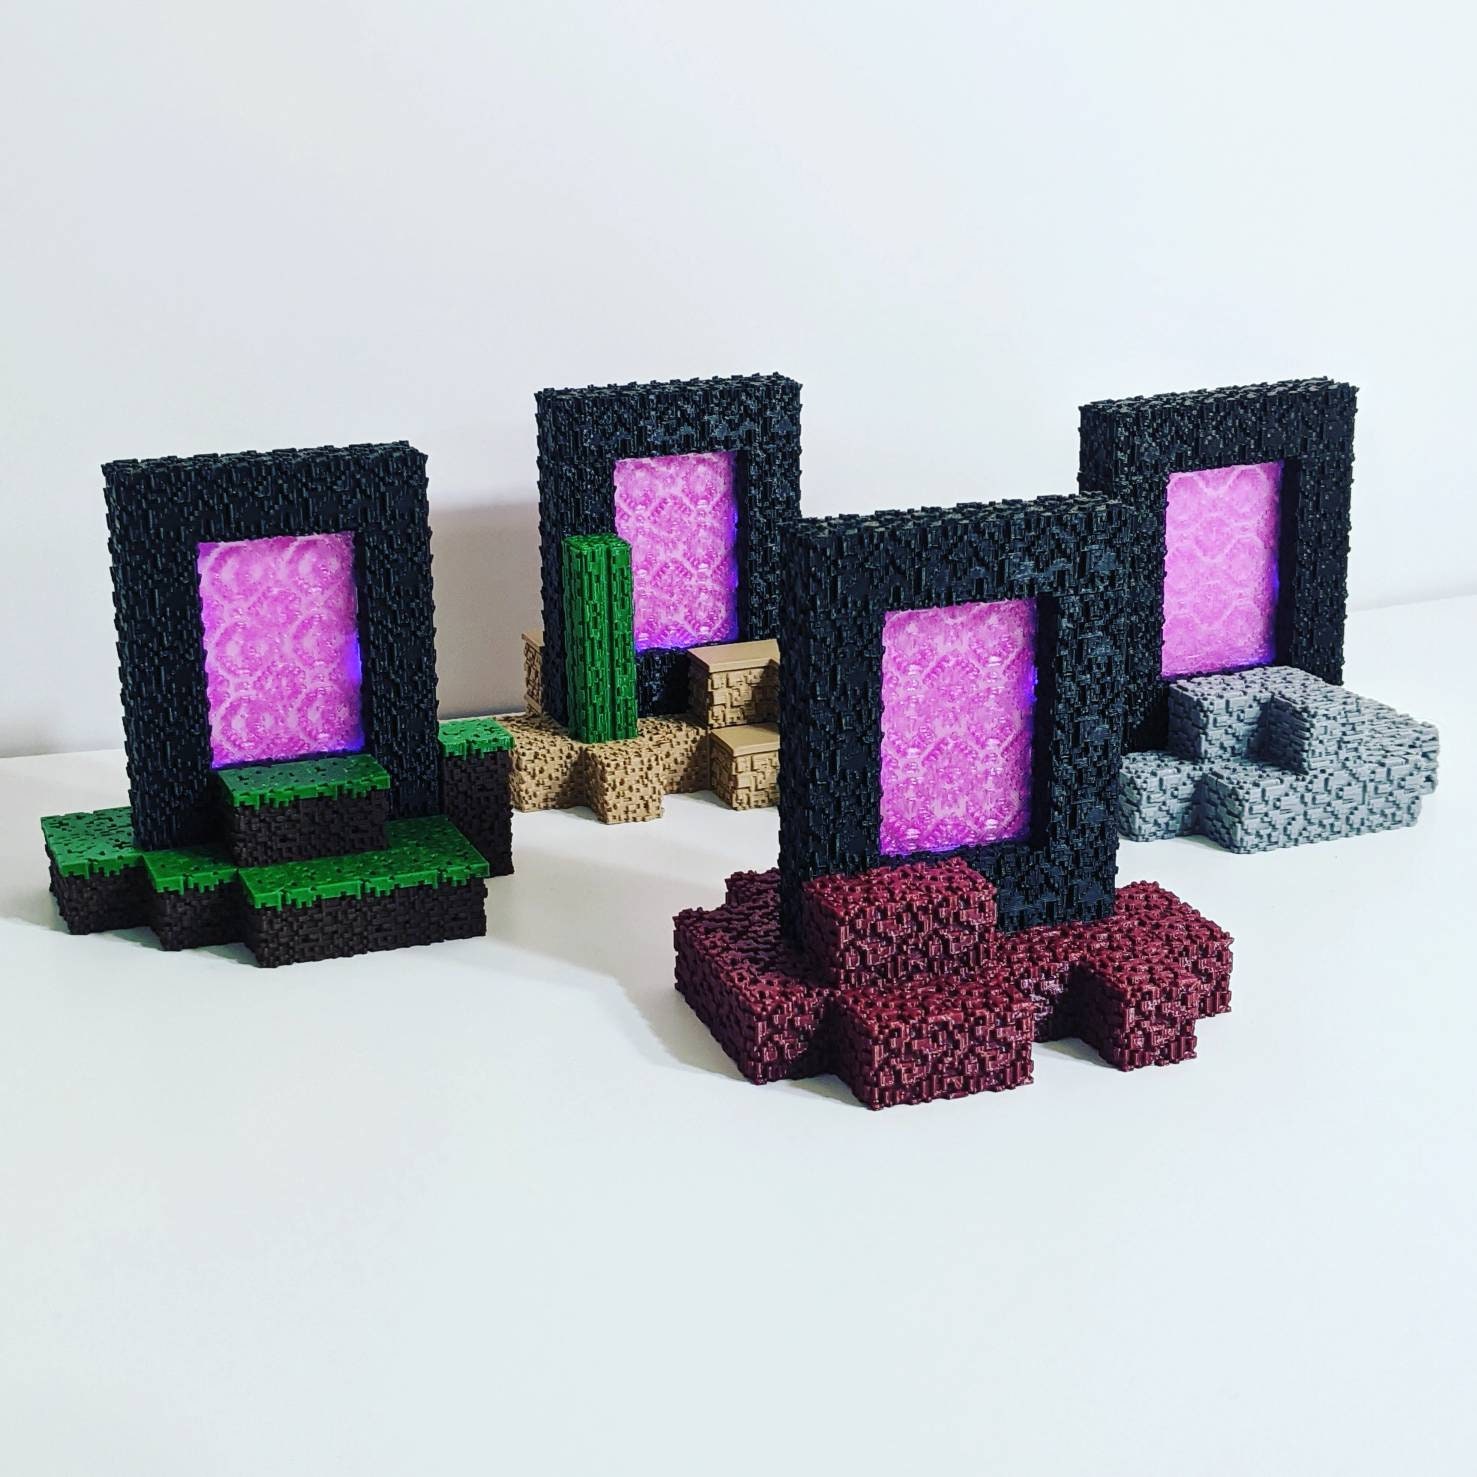
Now, once you’ve got your obsidian mined, you’ll need to build the frame for your portal. This involves creating a rectangle of obsidian blocks that’s at least 4 blocks high and 5 blocks wide. Why these dimensions? Because Mojang said so, and who am I to argue with the gods of block-building?
Materials You’ll Need
Let’s talk about the tools and materials you’ll need to light your Nether portal:
- Obsidian: The main ingredient. You’ll need at least 14 blocks to build a basic portal.
- Flint and Steel: Your trusty fire-starter. You can craft it using iron and flint.
- Diamond or Netherite Pickaxe: For mining obsidian. No shortcuts here, folks.
- Lava Bucket: Optional but helpful for crafting obsidian in the wild.
Remember, obsidian forms naturally where lava and water meet. So if you’re short on obsidian, head to a cave with some lava pools and start experimenting. Just be careful—you don’t want to end up swimming in magma.
Step-by-Step Guide to Lighting the Nether Portal
Alright, let’s get down to business. Here’s a step-by-step guide to lighting your Nether portal:
- Mine Some Obsidian: Use your diamond or netherite pickaxe to mine obsidian blocks. Make sure your pickaxe has the silk touch enchantment if you’re mining obsidian from naturally occurring sources.
- Build the Frame: Place the obsidian blocks in a 4x5 rectangle shape. Leave the inside of the rectangle empty for now.
- Activate the Portal: Use your flint and steel to ignite the inside of the portal. The obsidian blocks will turn into purple flames, signaling that your portal is active.
And there you have it! You’ve successfully lit your Nether portal. Now, step inside and prepare for the fiery adventure of a lifetime.
Tips and Tricks for Success
Here are a few tips to make the process smoother:
- Practice in Creative Mode: If you’re new to building portals, try practicing in creative mode first. It’s less stressful and you won’t lose valuable resources.
- Use Lava Buckets: If you’re struggling to find obsidian, use a lava bucket to create obsidian blocks by pouring water over lava. Just be careful not to burn yourself.
- Keep Extra Tools: Always carry extra flint and steel, pickaxes, and torches. You never know when you’ll need them.
These tips might seem small, but they can save you a ton of time and frustration. Trust me, I’ve learned the hard way.
Common Mistakes to Avoid
Even the best Minecraft players make mistakes when building Nether portals. Here are some common pitfalls to watch out for:
- Wrong Pickaxe: Using the wrong pickaxe to mine obsidian is a rookie mistake. Stick to diamond or netherite, no exceptions.
- Incorrect Dimensions: Your portal frame must be at least 4 blocks high and 5 blocks wide. Anything smaller won’t work.
- Forgetting the Silk Touch Enchantment: If you’re mining obsidian from natural sources, you’ll need the silk touch enchantment to collect it properly.
Mistakes happen, but learning from them is what makes you a better player. So don’t beat yourself up if you mess up—just try again and keep improving.
Understanding the Importance of the Nether
The Nether isn’t just a scary place filled with piglins and magma cubes. It’s a crucial part of Minecraft that offers tons of benefits:
- Speed Travel: Distances in the Nether are much shorter than in the Overworld, making it perfect for long-distance travel.
- Valuable Resources: The Nether is packed with rare resources like nether quartz, ancient debris, and soul sand.
- Exciting Challenges: From fortress exploration to fighting the wither, the Nether provides endless opportunities for adventure.
So don’t think of the Nether as just a dangerous place. Think of it as your personal playground for resource gathering and epic battles.
Surviving the Nether
Once you’ve lit your portal and entered the Nether, you’ll need to know how to survive. Here are some survival tips:
- Bring Plenty of Gear: Make sure you have armor, weapons, and food before entering the Nether.
- Stay Alert: The Nether is full of dangerous mobs, so keep your eyes peeled for threats.
- Explore Carefully: Nether fortresses and bastions are great places to find loot, but they’re also home to some tough enemies.
Surviving the Nether isn’t easy, but with the right preparation, you can thrive in this fiery world.
Advanced Techniques for Portal Building
Once you’ve mastered the basics, you can start experimenting with advanced portal techniques. Here are a few ideas:
- Multi-Portal Systems: Build multiple portals to create a network of travel points across your world.
- Obsidian Farms: Set up an obsidian farm to generate obsidian blocks automatically.
- Redstone Contraptions: Use redstone to create automated portal activation systems.
These techniques might sound complicated, but they’re totally doable with a bit of practice. Plus, they’ll make you look like a Minecraft genius to your friends.
Optimizing Your Portal for Efficiency
If you want to maximize the efficiency of your Nether portal, here are a few tips:
- Place Portals Strategically: Position your portals near key locations in the Overworld and Nether for quick access.
- Use Beacons: Build beacons near your portals to boost your speed and jump height while traveling.
- Label Your Portals: Use signs or markers to identify which portal leads where. Trust me, this will save you a lot of confusion later.
Efficiency is key in Minecraft, and optimizing your portals can make a huge difference in your gameplay.
Understanding the Science Behind Portals
For the science geeks out there, let’s talk about the science behind Minecraft portals. Portals work by creating a stable wormhole between two points in different dimensions. When you light the portal, the obsidian blocks generate a dimensional rift that allows you to travel between the Overworld and the Nether.
While this might sound like science fiction, it’s actually based on real-world theories about wormholes and spacetime. Of course, in Minecraft, it’s all handled by the game’s code, but it’s still pretty cool to think about.
Exploring the Physics of Portals
If you’re really into the physics of portals, here are a few things to consider:
- Energy Requirements: Lighting a portal requires a significant amount of energy, which is why flint and steel are necessary.
- Dimensional Stability: The obsidian frame provides the structural integrity needed to maintain the portal’s stability.
- Travel Mechanics: When you step into a portal, the game calculates the closest matching portal in the target dimension and teleports you there.
While these concepts might seem complex, they’re all part of what makes Minecraft such a fascinating game.
Conclusion: Your Gateway to Adventure
So there you have it, folks. Lighting the Nether portal might seem intimidating at first, but with the right knowledge and tools, it’s a breeze. Remember to mine your obsidian carefully, build your frame correctly, and always keep extra supplies on hand. And most importantly, have fun exploring the Nether!
Now it’s your turn. Head into the game, build that portal, and see where it takes you. And don’t forget to come back and share your adventures in the comments below. Who knows? Maybe you’ll inspire someone else to take the plunge into the fiery depths of the Nether.
Happy mining, and good luck out there!
Table of Contents
- Understanding the Basics of Nether Portals
- Step-by-Step Guide to Lighting the Nether Portal
- Tips and Tricks for Success
- Common Mistakes to Avoid
- Understanding the Importance of the Nether
- Surviving the Nether
- Advanced Techniques for Portal Building
- Optimizing Your Portal for Efficiency
- Understanding the Science Behind Portals
- Exploring the Physics of Portals