So, you've decided to level up your backpack game and want to know how to iron on a patch on a backpack? LET'S DIVE INTO IT. Adding patches to your backpack is one of the easiest ways to personalize your gear and make it truly unique. Whether you're a DIY enthusiast, a backpacker looking to spice up your travel bag, or just someone who loves expressing themselves through fashion, this guide is for YOU. Let's talk about how to do it right, without damaging your favorite backpack or ruining that cool patch.
Now, before we get into the nitty-gritty, let's talk about why iron-on patches are such a big deal. They're not just decorative; they can also tell a story—whether it's about your travels, your interests, or your personality. Plus, they're super easy to apply! All you need is a little know-how, some basic tools, and voila! You'll be rocking a custom backpack in no time.
But hold up—ironing on patches isn't as simple as slapping them on and pressing the button on your iron. There are tricks, tips, and even some potential pitfalls to avoid. In this guide, we'll walk you through every step of the process, so you can confidently add patches to your backpack without any hiccups. Ready? Let's go!
Table of Contents
- What Tools Do You Need?
- Preparing Your Backpack and Patch
- The Step-by-Step Ironing Process
- Why Cooling Matters
- Finishing Touches
- Common Issues and Troubleshooting
- Pro Tips for Patching Success
- Choosing the Right Style
- Maintaining Your Patched Backpack
- FAQ About Iron-On Patches
What Tools Do You Need?
Alright, first things first—let's talk tools. You don't need a workshop or fancy equipment to iron on a patch. Here's a quick rundown of what you'll need:
Basic Tools
- An iron (preferably one with adjustable heat settings)
- A clean, flat surface (like a wooden board or ironing board)
- A thin cloth or towel (to protect your backpack from direct heat)
- Your iron-on patch (duh!)
These tools are pretty straightforward, but here's the deal: the quality of your iron matters. If your iron is old or doesn't heat evenly, it might affect the adhesion of the patch. So, if you're serious about this DIY project, consider upgrading to a decent iron.
Preparing Your Backpack and Patch
Preparation is key when it comes to ironing on patches. You want to make sure everything is ready to go before you start applying heat. Here's how to prep:
Step 1: Clean Your Backpack
Give your backpack a good wipe-down with a damp cloth. Dirt, dust, or grease can interfere with the patch's adhesive, so it's important to start with a clean surface. Trust me, you don't want to iron on a patch only to find out later that it won't stick because of some random stain.
Step 2: Position the Patch
Decide where you want the patch to go. This is your chance to get creative! Think about balance and symmetry. If you're adding multiple patches, consider how they'll look together. Once you've decided, use a small piece of tape to hold the patch in place while you iron.
The Step-by-Step Ironing Process
Now, let's get into the meat of it—the ironing process itself. Follow these steps carefully to ensure your patch sticks like glue:
Step 1: Set the Iron
Adjust your iron to the appropriate temperature. Most iron-on patches require a medium to high heat setting, but always check the instructions on the patch packaging. If there are no instructions, medium heat is usually a safe bet.
Step 2: Protect the Backpack
Place a thin cloth or towel over the patch. This will prevent direct heat from damaging your backpack's fabric. Some materials, like nylon, can melt under high heat, so this extra layer is crucial.
Step 3: Apply Heat
Press the iron firmly onto the cloth-covered patch for about 20-30 seconds. Move the iron in small circles to ensure even heat distribution. Don't rush this step—patience is key!
Why Cooling Matters
After you've ironed the patch, let it cool completely. This might seem like an unnecessary step, but it's actually super important. Cooling allows the adhesive to set properly, ensuring a strong bond between the patch and your backpack.
Here's a pro tip: flip your backpack over and apply pressure to the back of the patch with the iron. This helps reinforce the bond and ensures the edges are fully adhered. Just make sure the patch is cool enough to handle before flipping it over!
Finishing Touches
Once the patch is securely attached, take a moment to admire your handiwork. If you notice any edges lifting or not sticking properly, you can go back with the iron and reapply heat to those areas.
Now, here's the fun part—adding more patches! If you're planning to decorate your backpack with multiple patches, repeat the process for each one. Just be mindful of overlapping patches, as this can affect the adhesion of subsequent patches.
Common Issues and Troubleshooting
Even with the best preparation, things can sometimes go wrong. Here are some common issues you might encounter and how to fix them:
Issue 1: Patch Won't Stick
If your patch refuses to stick, it could be due to several reasons. First, check if the patch is compatible with your backpack's material. Some patches work better on certain fabrics than others. Second, ensure you're using the correct heat setting. Too little heat won't activate the adhesive, while too much heat can damage the patch or the backpack.
Issue 2: Patch Bubbles or Melts
This usually happens if the heat is too high. If you notice bubbling or melting, turn down the heat and try again. You can also use a lower heat setting and iron for a longer period to compensate.
Pro Tips for Patching Success
Here are a few extra tips to help you achieve patching perfection:
- Use patches with heat-activated adhesives for the best results.
- Avoid placing patches near zippers or straps, as they might interfere with functionality.
- Experiment with different patch sizes and shapes to create a visually appealing design.
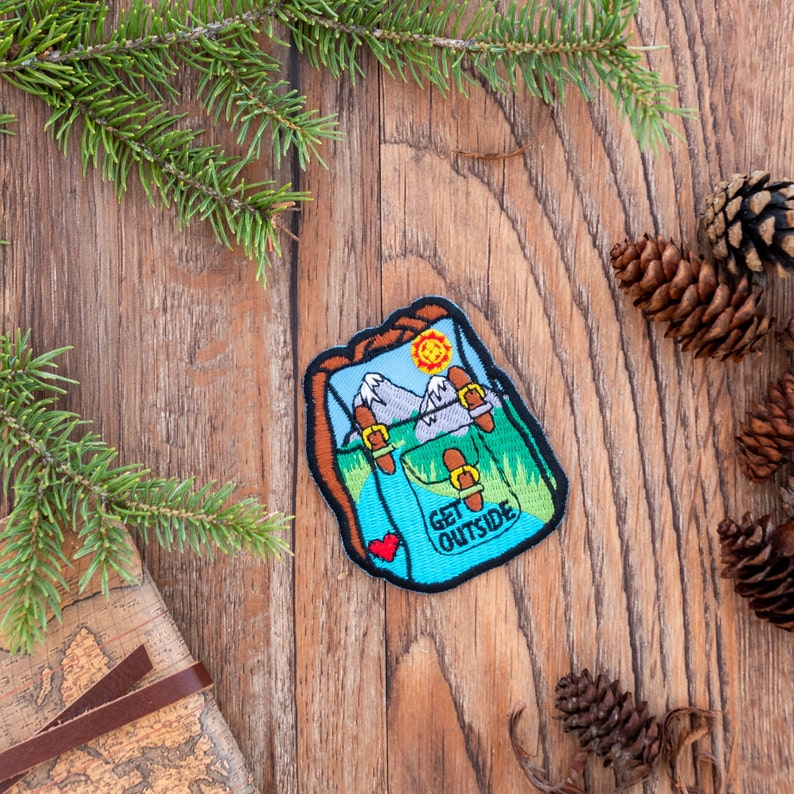
Choosing the Right Style
When it comes to patches, the options are endless. From vintage travel patches to modern geometric designs, there's something for everyone. Consider your personal style and the purpose of your backpack when choosing patches. Are you going for a rugged, outdoorsy look? Or maybe something more whimsical and playful? Let your creativity shine!
Maintaining Your Patched Backpack
Once your patches are in place, it's important to take care of them. Avoid exposing your backpack to extreme heat or moisture, as this can weaken the adhesive. If your backpack gets wet, let it dry naturally instead of using a dryer. With proper care, your patches will stay looking great for years to come.
FAQ About Iron-On Patches
Here are some frequently asked questions about iron-on patches:
Q: Can I wash my patched backpack?
A: Yes, but be gentle! Hand-wash your backpack or use a delicate cycle in the washing machine. Avoid using harsh detergents or bleach.
Q: What if I want to remove a patch?
A: Removing a patch can be tricky. Use a hairdryer to heat up the patch, then gently peel it off. Be careful not to damage the fabric underneath.
Q: Can I iron patches onto any type of backpack?
A: Most patches work well on cotton, canvas, and other natural fibers. For synthetic materials like nylon, test a small area first to ensure the patch adheres properly.
And there you have it—a comprehensive guide on how to iron on a patch on a backpack. With these tips and tricks, you'll be able to personalize your backpack like a pro. So, grab your iron, pick out some cool patches, and get to work!
Now, it's your turn. Did you find this guide helpful? Have you tried ironing on patches before? Let us know in the comments below, and don't forget to share this article with your friends who might be interested in leveling up their backpack game. Happy patching!