Changing your Singer sewing machine needle might sound intimidating at first, but trust me, it’s easier than threading a needle on a rainy day. Whether you're a beginner stitcher or a seasoned pro, knowing how to change the needle is an essential skill that can make all the difference in your sewing projects. A dull or damaged needle can ruin your fabric, cause skipped stitches, or even damage your machine, so keeping it fresh and sharp is key to smooth sewing.
Now, imagine this: you’re in the middle of sewing a beautiful project, and suddenly, your thread starts breaking or your fabric gets all wonky. What’s the culprit? Yep, you guessed it—a bad needle. This guide will walk you through the process step by step, so you’ll never have to stress about changing needles again.
Before we dive into the nitty-gritty, let’s address the elephant in the room: why is changing a needle such a big deal? Well, think of it like changing the oil in your car—it’s maintenance that keeps everything running smoothly. So, grab your tools, and let’s get started on mastering this essential sewing skill!
Why Should You Learn How to Change Singer Sewing Machine Needle?
Alright, stitchers, let’s break it down. Changing your needle isn’t just about avoiding frustration; it’s about ensuring the quality of your work. A sharp needle helps prevent skipped stitches, broken threads, and fabric damage. Plus, it keeps your machine running like a well-oiled sewing machine. Here are a few reasons why learning this skill is a must:
- Improved stitch quality
- Protects your fabric from damage
- Prevents machine malfunctions
- Keeps your projects looking professional
So, if you’re tired of dealing with sewing hiccups, this guide is here to help. Let’s get into the details!
Tools You’ll Need to Change Singer Sewing Machine Needle
Changing a needle doesn’t require a ton of fancy tools. In fact, you probably already have everything you need right in your sewing kit. Here’s what you’ll need to get the job done:
- Your Singer sewing machine (duh!)
- A new needle (make sure it’s the right size for your project)
- A small screwdriver (if your machine requires one)
- A pair of pliers (optional, but handy)
Pro tip: Always keep a stash of extra needles on hand. You never know when you’ll need to swap one out, and having them ready goes a long way.
Step-by-Step Guide: How to Change Singer Sewing Machine Needle
Ready to roll up your sleeves and get to work? Follow these steps, and you’ll be changing needles like a pro in no time.
Step 1: Turn Off Your Machine
Safety first, friends! Always unplug your machine before you start tinkering with it. This ensures that you won’t accidentally hit the pedal and send your needle flying.
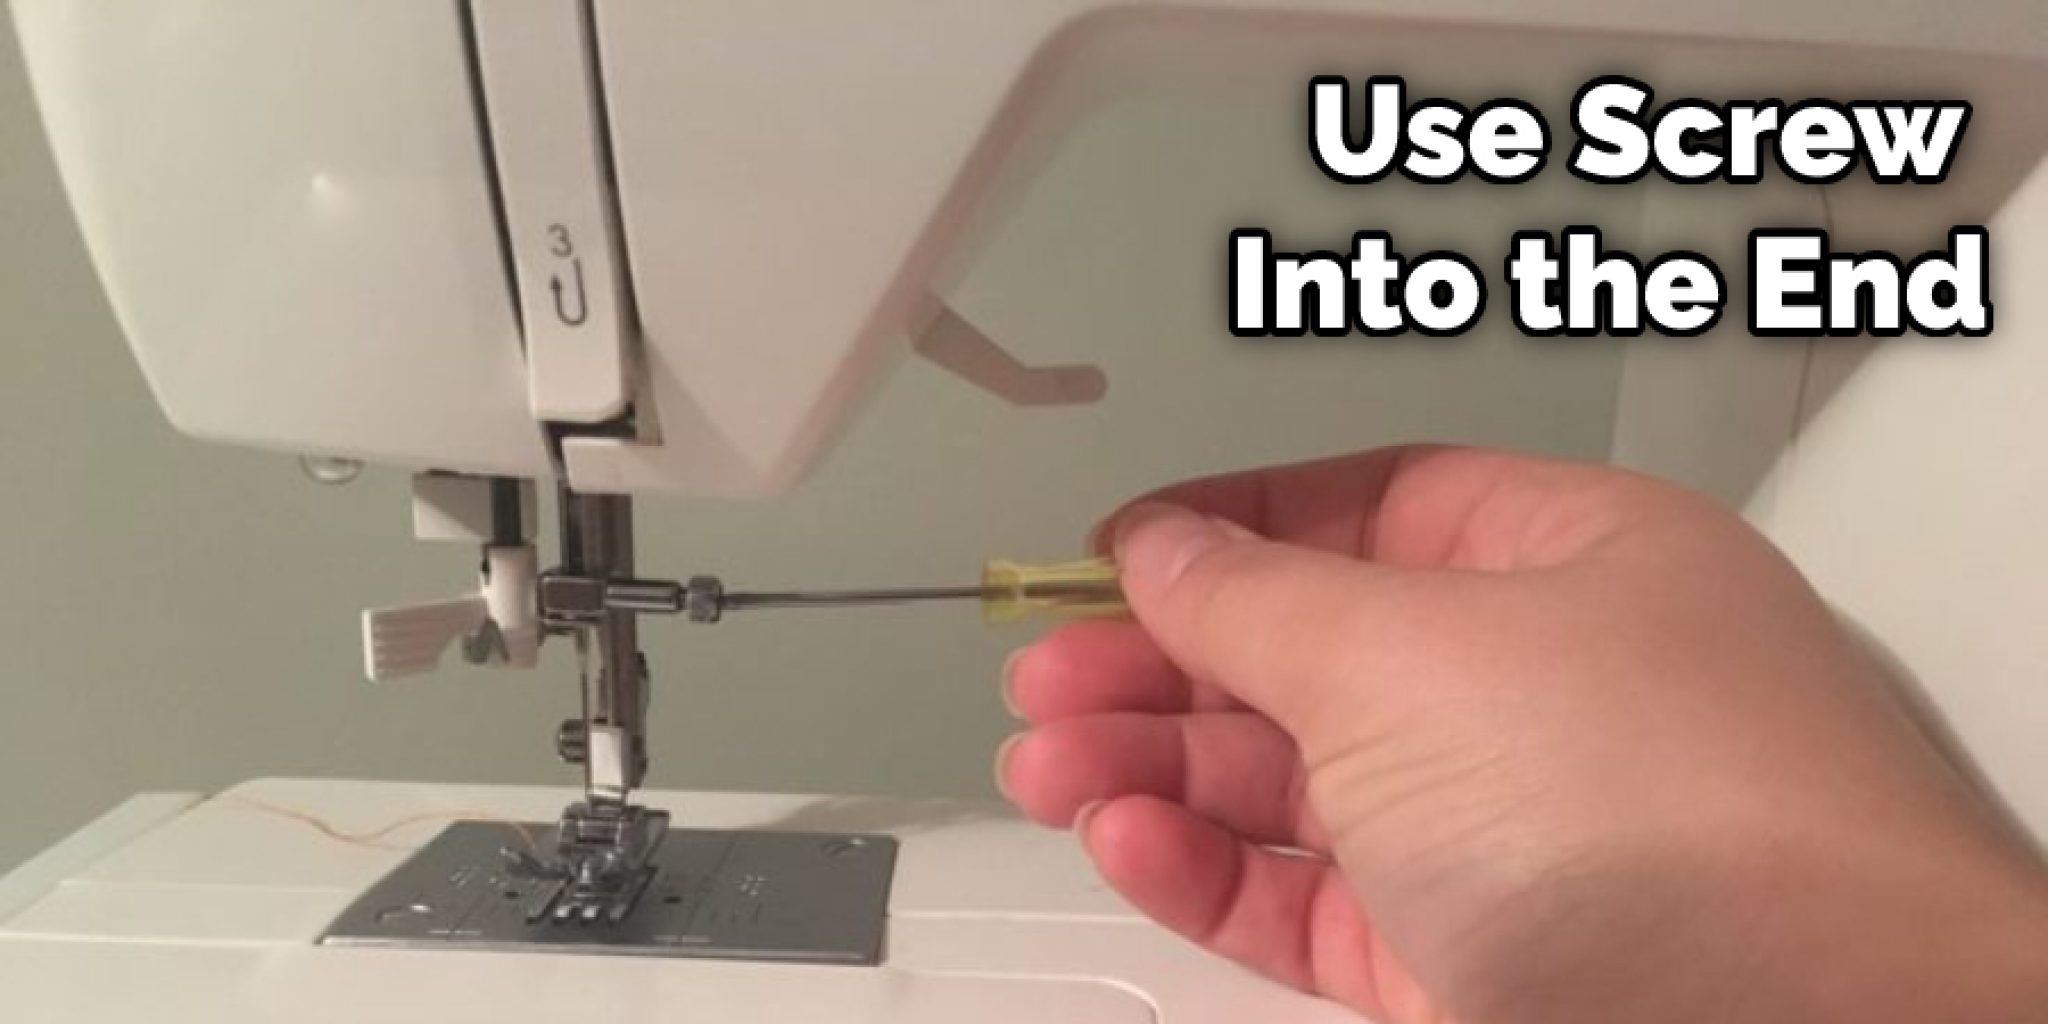
Step 2: Locate the Needle Clamp Screw
Take a peek at your sewing machine. You’ll see a small screw near the needle. This is the needle clamp screw, and it’s what holds the needle in place. Use your fingers or a small screwdriver to loosen it, but don’t remove it completely.
Step 3: Remove the Old Needle
Once the screw is loose, gently pull the old needle out. If it’s stuck, don’t force it—grab those pliers and give it a gentle tug. Voila! The old needle is out.
Step 4: Insert the New Needle
Now, take your shiny new needle and slide it into the needle bar. Make sure the flat side of the needle is facing the back of the machine. This is super important, so double-check before you tighten anything.
Step 5: Tighten the Screw
Once your new needle is in place, tighten the needle clamp screw. You want it snug, but not so tight that you can’t budge it later if needed. Test it by wiggling the needle—no movement means you’re good to go.
Step 6: Test Your Setup
Plug your machine back in and do a quick test run. Sew a few stitches on a scrap piece of fabric to make sure everything’s working smoothly. If it looks good, congrats—you’ve just changed your needle!
Common Mistakes to Avoid When Changing Singer Sewing Machine Needle
Even the best of us make mistakes sometimes, but don’t worry—these are easy to avoid. Here are a few common pitfalls to watch out for:
- Forgetting to unplug the machine (safety first!)
- Using the wrong needle size for your fabric
- Not aligning the flat side of the needle correctly
- Overtightening the needle clamp screw
By keeping these tips in mind, you’ll avoid headaches and ensure a smooth needle-changing experience.
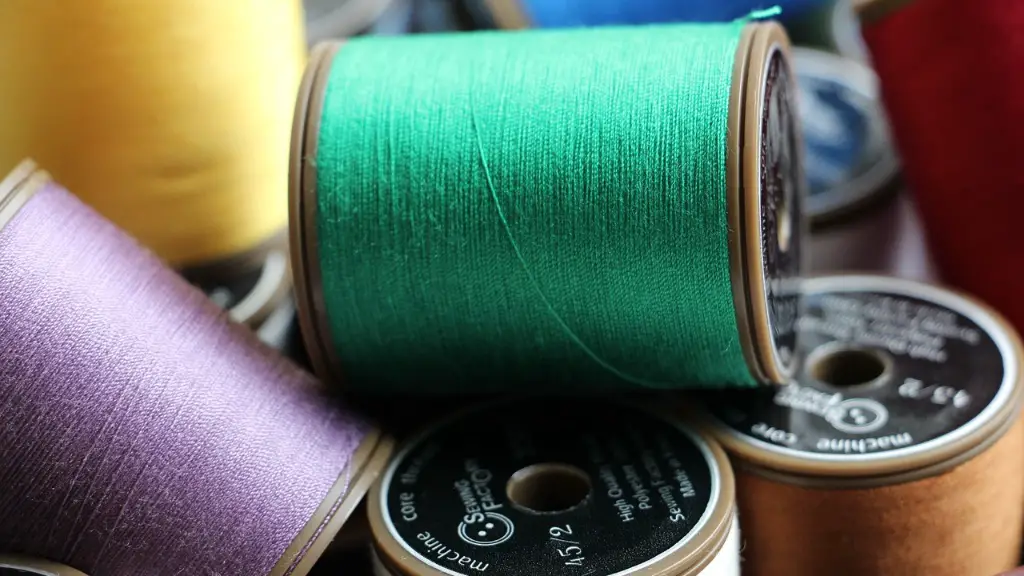
Choosing the Right Needle for Your Project
Not all needles are created equal, and choosing the right one can make a huge difference in your sewing results. Here’s a quick rundown of the most common needle types and what they’re best for:
- Universal Needles: Great for most fabrics, especially cotton and polyester blends.
- Ballpoint Needles: Perfect for knit fabrics to avoid snagging.
- Sharp Needles: Ideal for woven fabrics like silk or chiffon.
- Leather Needles: Designed for sewing through tough materials like leather or vinyl.
Remember, the right needle can mean the difference between a flawless stitch and a sewing disaster. So, choose wisely!
Signs It’s Time to Change Singer Sewing Machine Needle
Sometimes, our needles give us subtle hints that it’s time for a change. Here are a few signs to watch out for:
- Skipped stitches
- Broken threads
- Snagged or torn fabric
- A dull or bent needle
If you notice any of these issues, it’s probably time to swap out that needle. Don’t wait until it’s too late—your projects will thank you!
Troubleshooting Common Issues
Even with the best intentions, things can go wrong sometimes. Here’s how to troubleshoot a few common needle-related problems:
Problem: Skipped Stitches
Solution: Check your needle alignment and make sure it’s not dull or bent. If everything looks good, try a new needle.
Problem: Broken Threads
Solution: Inspect your needle for damage and ensure it’s the right size for your project. Adjust your tension settings if needed.
Problem: Fabric Damage
Solution: Double-check that you’re using the correct needle type for your fabric. A ballpoint needle for knits or a sharp needle for wovens can make all the difference.
How Often Should You Change Singer Sewing Machine Needle?
Here’s the million-dollar question: how often should you change your needle? The answer depends on how much sewing you’re doing, but as a general rule of thumb:
- Change your needle after every 8-10 hours of sewing.
- Swap it out if you notice any signs of wear or damage.
- Use a fresh needle for every new project to ensure the best results.
Think of it like changing your toothbrush—regular replacements keep things running smoothly.
Expert Tips for Maintaining Your Singer Sewing Machine
Changing your needle is just one part of maintaining your sewing machine. Here are a few expert tips to keep your Singer running like a champ:
- Clean your machine regularly to remove lint and debris.
- Oil moving parts according to your machine’s manual.
- Store your machine in a dry, dust-free environment.
- Perform routine maintenance checks to catch issues early.
By following these tips, you’ll extend the life of your machine and ensure it’s always ready to sew.
Conclusion: Mastering the Art of Needle Changing
And there you have it—a comprehensive guide to changing your Singer sewing machine needle. From understanding why it’s important to troubleshooting common issues, you now have all the tools you need to become a needle-changing pro. Remember, practice makes perfect, so don’t be afraid to try it a few times until you feel confident.
Now, here’s your call to action: share this guide with fellow stitchers, leave a comment if you have any questions, or check out our other sewing tips and tricks. Happy sewing, and may your stitches always be flawless!
Table of Contents
How to Change Singer Sewing Machine Needle: A Simple Guide for Every Stitcher
Why Should You Learn How to Change Singer Sewing Machine Needle?
Tools You’ll Need to Change Singer Sewing Machine Needle
Step-by-Step Guide: How to Change Singer Sewing Machine Needle
Common Mistakes to Avoid When Changing Singer Sewing Machine Needle
Choosing the Right Needle for Your Project
Signs It’s Time to Change Singer Sewing Machine Needle
How Often Should You Change Singer Sewing Machine Needle?
Expert Tips for Maintaining Your Singer Sewing Machine
Happy sewing, stitchers!