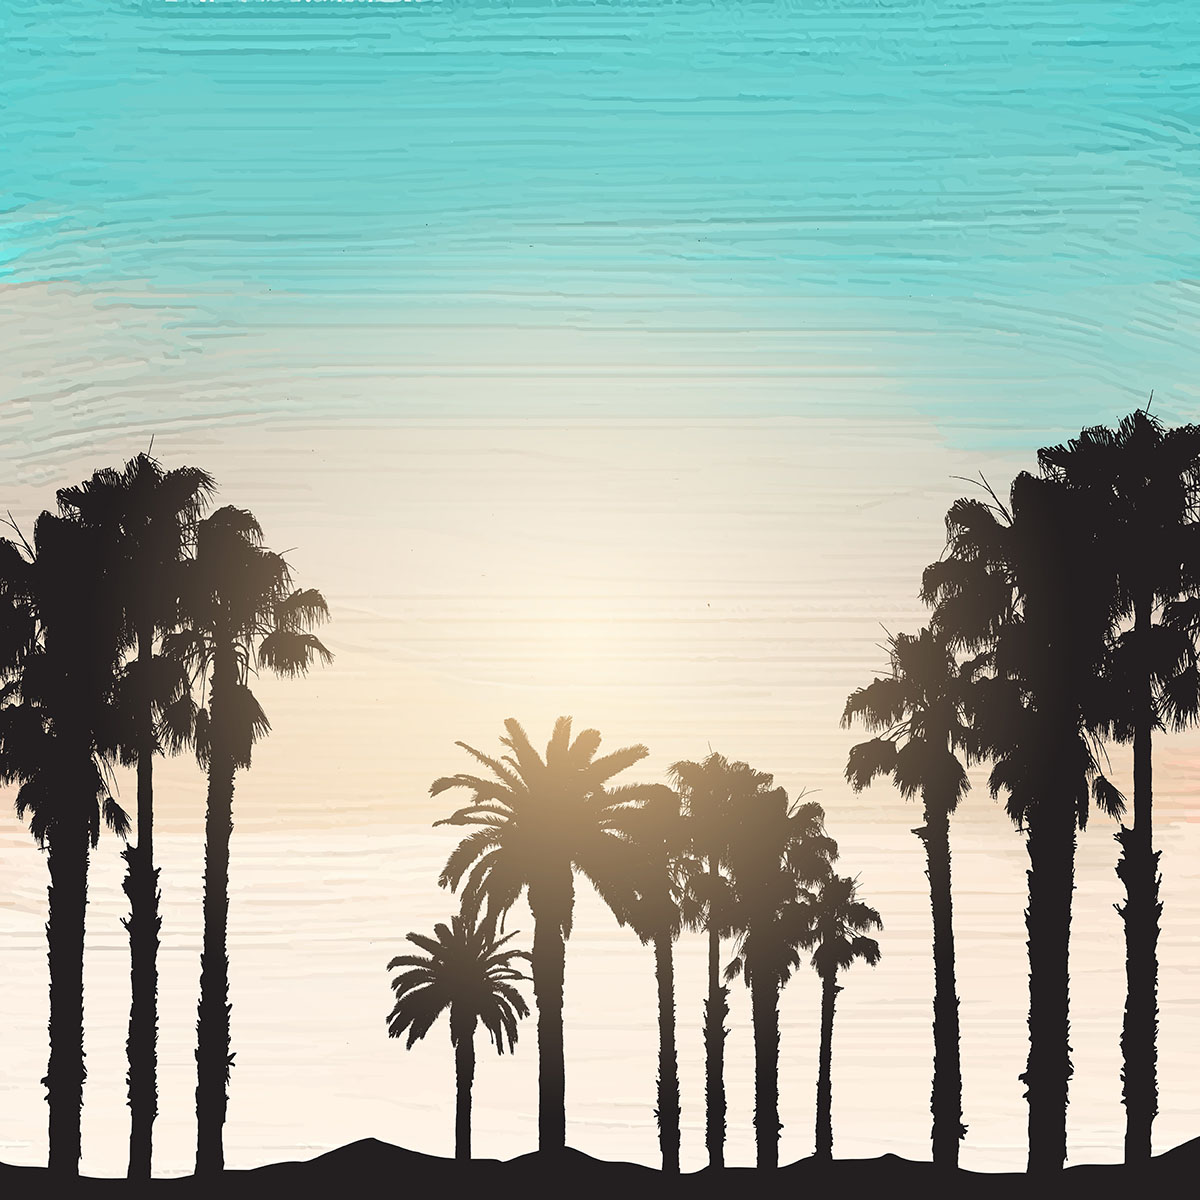
So, you’ve decided to dive into the world of painting palm trees with acrylics? That’s awesome! Acrylic painting is a versatile medium that allows you to experiment, express yourself, and create some truly stunning art pieces. Whether you’re a complete beginner or just looking to refine your skills, this guide will walk you through every step of the process. Get ready to bring those tropical vibes to life on your canvas!
Painting palm trees might seem intimidating at first, but trust me, it’s easier than you think. With the right techniques, tools, and a bit of practice, you’ll be creating beautiful, lifelike palm trees in no time. Plus, acrylics are super forgiving, so even if you make a mistake, you can always fix it. It’s all about having fun and letting your creativity flow.
This article isn’t just about slapping some green and brown paint onto a canvas. We’re going deep into the art of painting palm trees—covering everything from choosing the right colors to adding those finishing touches that make your artwork pop. Let’s get started!
Table of Contents:
- Tools and Materials You’ll Need
- Choosing the Right Colors for Your Palm Trees
- Preparing Your Canvas
- Creating the Base Layer
- Painting the Palm Tree Trunk
- Adding the Palm Tree Leaves
- Shading and Highlighting Techniques
- Designing the Background
- Adding Details and Final Touches
- Pro Tips for Perfecting Your Palm Tree Art
Tools and Materials You’ll Need
Before we dive into the painting process, let’s talk about what you’ll need to get started. Having the right tools can make a huge difference in the quality of your artwork. Here’s a quick list:
- Acrylic paints (various shades of green, brown, white, black, and any other colors you want for the background)
- Paintbrushes (a variety of sizes, including fine-tipped brushes for details)
- A canvas (you can choose any size depending on your preference)
- A palette or mixing surface
- Clean water and a container for rinsing brushes
- Paper towels or a rag for blotting brushes
Now, I know what you’re thinking—“Do I really need all this stuff?” The answer is yes, but don’t stress too much about it. You don’t have to break the bank to get started. Start with basic supplies, and as you improve, you can invest in higher-quality materials.
Choosing the Right Colors for Your Palm Trees
Color selection is crucial when painting palm trees. You want to create a realistic and vibrant look, so here’s a breakdown of the colors you’ll need:
- Browns: For the trunk and branches. You might need different shades of brown to add depth and texture.
- Greens: For the leaves. Consider using various shades of green to make the foliage look more natural.
- Whites and Blacks: For highlights and shadows. These will help you create dimension in your painting.
- Background Colors: Depending on the scene you’re creating, you might want blues for the sky, yellows for the sun, or even purples for a sunset.
Remember, mixing colors is your friend! Don’t be afraid to experiment with different combinations to achieve the exact shades you’re looking for. Acrylics dry quickly, so you can always tweak things as you go.
Preparing Your Canvas
Your canvas is the foundation of your artwork, so it’s important to prepare it properly. Here’s how:
Start by lightly sketching the outline of your palm tree using a pencil. This will serve as a guide for your painting. Keep it simple—just a rough shape of the trunk and leaves. Don’t worry about perfection at this stage; you’ll refine everything as you paint.
Once your sketch is done, take a moment to decide on your background. Will it be a sunny beach scene, a stormy sky, or something else entirely? Planning ahead will help you create a cohesive composition.
Creating the Base Layer
The base layer sets the tone for your entire painting. Start by applying a layer of paint to your canvas for the background. If you’re going for a beach scene, you might want to use blues and whites for the sky and ocean. For a sunset, try mixing oranges, reds, and purples.
Use broad strokes with a larger brush to cover the canvas quickly. Don’t worry about being too precise at this stage. The goal is to establish a foundation for your palm tree.
Painting the Palm Tree Trunk
Now it’s time to focus on the trunk of your palm tree. This is where things start to get exciting!
Using a medium-sized brush, apply your chosen brown shade to the trunk. Start with a base color, then add darker and lighter tones to create texture and depth. Think about how light hits the trunk—there will be areas that are brighter and others that are shaded.
For an extra touch of realism, consider adding some cracks or grooves to the trunk. You can do this by dragging a small brush or even a toothpick through the wet paint.
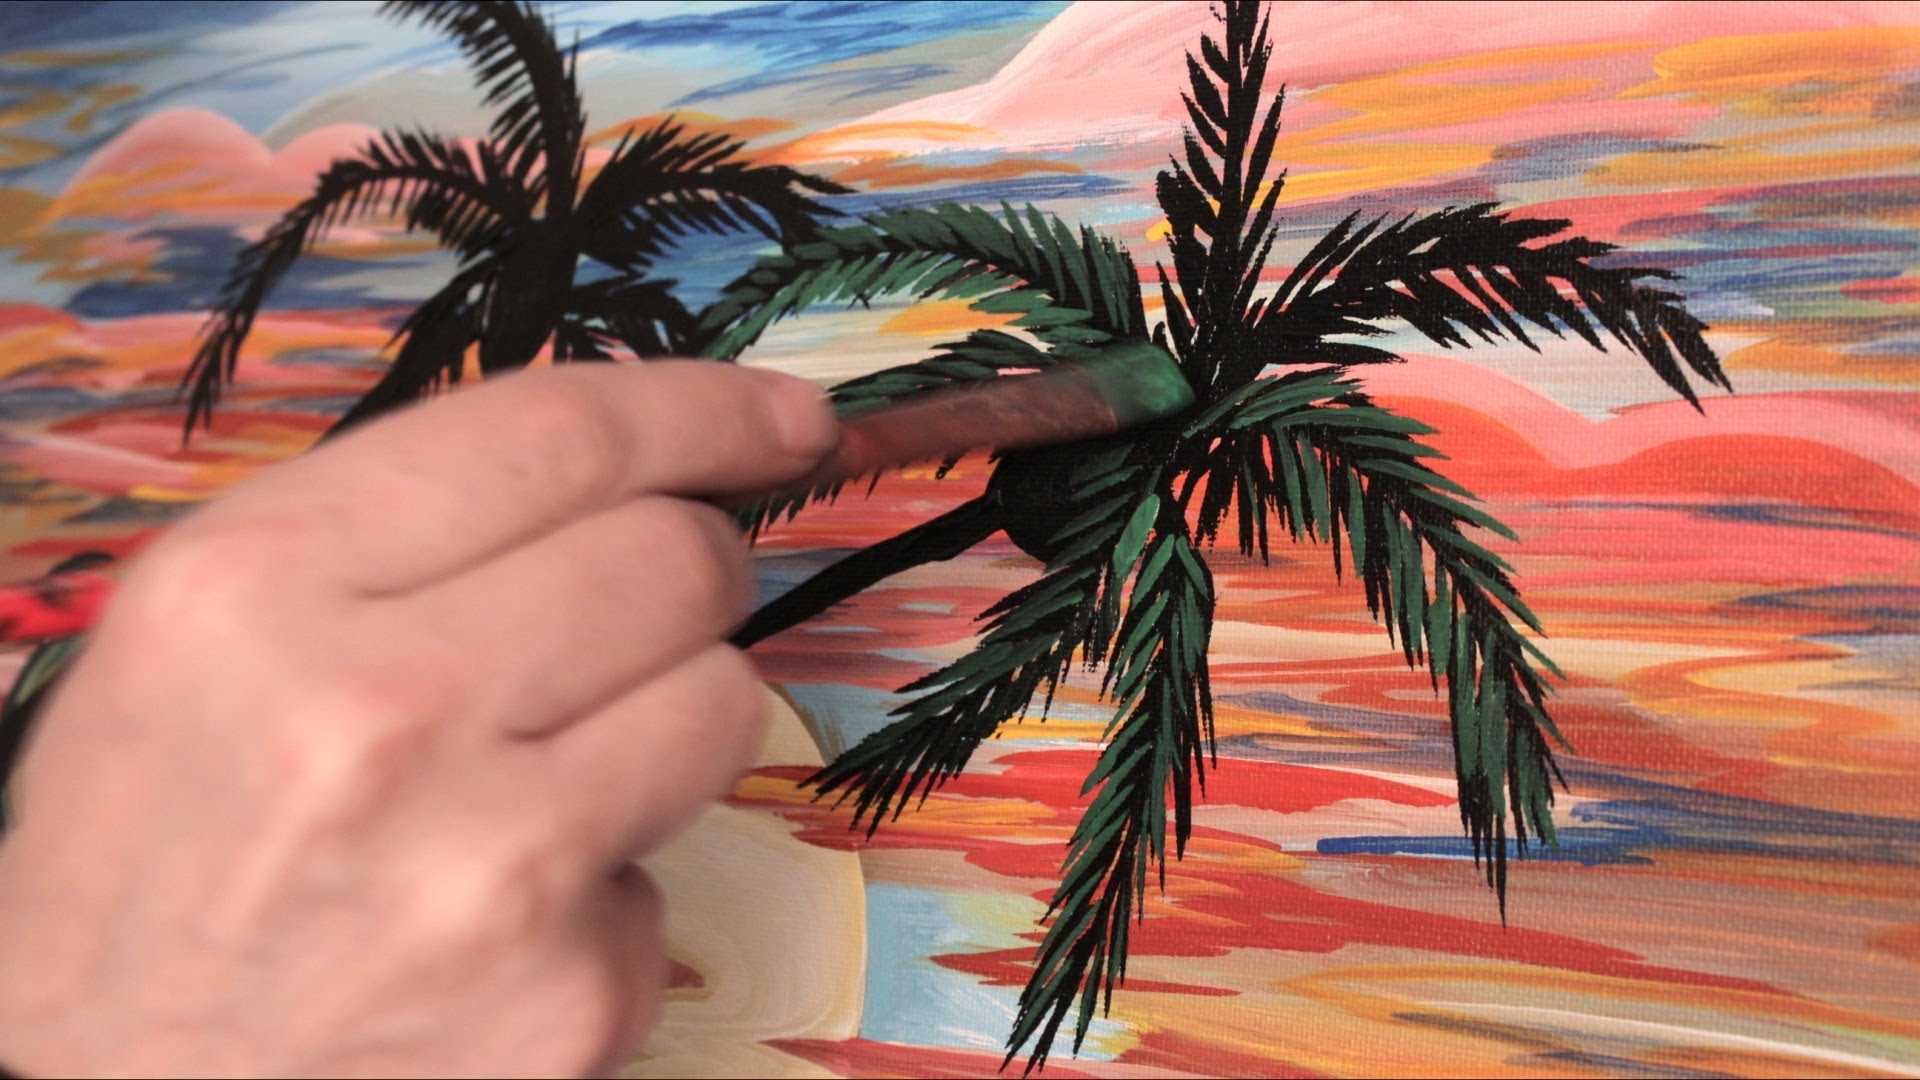
Adding the Palm Tree Leaves
The leaves are what really bring your palm tree to life. To paint them, start by mixing several shades of green. You’ll want a range of tones to create a natural, layered look.
Use a smaller brush to paint each frond. Begin at the base of the leaf and work your way outward, using smooth, flowing strokes. Vary the length and direction of the fronds to make them look realistic. Remember, palm leaves aren’t perfectly symmetrical in nature, so embrace imperfections!
Shading and Highlighting Techniques
To make your palm tree stand out, you’ll need to add shading and highlights. This step adds depth and dimension to your painting.
For shading, use a darker green or brown to create shadows on the trunk and leaves. Focus on areas where the light wouldn’t naturally hit, like the underside of the fronds or the side of the trunk facing away from the light source.
For highlights, mix a bit of white with your green or brown to create lighter tones. Apply these to areas where the light would naturally hit, such as the tops of the fronds or the side of the trunk facing the light.
Designing the Background
Your background plays a big role in the overall impact of your painting. Whether you’re painting a tropical beach, a desert landscape, or anything in between, the background should complement your palm tree.
Consider adding elements like sand, water, clouds, or even distant mountains. These details will help create a complete scene and draw the viewer’s eye into your artwork.
Adding Details and Final Touches
Once the main elements of your painting are complete, it’s time to add those finishing touches. This is where you can really make your artwork shine!
Use a fine-tipped brush to add small details like texture on the trunk, veins on the leaves, or even birds flying in the background. These little touches can make a big difference in the overall realism of your painting.
Don’t forget to sign your masterpiece! Adding your signature is a great way to personalize your artwork and take pride in your creation.
Pro Tips for Perfecting Your Palm Tree Art
Here are a few additional tips to help you take your palm tree painting to the next level:
- Practice Makes Perfect: Don’t be discouraged if your first attempts don’t turn out exactly as you hoped. Keep practicing, and you’ll see improvement with every painting.
- Experiment with Techniques: Try different brush strokes, color combinations, and textures to find what works best for you.
- Take Breaks: Painting can be intense, so take breaks to avoid burnout. Sometimes stepping away for a bit can give you fresh perspective when you return.
- Learn from Others: Check out tutorials, watch videos, and study the work of other artists to gain inspiration and new ideas.
Kesimpulan
Painting palm trees in acrylic might seem challenging at first, but with practice and the right techniques, anyone can create stunning artwork. By following the steps outlined in this guide, you’ll be well on your way to mastering this skill.
Remember, the key to success is to have fun and let your creativity shine. Whether you’re painting for yourself or sharing your art with others, the joy of creating something beautiful is priceless.
So, what are you waiting for? Grab your paints, your brushes, and your canvas, and start bringing those tropical vibes to life. Don’t forget to share your masterpiece with the world—and maybe even inspire others to pick up a brush and join in the fun!