So, here you are, staring at your trusty O'Cedar Spin Mop like it’s a puzzle you can’t quite solve. You’re thinking, “How in the world do I remove this mop head?” Don’t sweat it—trust me, we’ve all been there. Whether you’re replacing the mop head or just cleaning it, knowing how to remove it is a game-changer. And guess what? It’s not as tricky as it seems. This guide will walk you through every single step, so you won’t feel lost or frustrated anymore. Let’s get started!
Now, before we dive deep into the nitty-gritty of removing the mop head, let’s talk about why this matters. If you’ve owned an O'Cedar Spin Mop for a while, chances are you’ve noticed that the mop head wears out over time. And let’s be real—no one likes cleaning with a dirty mop. That’s why learning how to remove and replace the mop head is essential. Plus, it’ll save you money in the long run because you won’t have to replace the entire mop!
Here’s the deal: this article isn’t just about removing the mop head. It’s also about giving you tips and tricks to make your cleaning routine smoother, faster, and more efficient. So whether you’re a seasoned cleaner or a newbie trying to keep your floors sparkling, this guide has got your back. Ready? Let’s go!
Why Knowing How to Remove the Mop Head Matters
Let’s be honest—cleaning isn’t always fun, but having the right tools makes all the difference. When it comes to your O'Cedar Spin Mop, the mop head is the heart of the operation. Over time, dirt, grime, and fibers can build up, making it less effective. That’s why knowing how to remove the mop head is crucial. By doing so, you can clean it thoroughly or replace it entirely, ensuring your floors stay pristine.
Another reason why this matters? Efficiency. If you’re constantly struggling to clean or replace the mop head, it slows you down. But once you master the process, you’ll breeze through your cleaning routine like a pro. And who doesn’t love feeling like a cleaning ninja, right?
What You’ll Need to Remove the Mop Head
Before we jump into the steps, let’s talk about what you’ll need. Don’t worry—it’s not a long list. In fact, chances are you already have everything you need lying around your house. Here’s what you’ll require:
- Your O'Cedar Spin Mop
- A flathead screwdriver (optional)
- A pair of gloves (if you’re dealing with a particularly dirty mop head)
- A bucket of warm water (for cleaning)
See? Not too complicated. Now, let’s move on to the main event.
Step-by-Step Guide: How to Remove the Mop Head
Step 1: Inspect the Mop Head
Before you start removing the mop head, take a moment to inspect it. Look for any visible clips, tabs, or screws that hold the mop head in place. Most O'Cedar Spin Mops have a simple clip system, but it’s always good to double-check. If you’re unsure, consult the user manual—it’s your best friend in situations like this.
Step 2: Locate the Release Mechanism
Now, here’s where things get interesting. On most O'Cedar Spin Mops, there’s a release mechanism that allows you to detach the mop head easily. It’s usually located on the bottom of the mop handle or near the base of the mop head. Gently press or pull this mechanism to release the mop head.
Step 3: Detach the Mop Head
Once you’ve located the release mechanism, it’s time to detach the mop head. Hold the mop firmly with one hand and use the other hand to pull the mop head away from the base. If it feels stuck, don’t force it—there might be a small clip or tab holding it in place. Wiggle it gently until it comes loose.
Step 4: Clean or Replace the Mop Head
Now that the mop head is off, it’s time to decide whether to clean it or replace it. If it’s just a little dirty, soak it in warm water with a mild detergent for about 15 minutes. Then, rinse it thoroughly and let it air dry. If it’s worn out or damaged, it’s time for a new one. Pro tip: always keep a spare mop head on hand—it’ll save you time and hassle.
Troubleshooting Common Issues
Let’s face it—things don’t always go as planned. If you’re having trouble removing the mop head, here are a few common issues and how to fix them:
- Issue: The mop head won’t budge. Solution: Check for any hidden clips or tabs. Sometimes, they’re not as obvious as they seem.
- Issue: The release mechanism is stuck. Solution: Use a flathead screwdriver to gently pry it open. Be careful not to damage the mop.
- Issue: The mop head is torn or damaged. Solution: Time for a replacement! Don’t worry—it’s an easy fix.
Remember, patience is key. If something doesn’t work the first time, take a deep breath and try again. You’ve got this!
Tips for Maintaining Your O'Cedar Spin Mop
Now that you know how to remove the mop head, let’s talk about maintaining your O'Cedar Spin Mop. Here are a few tips to keep it in top condition:
- Clean the mop head after every use to prevent buildup.
- Store the mop in a dry place to prevent mildew or mold.
- Inspect the mop regularly for signs of wear and tear.
- Replace the mop head every 3-6 months, depending on usage.
By following these tips, you’ll extend the life of your mop and keep it working like new.
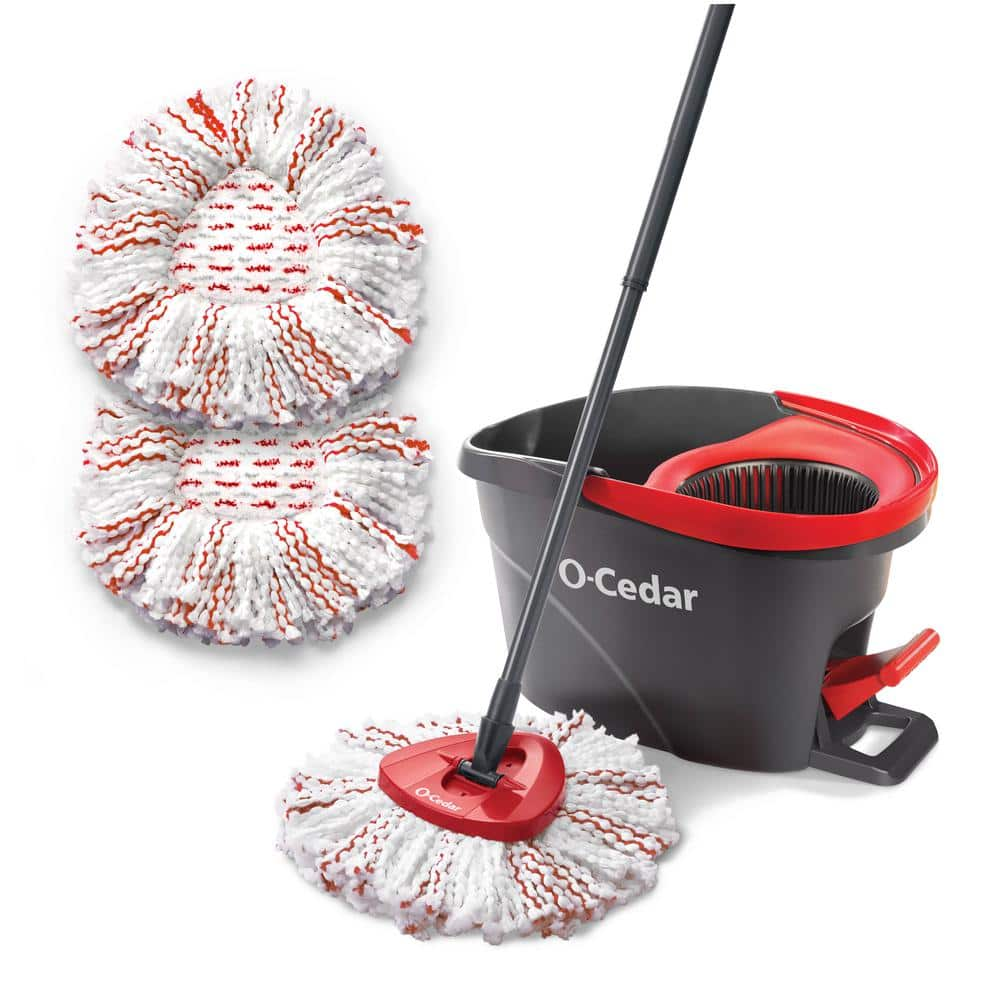
Benefits of Using an O'Cedar Spin Mop
Let’s take a moment to appreciate the O'Cedar Spin Mop. It’s not just any mop—it’s a game-changer. Here are a few benefits of using this amazing cleaning tool:
- Efficient cleaning with minimal effort.
- Removes dirt, grime, and stains effortlessly.
- Perfect for all types of flooring, including hardwood, tile, and laminate.
- Easy to use and maintain.
And the best part? With a little maintenance, your O'Cedar Spin Mop will last for years. Who could ask for more?
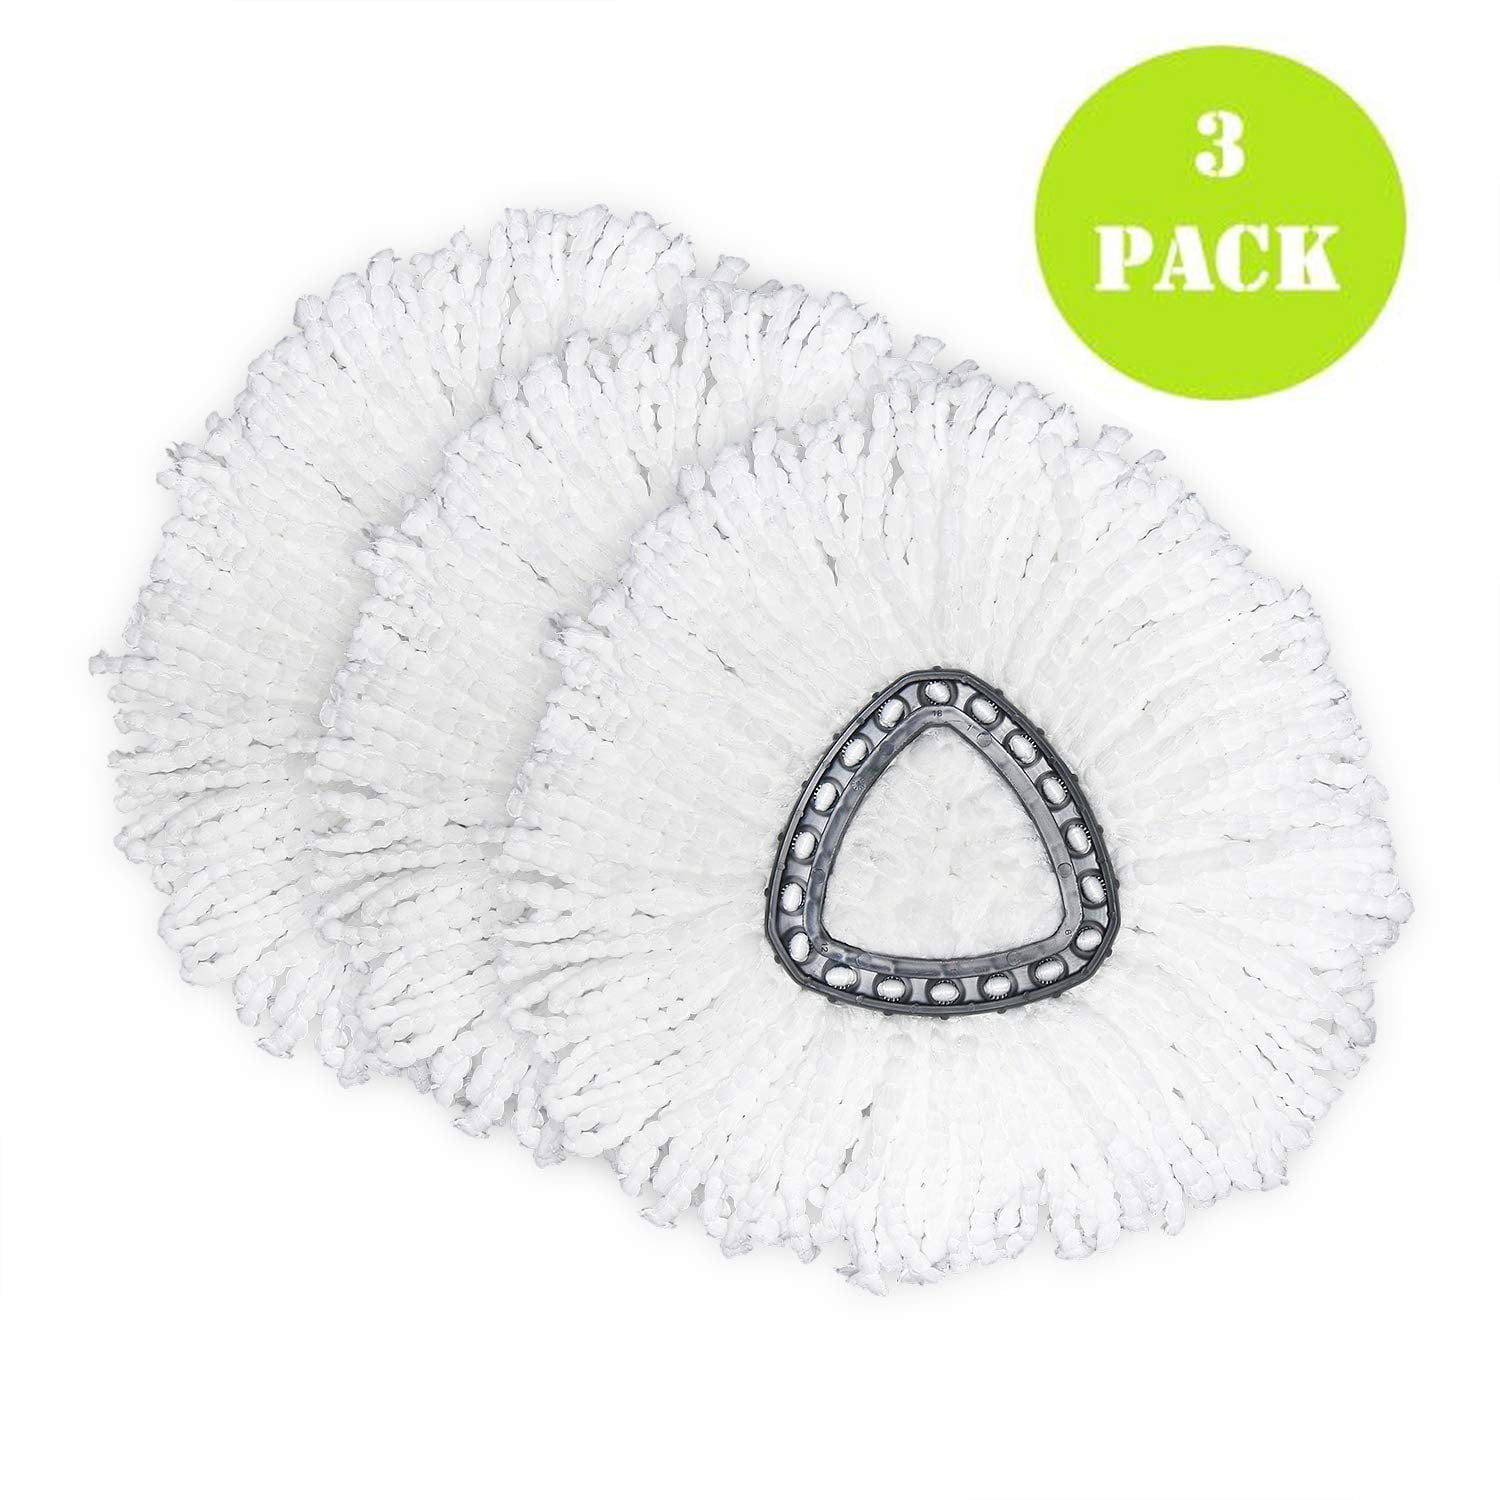
Where to Buy Replacement Mop Heads
So, you’ve decided it’s time for a new mop head. Great news—you’ve got options! Here are a few places where you can find replacement mop heads:
- Local home improvement stores like Home Depot or Lowe’s.
- Online retailers like Amazon or Walmart.
- Directly from the O'Cedar website.
When shopping for replacement mop heads, make sure they’re compatible with your specific model. Trust me—it’ll save you a lot of headaches in the long run.
Expert Tips for Cleaning Pros
If you’re a cleaning pro or just someone who loves a spotless home, here are a few expert tips to make your life easier:
- Use different mop heads for different types of floors to avoid cross-contamination.
- Invest in a microfiber mop head for better cleaning performance.
- Consider using a steam mop for extra tough stains or germs.
These tips might seem small, but they make a big difference in the long run. Trust me—I’ve been there!
Conclusion: Your Floors Will Thank You
And there you have it—the ultimate guide to removing the mop head from your O'Cedar Spin Mop. Whether you’re cleaning, replacing, or just maintaining your mop, this guide has got you covered. Remember, knowing how to remove the mop head is just the first step. The real magic happens when you put it into practice and see the results for yourself.
So, what are you waiting for? Grab your mop, follow these steps, and get cleaning! And don’t forget to share this article with your friends—they’ll thank you for it. Happy cleaning, my friend!
Table of Contents
- Why Knowing How to Remove the Mop Head Matters
- What You’ll Need to Remove the Mop Head
- Step-by-Step Guide: How to Remove the Mop Head
- Troubleshooting Common Issues
- Tips for Maintaining Your O'Cedar Spin Mop
- Benefits of Using an O'Cedar Spin Mop
- Where to Buy Replacement Mop Heads
- Expert Tips for Cleaning Pros
- Conclusion: Your Floors Will Thank You