Alright folks, let me drop this knowledge on you. If you're thinking about installing a new dishwasher or simply revamping your cocina setup, there’s one critical aspect you absolutely can’t overlook: the cocina medidas desague lavaplatos, or kitchen drain measurements. Now, I know that might sound like a mouthful, but trust me, it’s a game-changer. Get this wrong, and you’re looking at potential leaks, flooding, or even costly repairs. So, buckle up because we’re about to deep-dive into the nitty-gritty of drain measurements for your kitchen sink and dishwasher.
Think of your kitchen drain system as the backbone of your cocina operations. It’s not just a hole in the sink; it’s a carefully engineered pathway that ensures water flows out efficiently, preventing clogs and backups. And when you’re installing a dishwasher, getting the desague lavaplatos right is crucial. The last thing you want is water spilling onto your floor or backing up into your sink.
Now, let’s clear the air—this isn’t rocket science. With a bit of know-how and some handy tools, you can measure and install your kitchen drain system like a pro. Whether you’re a DIY enthusiast or a first-timer, this guide will walk you through everything you need to know. So, let’s get to it!
Table of Contents
- Understanding Kitchen Drain Measurements
- Why Kitchen Drain Measurements Matter
- Tools You'll Need for Accurate Measurements
- Step-by-Step Guide to Measuring Your Drain
- Common Mistakes to Avoid
- Pro Tips for a Seamless Installation
- Troubleshooting Drain Issues
- Cost Considerations for Drain Installation
- Maintaining Your Kitchen Drain System
- Conclusion: Your Ultimate Kitchen Drain Guide
Understanding Kitchen Drain Measurements
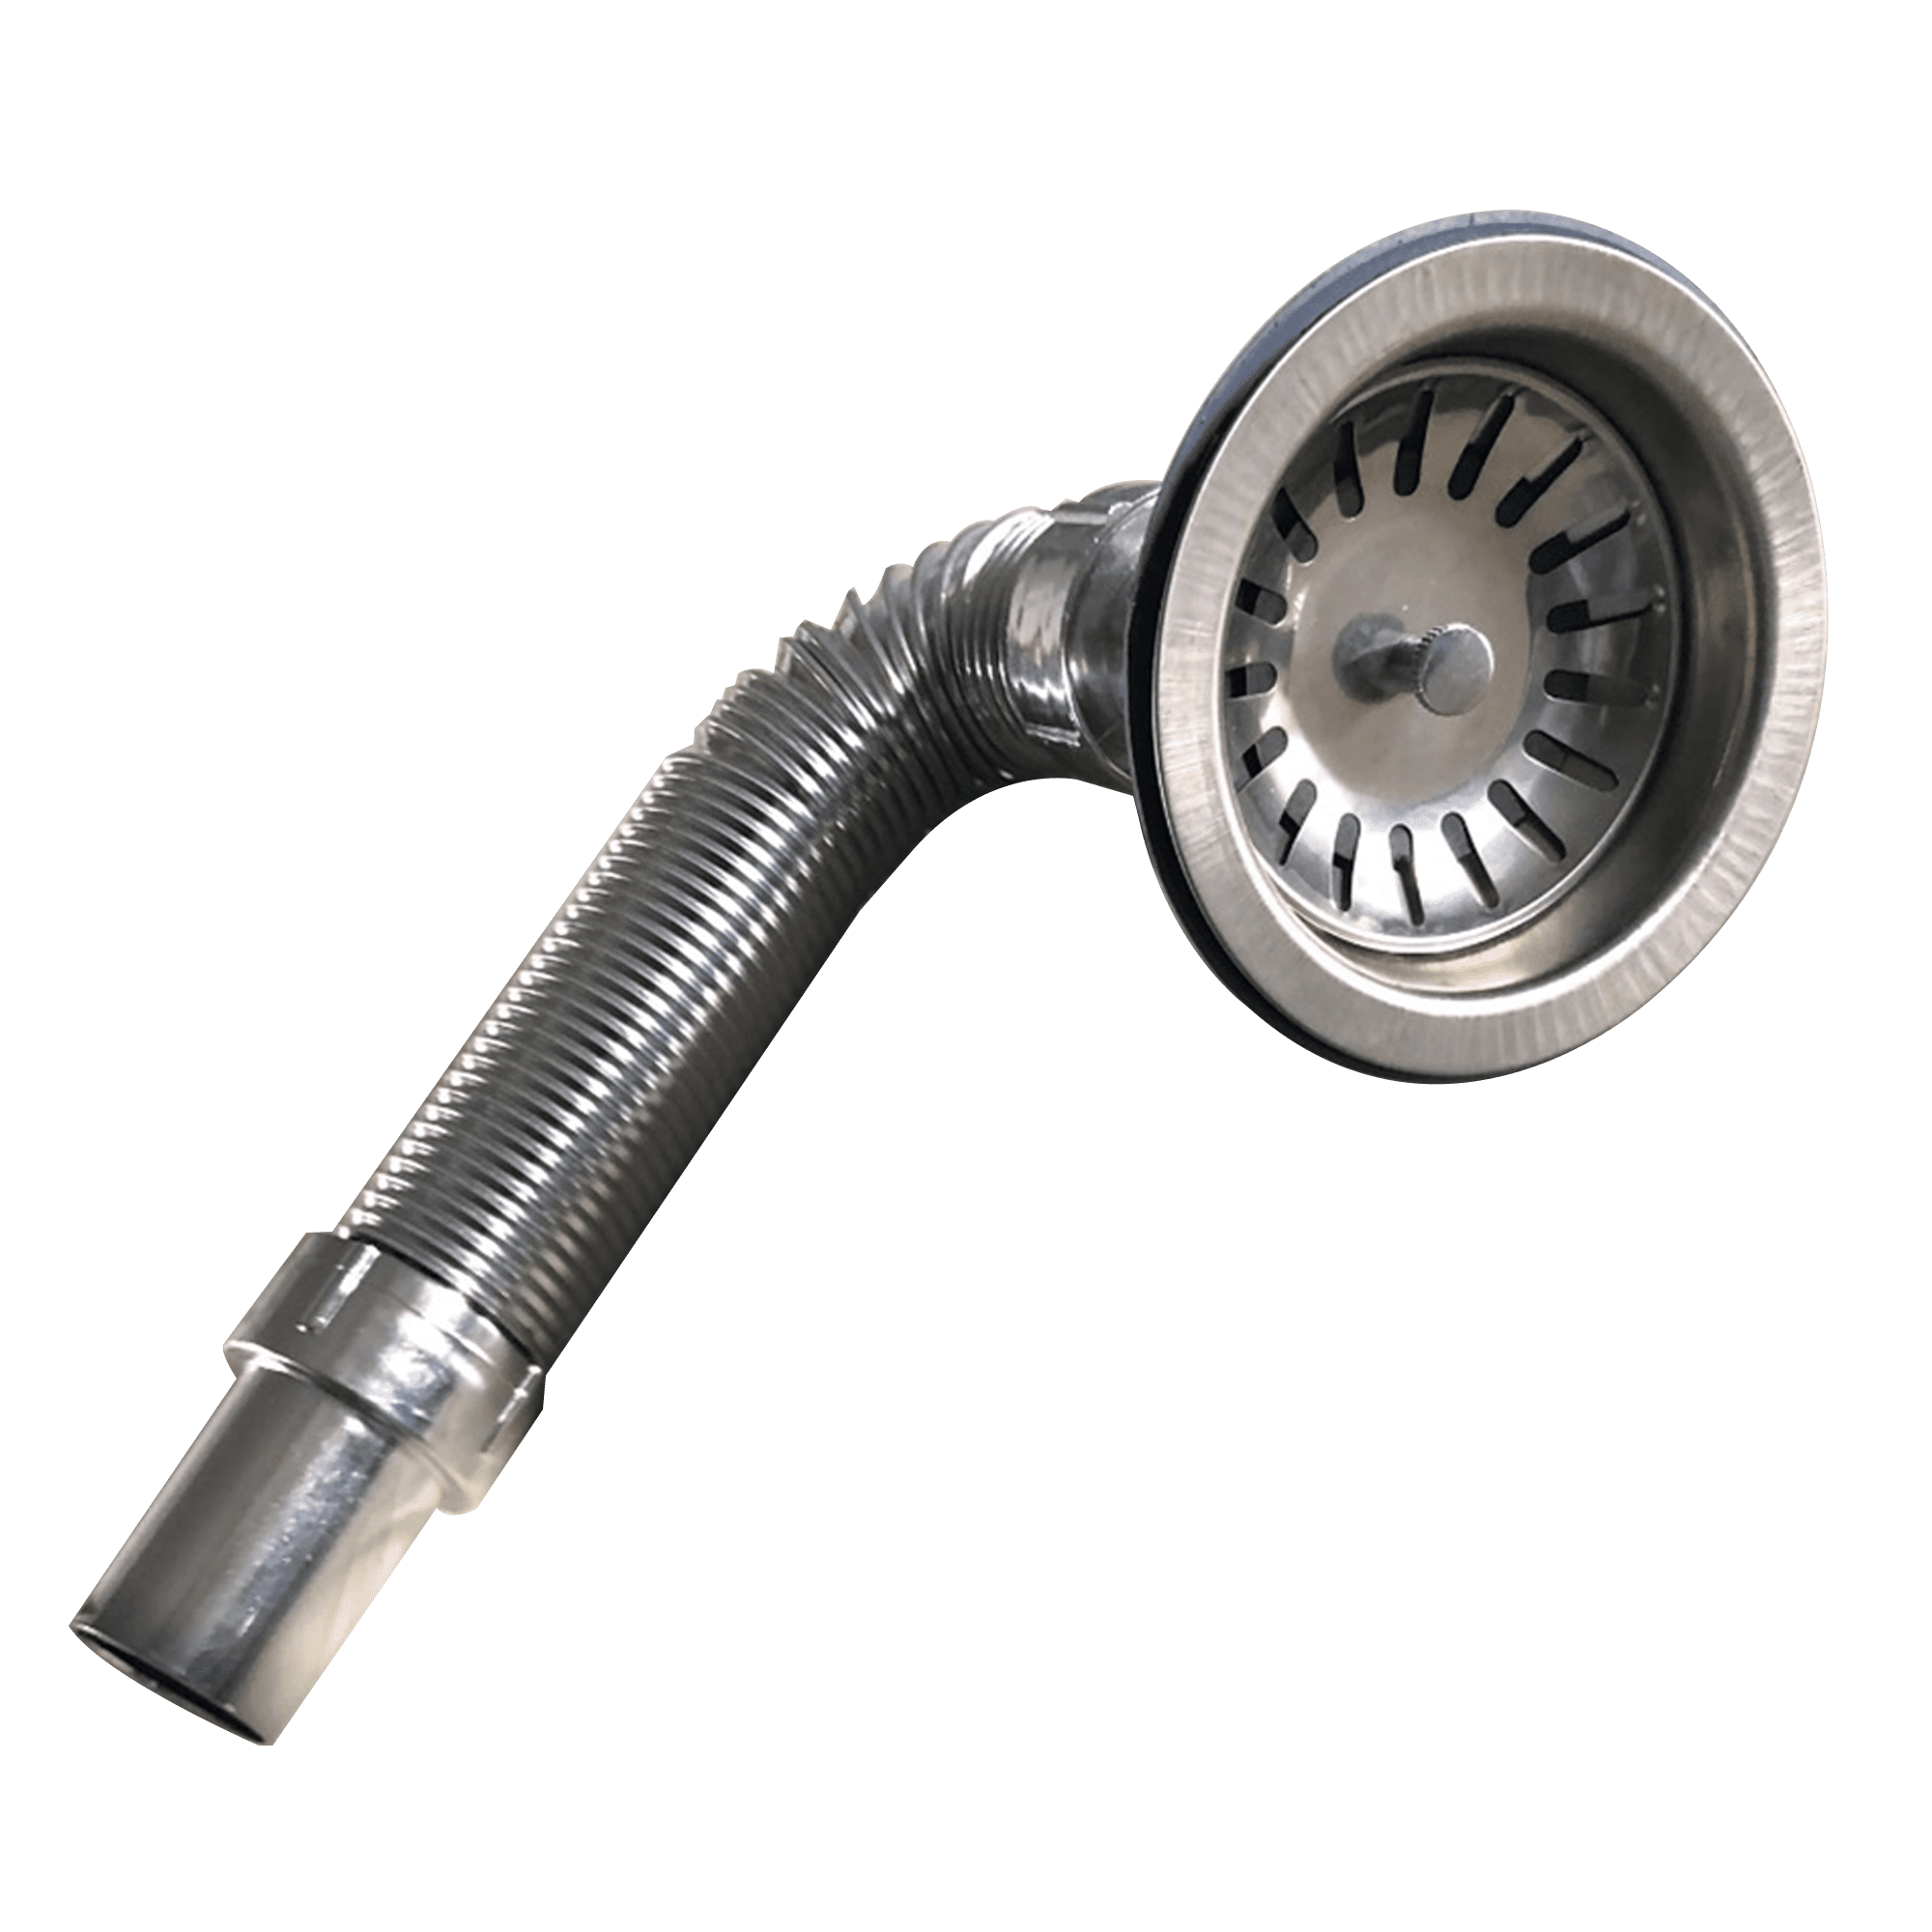
Alright, let’s start with the basics. When we talk about cocina medidas desague lavaplatos, we’re referring to the dimensions and specifications of your kitchen drain system. This includes the sink drain, the dishwasher drain line, and the P-trap. Each of these components plays a vital role in ensuring water flows out efficiently and without leaks.
Now, here’s the thing—every kitchen is different. Some sinks have a standard 1.5-inch drain, while others might have a 2-inch drain. The dishwasher drain line typically connects to the sink drain or the garbage disposal, so getting the measurements right is crucial. You’ll also need to consider the distance from the sink to the wall and the height of the P-trap.
What Are the Standard Drain Sizes?
Let’s break it down. Most kitchen sinks have a drain size of 1.5 inches, but some larger sinks or commercial setups might have a 2-inch drain. The dishwasher drain line is usually 0.75 inches in diameter, and it connects to the sink drain or garbage disposal. Here’s a quick rundown:
- Sink Drain: 1.5 inches (standard) or 2 inches (larger sinks)
- Dishwasher Drain Line: 0.75 inches
- P-Trap: Typically 1.5 inches
Why Kitchen Drain Measurements Matter
Okay, so why does all this matter? Well, imagine this scenario: you’ve just installed a brand-new dishwasher, and you’re excited to put it to work. But as soon as you turn it on, you notice water pooling around the sink. Not cool, right? This is often due to improper drain measurements or connections.
Getting the cocina medidas desague lavaplatos right ensures that water flows out smoothly and efficiently. It prevents clogs, reduces the risk of leaks, and extends the lifespan of your appliances. Plus, it saves you from costly repairs down the line. So, yeah, it’s a big deal.
Tools You'll Need for Accurate Measurements
Before you dive into measuring your kitchen drain, you’ll need a few essential tools. Don’t worry; you don’t need anything fancy—just the basics will do. Here’s what you’ll need:
- Tape Measure: For measuring distances and dimensions.
- Plumbing Tape: For securing connections and preventing leaks.
- Pipe Wrench: For tightening and loosening pipe fittings.
- Level: To ensure everything is aligned properly.
Having the right tools makes the job easier and ensures accurate measurements. Trust me, you don’t want to skimp on this part.
Step-by-Step Guide to Measuring Your Drain
Ready to get started? Here’s a step-by-step guide to measuring your kitchen drain system:
Step 1: Measure the Sink Drain
First things first, measure the diameter of your sink drain. Use a tape measure and check the inside of the drain. Most sinks have a 1.5-inch drain, but double-check to be sure.
Step 2: Measure the Distance to the Wall
Next, measure the distance from the sink drain to the wall. This will help you determine the length of the drain pipe you’ll need. Make sure to account for any obstructions or bends in the pipe.
Step 3: Check the P-Trap Height
The P-trap is the U-shaped pipe under your sink that prevents sewer gases from entering your kitchen. Measure the height of the P-trap to ensure it aligns with your sink drain. Typically, it should be around 4-6 inches above the floor.
Step 4: Measure the Dishwasher Drain Line
Finally, measure the diameter of the dishwasher drain line. As I mentioned earlier, it’s usually 0.75 inches. Also, check the distance from the dishwasher to the sink drain to ensure the line can reach without any kinks or bends.
Common Mistakes to Avoid
Now that you know the steps, let’s talk about some common mistakes people make when measuring their kitchen drain system. Avoid these pitfalls, and you’ll save yourself a lot of headaches:
- Ignoring the P-Trap: Forgetting to measure the P-trap height can lead to improper alignment and potential leaks.
- Using the Wrong Pipe Size: Using a pipe that’s too small or too large can cause clogs or reduce water flow.
- Not Accounting for Obstructions: Failing to consider obstacles like cabinets or plumbing can result in a poorly fitted drain system.
Take your time and double-check everything. It’s better to be thorough now than to deal with issues later.
Pro Tips for a Seamless Installation
Here are a few pro tips to make your drain installation a breeze:
- Use High-Quality Materials: Invest in durable pipes and fittings to ensure longevity.
- Test for Leaks: Before finalizing the installation, run water through the system to check for any leaks.
- Consult a Professional: If you’re unsure about any part of the process, don’t hesitate to call in a plumber.
These tips will help you avoid common issues and ensure a smooth installation.
Troubleshooting Drain Issues
Even with careful measurements and installation, issues can arise. Here’s how to troubleshoot common drain problems:
Problem: Slow Drainage
Solution: Check for clogs in the P-trap or sink drain. Use a plunger or drain snake to remove any obstructions.
Problem: Leaks Around the Sink
Solution: Tighten the connections and apply plumber’s tape to seal any gaps.
Problem: Dishwasher Not Draining
Solution: Ensure the dishwasher drain line is properly connected to the sink drain or garbage disposal. Check for kinks or blockages in the line.
Cost Considerations for Drain Installation
So, how much does all this cost? Well, it depends on several factors, including the materials you choose and whether you hire a professional. On average, you can expect to pay anywhere from $50 to $200 for materials and around $100 to $300 for labor if you hire a plumber.
If you’re on a budget, consider doing the installation yourself. With the right tools and knowledge, you can save a significant amount of money.
Maintaining Your Kitchen Drain System
Once your drain system is installed, it’s important to maintain it properly. Here are a few maintenance tips:
- Regular Cleaning: Clean your sink and P-trap regularly to prevent clogs.
- Use Drain Guards: Install drain guards to catch food particles and other debris.
- Check for Leaks: Periodically inspect your drain system for any signs of leaks.
A well-maintained drain system will serve you well for years to come.
Conclusion: Your Ultimate Kitchen Drain Guide
Alright, we’ve covered a lot of ground here. From understanding cocina medidas desague lavaplatos to troubleshooting common issues, you’re now equipped with the knowledge to tackle your kitchen drain system like a pro. Remember, getting the measurements right is crucial for a smooth and efficient drain setup.
So, what’s next? If you found this guide helpful, drop a comment below or share it with your friends. And if you’re ready to take on your next kitchen project, check out our other articles for more tips and tricks. Until next time, keep those drains flowing!