Let’s get real, sewing clips on weave can feel like solving a Rubik’s cube if you’ve never done it before. But don’t panic! Whether you’re a beginner or just need a refresher, we’ve got your back. This guide will break down every step so you can master this technique and rock those gorgeous weaves like a true queen. From tools to tricks, we’ll make sure you’re equipped with everything you need.
Imagine walking into the salon with confidence because you know how to sew clips on weave like a pro. Sounds dreamy, right? Well, it doesn’t have to be a dream anymore. With the right knowledge and practice, you’ll be stitching up those clips in no time. And who knows, maybe you’ll even start getting requests from friends to do their hair!
Before we dive deep into the nitty-gritty, let’s address the elephant in the room: why does learning how to sew clips on weave matter? It’s not just about saving money—it’s about empowering yourself with a skill that gives you control over your look. Plus, it’s super satisfying when you pull off something that looks salon-quality at home.
Table of Contents
Tools You'll Need to Sew Clips on Weave
Preparing for the Perfect Weave
Step-by-Step Guide to Sew Clips on Weave
Common Mistakes to Avoid When Sewing Clips
Troubleshooting Your Sewn Clips
Different Techniques for Sewing Clips
Pro Tips for Sewing Clips Like a Pro
Cost vs Benefit Analysis of Sewing Clips
Tools You'll Need to Sew Clips on Weave
Alright, first things first—let’s talk about the tools. Without the right gear, even the best intentions won’t save you. Here’s what you’ll need:
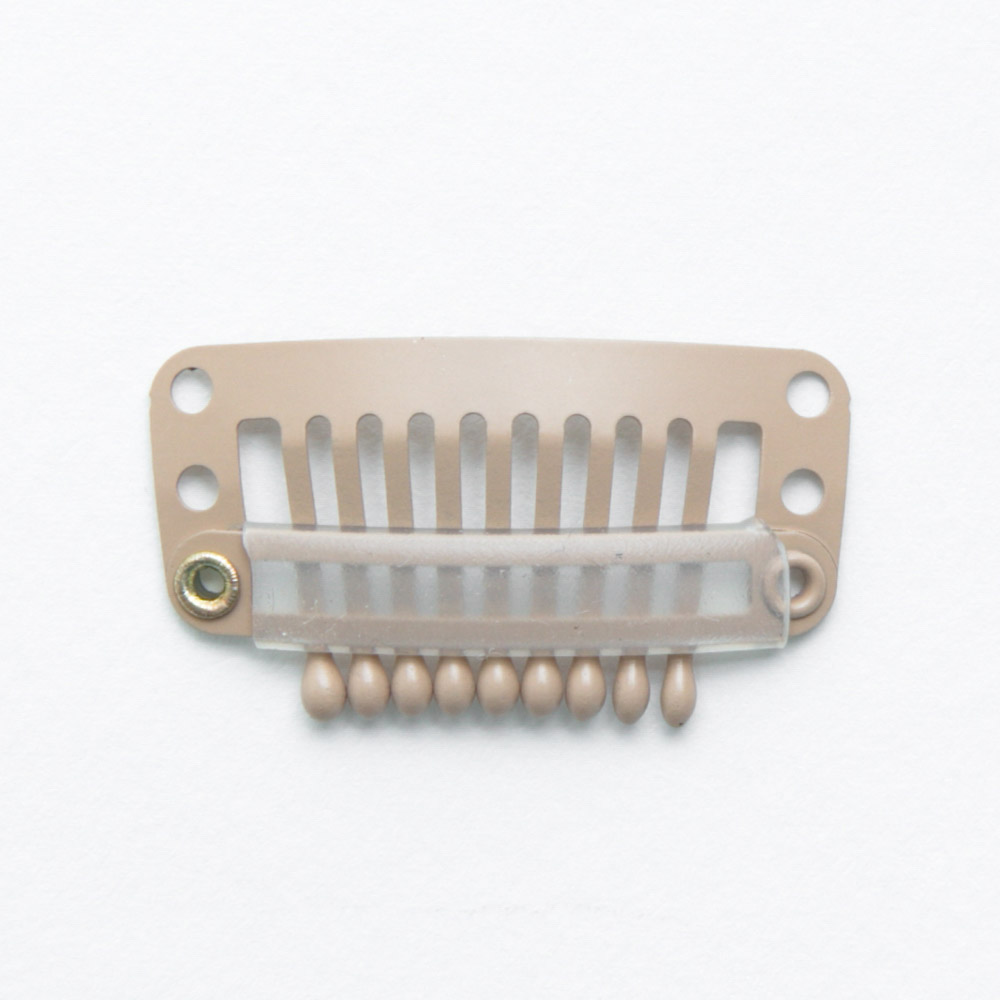
- Clip-in weave hair: Choose a quality brand that matches your natural hair color and texture.
- Needle: A sturdy sewing needle is essential. Don’t skimp here; you want something durable.
- Thread: Match the thread color to your weave for a seamless finish. Black or brown usually works well.
- Comb: A fine-tooth comb will help distribute the clips evenly.
- Scissors: Sharp scissors are key to trimming any excess thread or fabric.
- Tweezers: These come in handy for those tiny adjustments.
Now that you’ve got your toolkit ready, let’s move on to preparing your workspace and yourself for the task ahead.
Preparing for the Perfect Weave
Preparation is key when it comes to sewing clips on weave. You wouldn’t bake a cake without preheating the oven, right? Same goes here. Here’s what you need to do:
First, gather all your materials in one place. This might sound obvious, but trust me, nothing ruins a good vibe faster than realizing halfway through that you forgot the scissors. Clean your workspace too—no one wants to sew with dusty tools.
Next, wash and dry your natural hair. Make sure it’s completely dry before starting. If you’re unsure about how much hair to part, start small. You can always add more later, but removing too much hair from the base can ruin the clip placement.
Pro Tip:
Use a leave-in conditioner or styling cream to keep your edges smooth while sewing. This will make the process smoother and prevent flyaways.
Step-by-Step Guide to Sew Clips on Weave
Ready to dive in? Here’s a detailed breakdown of how to sew clips on weave:
Step 1: Part Your Hair
Start by parting your hair into sections where you plan to attach the clips. Use a rat-tail comb to create clean, even parts. Keep these sections small—around 1 inch wide—to ensure the clips stay secure.
Step 2: Place the Clips
Position the clips along the part lines, making sure they’re evenly spaced. Use tweezers if needed to adjust the clips perfectly.
Step 3: Begin Sewing
Thread your needle and tie a knot at the end. Start sewing from the bottom of the clip, working your way up. Use small, tight stitches to secure the clip to the base of your natural hair. Make sure the stitches are tight but not too tight that they pull on your scalp.
Step 4: Secure the Ends
Once you’ve sewn the entire clip, double back and reinforce the stitches. Tie off the thread with a knot and trim any excess. Repeat this process for each clip.
And there you have it—a beautifully sewn clip ready to hold your weave in place!
Common Mistakes to Avoid When Sewing Clips
Even the pros mess up sometimes, but knowing what NOT to do can save you a lot of frustration. Here are some common mistakes to watch out for:
- Using the wrong thread: Always use a thread that matches your weave color. Mismatched threads can look messy.
- Tying knots too loose: Loose knots mean loose clips, which defeats the purpose entirely.
- Forgetting to test the fit: Before finishing, check that the clips are securely attached. Adjust as needed.
- Not trimming excess thread: Leaving long threads hanging can snag on clothes or accessories.
By avoiding these pitfalls, you’ll significantly improve the quality of your work. Remember, practice makes perfect!
Troubleshooting Your Sewn Clips
What happens if things don’t go exactly as planned? Don’t worry—we’ve all been there. Here’s how to troubleshoot common issues:
- Clips falling out: Reinforce the stitches or reposition the clips for better grip.
- Uneven tension: Check your stitching technique. Uneven tension often means inconsistent stitch sizes.
- Visible threads: Go back and hide any visible threads by weaving them into the weave or trimming carefully.
If you’re still struggling, consider reaching out to a professional stylist for tips specific to your hair type.
Different Techniques for Sewing Clips
Did you know there are multiple ways to sew clips on weave? Depending on your preference and the type of weave you’re working with, you might want to experiment with different techniques:
Whipstitch Method
This method involves sewing small, diagonal stitches along the edge of the clip. It’s quick and effective, especially for lightweight weaves.
Backstitch Method
For heavier weaves, the backstitch method provides extra strength. It creates overlapping stitches that lock the clip in place.
Running Stitch Method
A running stitch is ideal for beginners. It’s simple and straightforward, though it may require additional reinforcement for durability.
Experiment with these techniques to find what works best for you. Each has its own advantages depending on the situation.
Pro Tips for Sewing Clips Like a Pro
Here are some insider tips to take your skills to the next level:
- Work in a well-lit area to avoid mistakes.
- Take breaks if you feel your hands getting tired—precision matters!
- Practice on a mannequin head before trying on real clients or yourself.
- Invest in high-quality tools; they’ll last longer and perform better.
These tips might seem small, but they add up to big improvements in your final results.
Maintaining Your Sewn Clips
Once you’ve sewn the clips, it’s important to maintain them properly. Here’s how:
Avoid pulling on the clips excessively, as this can loosen the stitches over time. When washing your hair, gently massage the scalp without tugging at the clips. Use sulfate-free shampoo to preserve the weave’s integrity.
Regularly inspect the clips for signs of wear and tear. Reinforce any weak areas as needed to extend the lifespan of your weave.
Cost vs Benefit Analysis of Sewing Clips
Let’s talk numbers. Learning how to sew clips on weave can save you a significant amount of money in the long run. Salons charge anywhere from $50 to $150 for this service, depending on location and expertise. By doing it yourself, you eliminate those costs entirely.
Plus, there’s the added benefit of convenience. No more scheduling appointments or waiting in line. You can style your hair whenever inspiration strikes!
Wrapping It Up
So there you have it—everything you need to know about how to sew clips on weave. From gathering the right tools to mastering different techniques, this guide has covered all the bases. Remember, practice is key. The more you sew, the better you’ll become.
Now it’s your turn to take action. Try sewing clips on your next weave and see how it transforms your styling routine. Share your experience with us in the comments below, and don’t forget to check out our other articles for more haircare tips and tricks. Happy sewing, and stay fabulous!