So, you’ve got a Swiffer Wet Jet that’s not working like it used to, and you’re wondering if it’s time to replace those batteries? Well, you’re not alone. Many people face this issue, and it’s totally fixable! Whether your Swiffer Wet Jet is losing power quickly or just plain refusing to turn on, replacing the batteries might be the solution you need. Let’s dive into everything you need to know to get your mop back in action.
Replacing batteries on a Swiffer Wet Jet isn’t as daunting as it sounds. In fact, it’s a pretty straightforward process once you know the steps. This guide will walk you through each step, from identifying the problem to successfully replacing the batteries. Trust me, by the end of this, you’ll feel like a DIY pro.
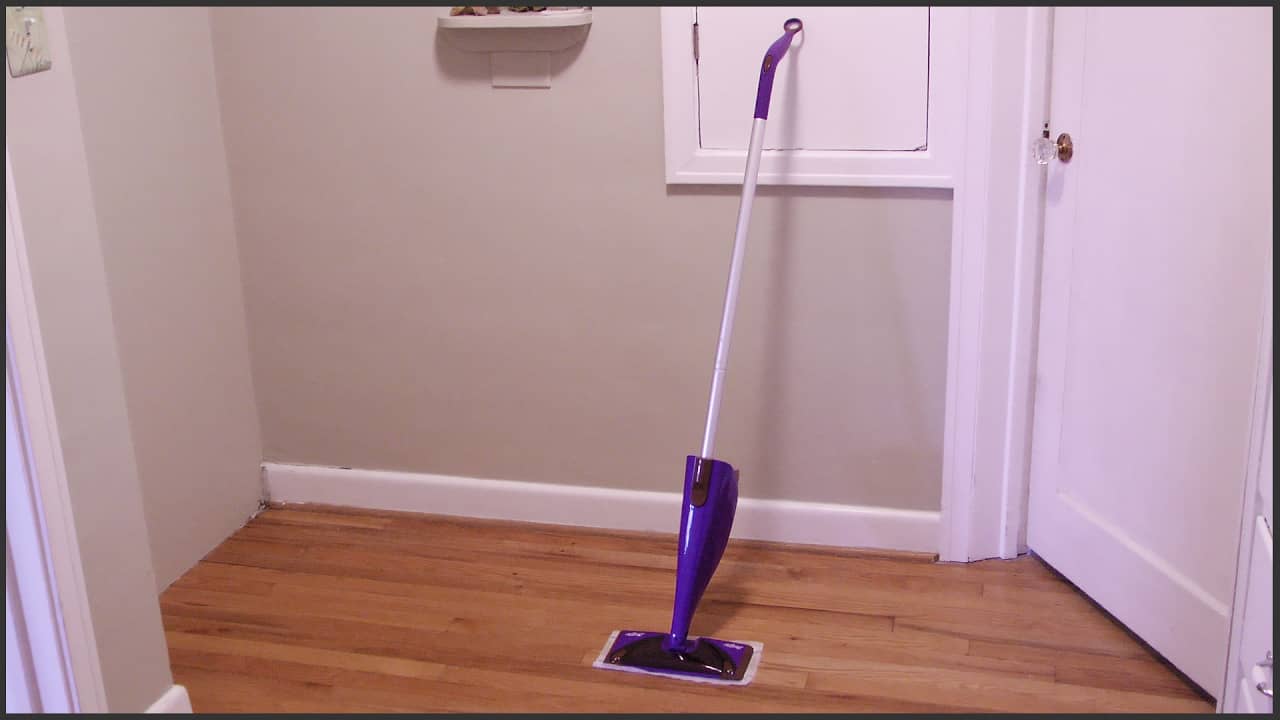
Now, before we get into the nitty-gritty, let’s talk about why this matters. Your Swiffer Wet Jet is more than just a cleaning tool; it’s a lifesaver when it comes to tackling sticky spills and grimey floors. Keeping it in top shape ensures your home stays spotless without breaking the bank on replacements. So, let’s get started!
Why Replace Swiffer Wet Jet Batteries?
First things first, why would you even need to replace the batteries in your Swiffer Wet Jet? Over time, the batteries inside your mop can lose their charge or degrade, which affects its performance. If your Swiffer Wet Jet isn’t cleaning as effectively as it used to or won’t turn on at all, chances are the batteries are the culprit.
Another reason to consider battery replacement is cost. Buying a new Swiffer Wet Jet can be expensive, but replacing the batteries is a quick and affordable fix that can breathe new life into your trusty cleaning companion.
Here’s a quick list of signs that your Swiffer Wet Jet batteries might need replacing:
- The mop won’t turn on, even after charging.
- It loses power quickly during use.
- The cleaning performance has dropped significantly.
- You’ve had the device for several years.
Tools You’ll Need to Replace Swiffer Wet Jet Batteries
Before you dive into the process, make sure you’ve got all the tools you’ll need. Don’t worry, it’s not a long list, and most of these items are probably already lying around your house.
Essential Tools
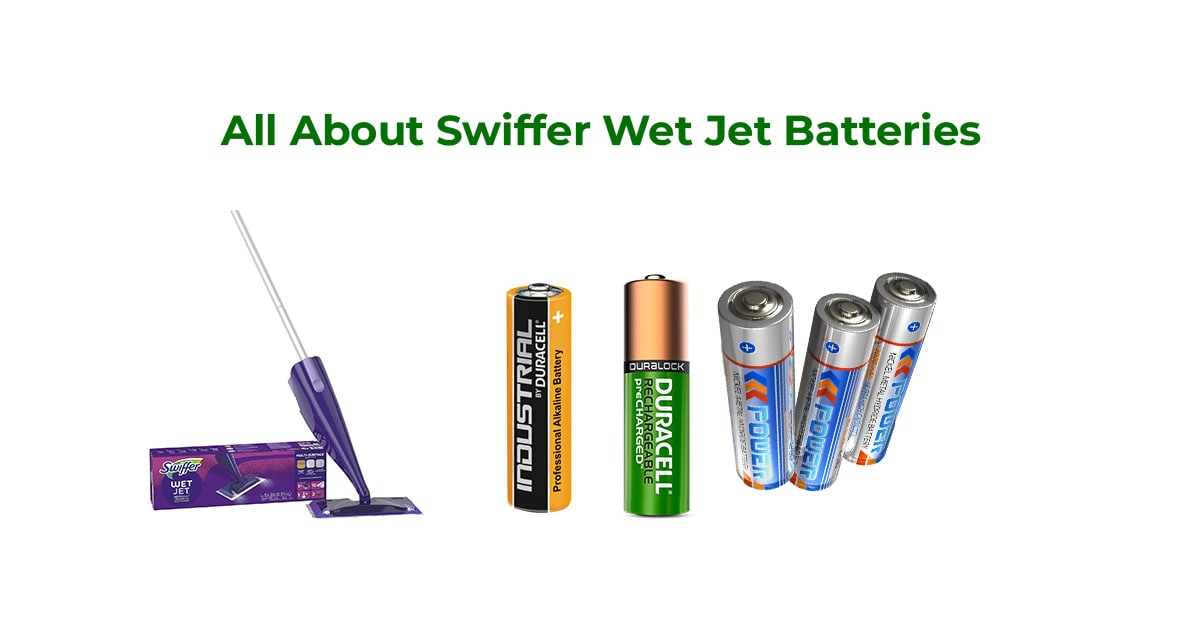
- Phillips head screwdriver
- Replacement batteries (AA or AAA, depending on your model)
- A small flathead screwdriver or prying tool
- Electrical tape (optional, for added security)
Having these tools ready will make the process smoother and faster. Plus, it’ll save you from running to the store mid-project.
Step-by-Step Guide to Replacing Swiffer Wet Jet Batteries
Now that you’ve got your tools ready, let’s get into the actual process of replacing the batteries in your Swiffer Wet Jet. Follow these steps carefully, and you’ll have your mop back up and running in no time.
Step 1: Unplug and Power Off
First things first, make sure your Swiffer Wet Jet is completely powered off and unplugged from any power source. Safety first, folks!
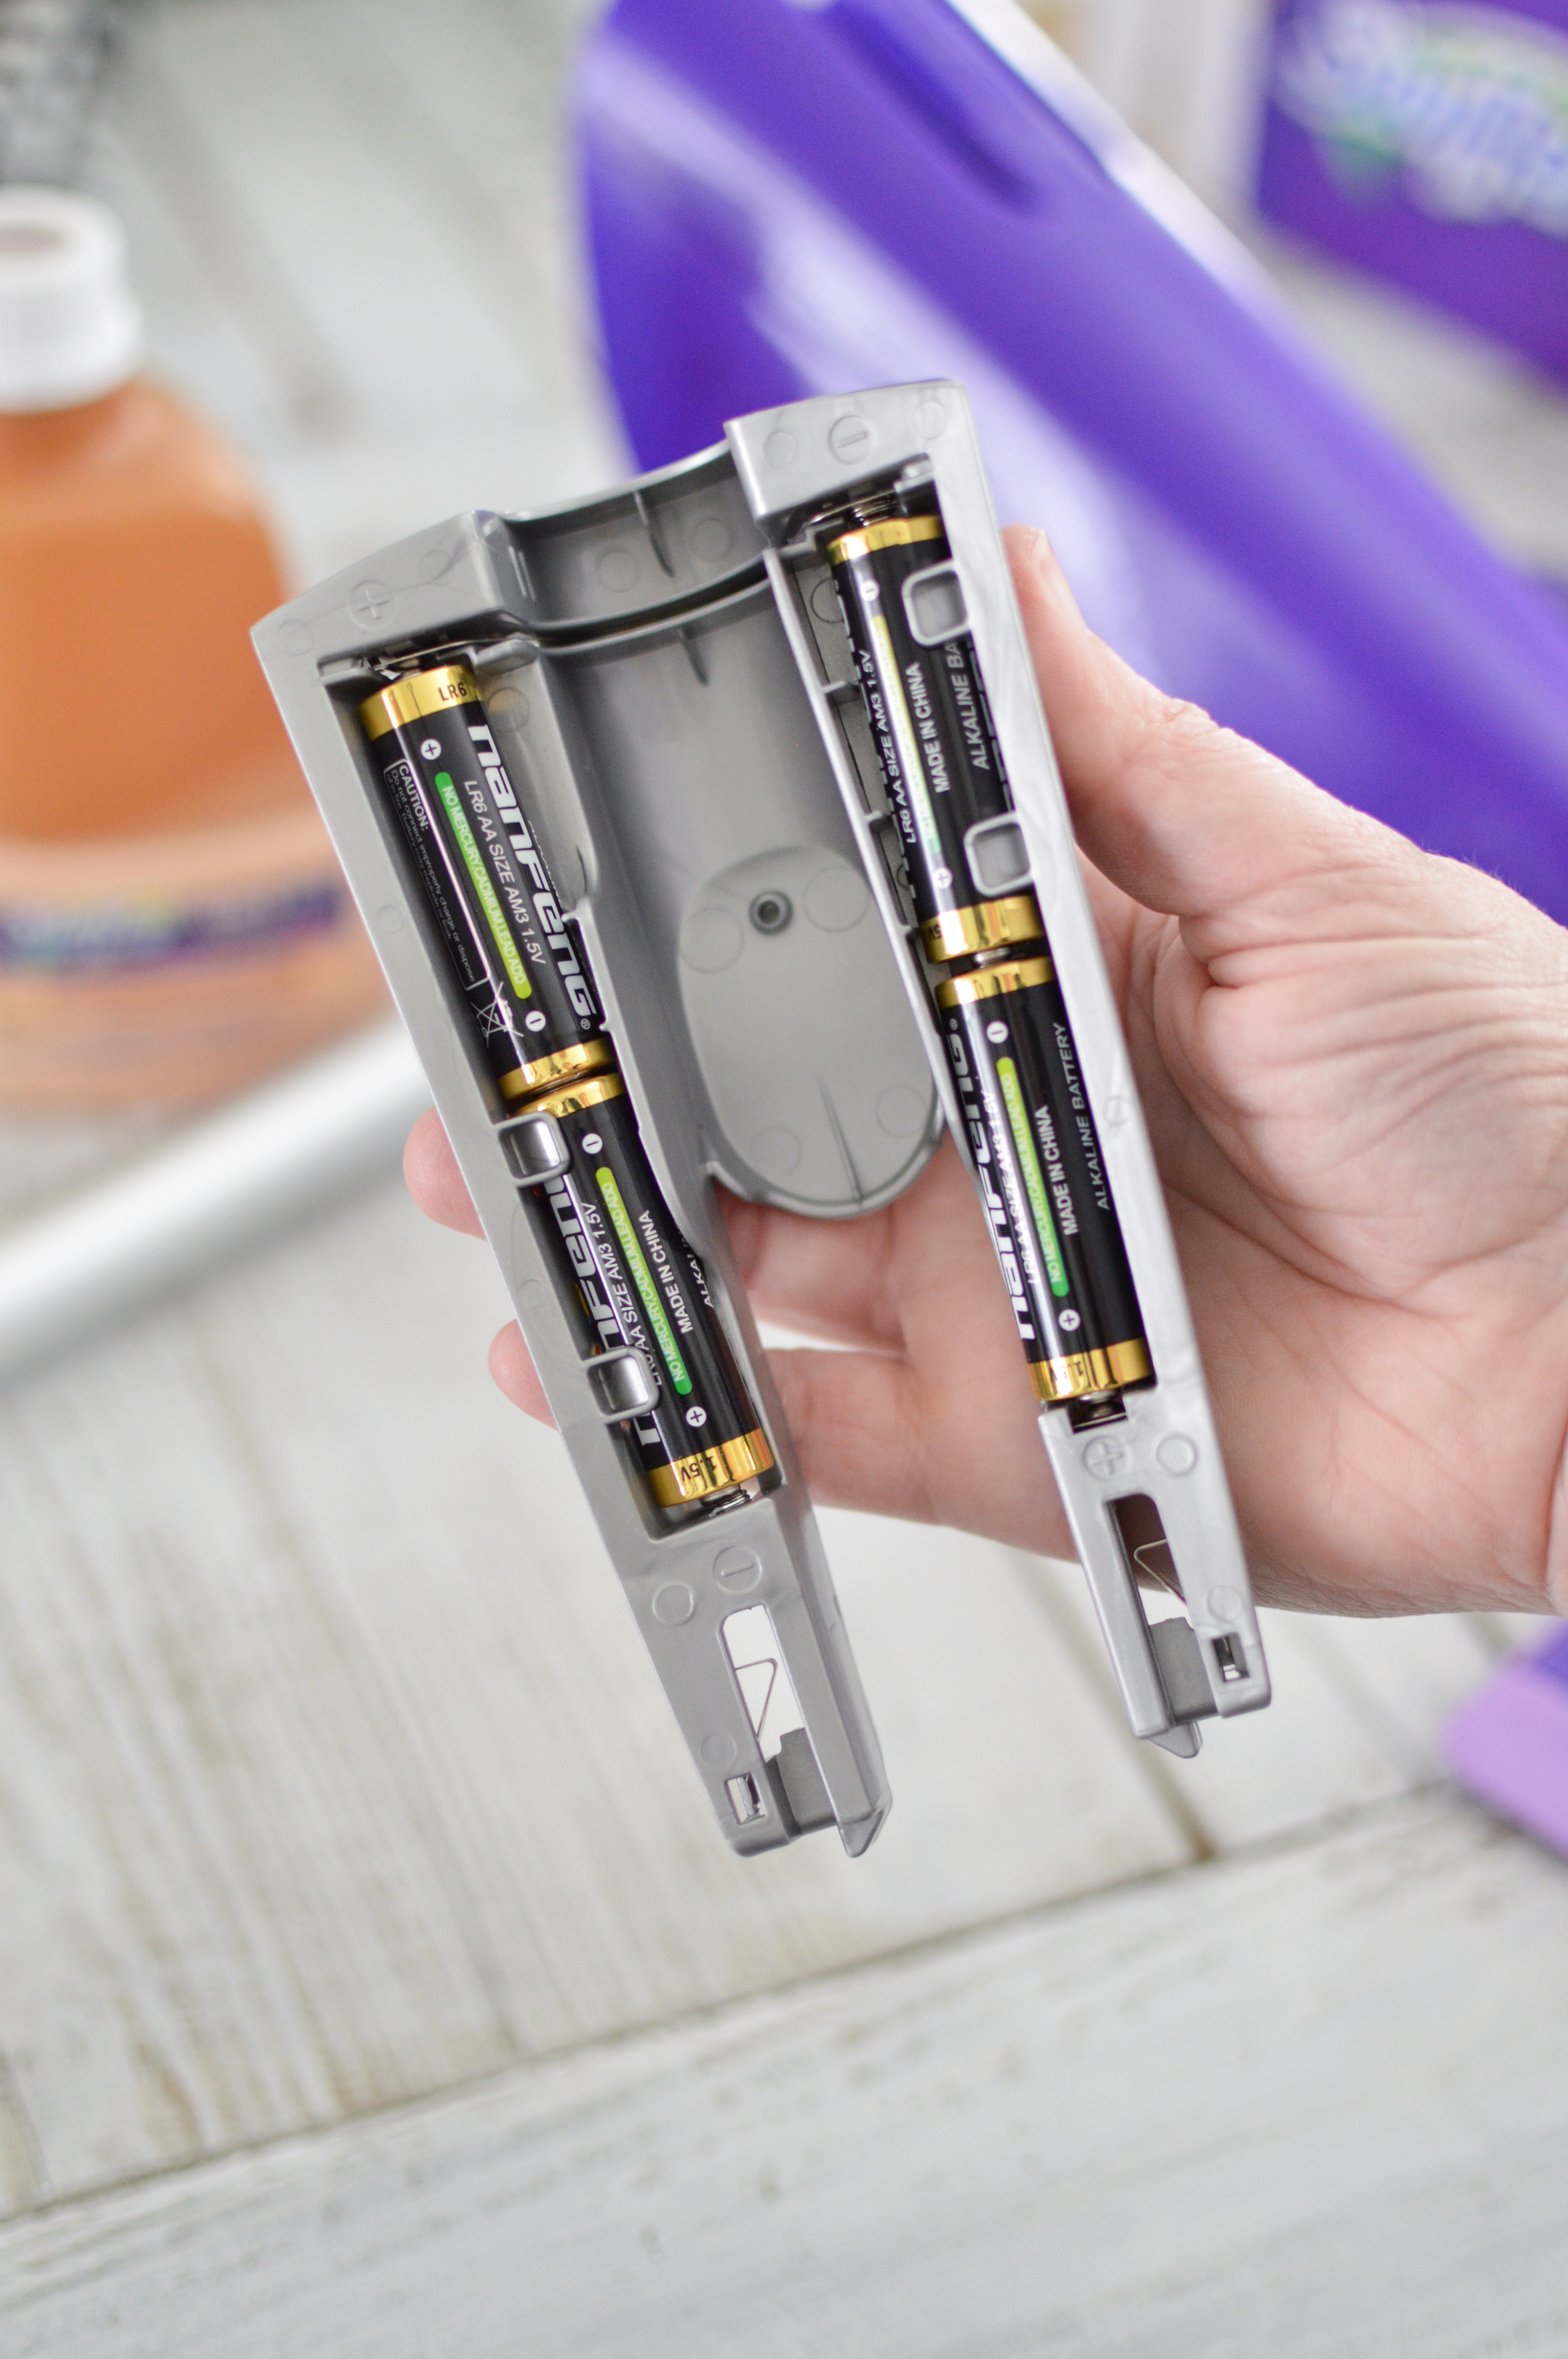
Step 2: Locate the Battery Compartment
Flip your Swiffer Wet Jet over and locate the battery compartment. It’s usually on the bottom of the handle or near the base. You might need to unscrew a cover to access it.
Step 3: Remove the Old Batteries
Using your screwdriver, carefully unscrew the cover of the battery compartment. Once open, gently remove the old batteries. Be mindful of any corrosion or damage to the battery contacts, as this could affect the new batteries’ performance.
Step 4: Insert New Batteries
Take your replacement batteries and insert them into the compartment, making sure they’re aligned correctly with the positive and negative terminals. Double-check the orientation to avoid any issues.
Step 5: Secure the Compartment
Once the new batteries are in place, reattach the cover and screw it back on securely. If you’re worried about the cover coming loose, you can wrap a bit of electrical tape around it for added peace of mind.
Step 6: Test Your Swiffer Wet Jet
Turn your Swiffer Wet Jet on and give it a test run. If everything’s working smoothly, congratulations! You’ve successfully replaced the batteries.
Common Issues and Troubleshooting
Even with careful steps, sometimes things can go wrong. Here are a few common issues you might encounter when replacing Swiffer Wet Jet batteries and how to fix them.
Issue 1: The Mop Still Won’t Turn On
If your Swiffer Wet Jet still isn’t working after replacing the batteries, check the following:
- Ensure the batteries are inserted correctly.
- Inspect the battery contacts for corrosion or damage.
- Try a different set of batteries to rule out defective ones.
Issue 2: The Mop Loses Power Quickly
If your Swiffer Wet Jet loses power faster than expected, consider the following:
- Use high-quality batteries designed for high-drain devices.
- Check for any leaks or damage in the battery compartment.
How Often Should You Replace Swiffer Wet Jet Batteries?
The lifespan of your Swiffer Wet Jet batteries depends on how often you use the device. On average, you should expect to replace the batteries every 6 to 12 months. However, if you notice any signs of decreased performance sooner, it’s a good idea to check the batteries.
Regular maintenance and timely battery replacement can significantly extend the life of your Swiffer Wet Jet, saving you money in the long run.
Cost Considerations
Replacing Swiffer Wet Jet batteries is a cost-effective solution compared to buying a new device. Depending on the type of batteries your model requires, you can expect to spend anywhere from $5 to $15 on replacement batteries. Factor in the cost of tools if you don’t already have them, but overall, it’s a small investment for a big payoff.
Environmental Impact of Battery Replacement
When replacing batteries, it’s important to consider the environmental impact. Always dispose of old batteries properly by taking them to a recycling center or using a battery recycling program. This helps reduce waste and protects the environment from harmful chemicals.
Expert Tips for Maintaining Your Swiffer Wet Jet
Replacing batteries is just one part of maintaining your Swiffer Wet Jet. Here are a few expert tips to keep your mop in top condition:
- Clean the spray nozzle regularly to prevent clogs.
- Store the device in a dry place to avoid moisture damage.
- Use the recommended cleaning solutions to avoid damaging the mop pad.
Conclusion
Replacing batteries on your Swiffer Wet Jet is a simple and effective way to keep your cleaning tool in great shape. By following the steps outlined in this guide, you can save money, extend the life of your device, and ensure your home stays clean and fresh.
So, what are you waiting for? Grab your tools and get to work. Once you’ve replaced those batteries, don’t forget to share your success story in the comments below. And if you found this guide helpful, be sure to check out our other articles for more cleaning tips and tricks. Happy cleaning, folks!
Table of Contents
- Why Replace Swiffer Wet Jet Batteries?
- Tools You’ll Need to Replace Swiffer Wet Jet Batteries
- Step-by-Step Guide to Replacing Swiffer Wet Jet Batteries
- Common Issues and Troubleshooting
- How Often Should You Replace Swiffer Wet Jet Batteries?
- Cost Considerations
- Environmental Impact of Battery Replacement
- Expert Tips for Maintaining Your Swiffer Wet Jet