So you've got a lawn mower tire that needs replacing, but you're not exactly sure how to remove it from the rim? Don’t sweat it, buddy. This guide will walk you through the process like you're chatting with a friend over a cup of coffee. We’ll break it down into easy-to-follow steps so you can tackle this job like a pro. Lawn mower tire removal doesn’t have to be rocket science, and by the end of this article, you’ll be armed with all the knowledge you need.
You might be thinking, “Why would I even bother removing a tire myself?” Well, let me tell ya, doing it yourself can save you a ton of cash. Mechanics charge an arm and a leg for what’s actually a pretty straightforward process. Plus, it’s a great way to get your hands dirty and learn something new. Who knows? You might even enjoy it.
Now, before we dive in, let’s talk about why this is important. A worn-out tire can affect your mower’s performance, making it harder to maneuver and potentially causing uneven cuts. Replacing it ensures smooth operation and keeps your lawn looking fresh. So, buckle up, and let’s get into the nitty-gritty of how to remove a lawn mower tire from the rim.
Daftar Isi
- Tools You'll Need
- Safety First
- Understanding Your Lawn Mower Tire
- Step-by-Step Guide
- Common Issues and How to Fix Them
- Tips and Tricks
- Cost-Saving Benefits
- Alternatives to DIY
- Maintenance Tips
- Conclusion
Tools You'll Need
Alright, first things first, let’s talk about what you need to get started. You don’t need a whole workshop full of tools, but having the right ones will make your life a whole lot easier. Here’s a quick list:
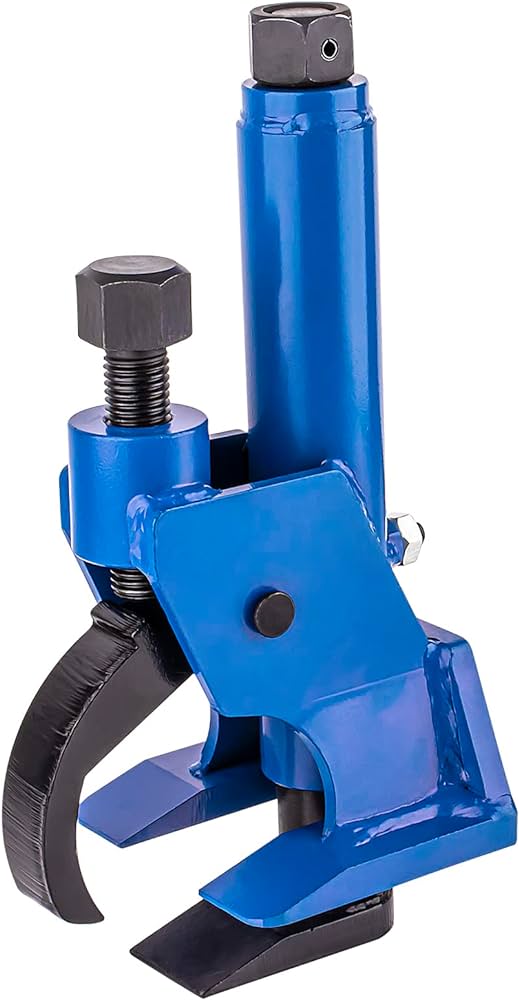
- Tire Irons or Screwdrivers
- WD-40 or Penetrating Oil
- Rubber Mallet
- Bucket of Water
- Gloves (for safety)
These tools are pretty basic, and chances are, you already have most of them lying around. If not, they’re super affordable and worth investing in if you plan on doing more DIY projects around the house.
Safety First
Now, before we jump into the actual removal process, let’s talk about safety. Safety should always be your top priority, no matter what kind of DIY project you’re working on. Here’s what you need to keep in mind:
- Wear gloves to protect your hands from sharp edges and grease.
- Make sure the mower is turned off and the spark plug is disconnected. Trust me, you don’t want it accidentally starting while you’re working.
- Work in a well-ventilated area, especially if you’re using WD-40 or any other chemicals.
Remember, accidents happen when you’re not paying attention, so take your time and stay focused. Better safe than sorry, right?
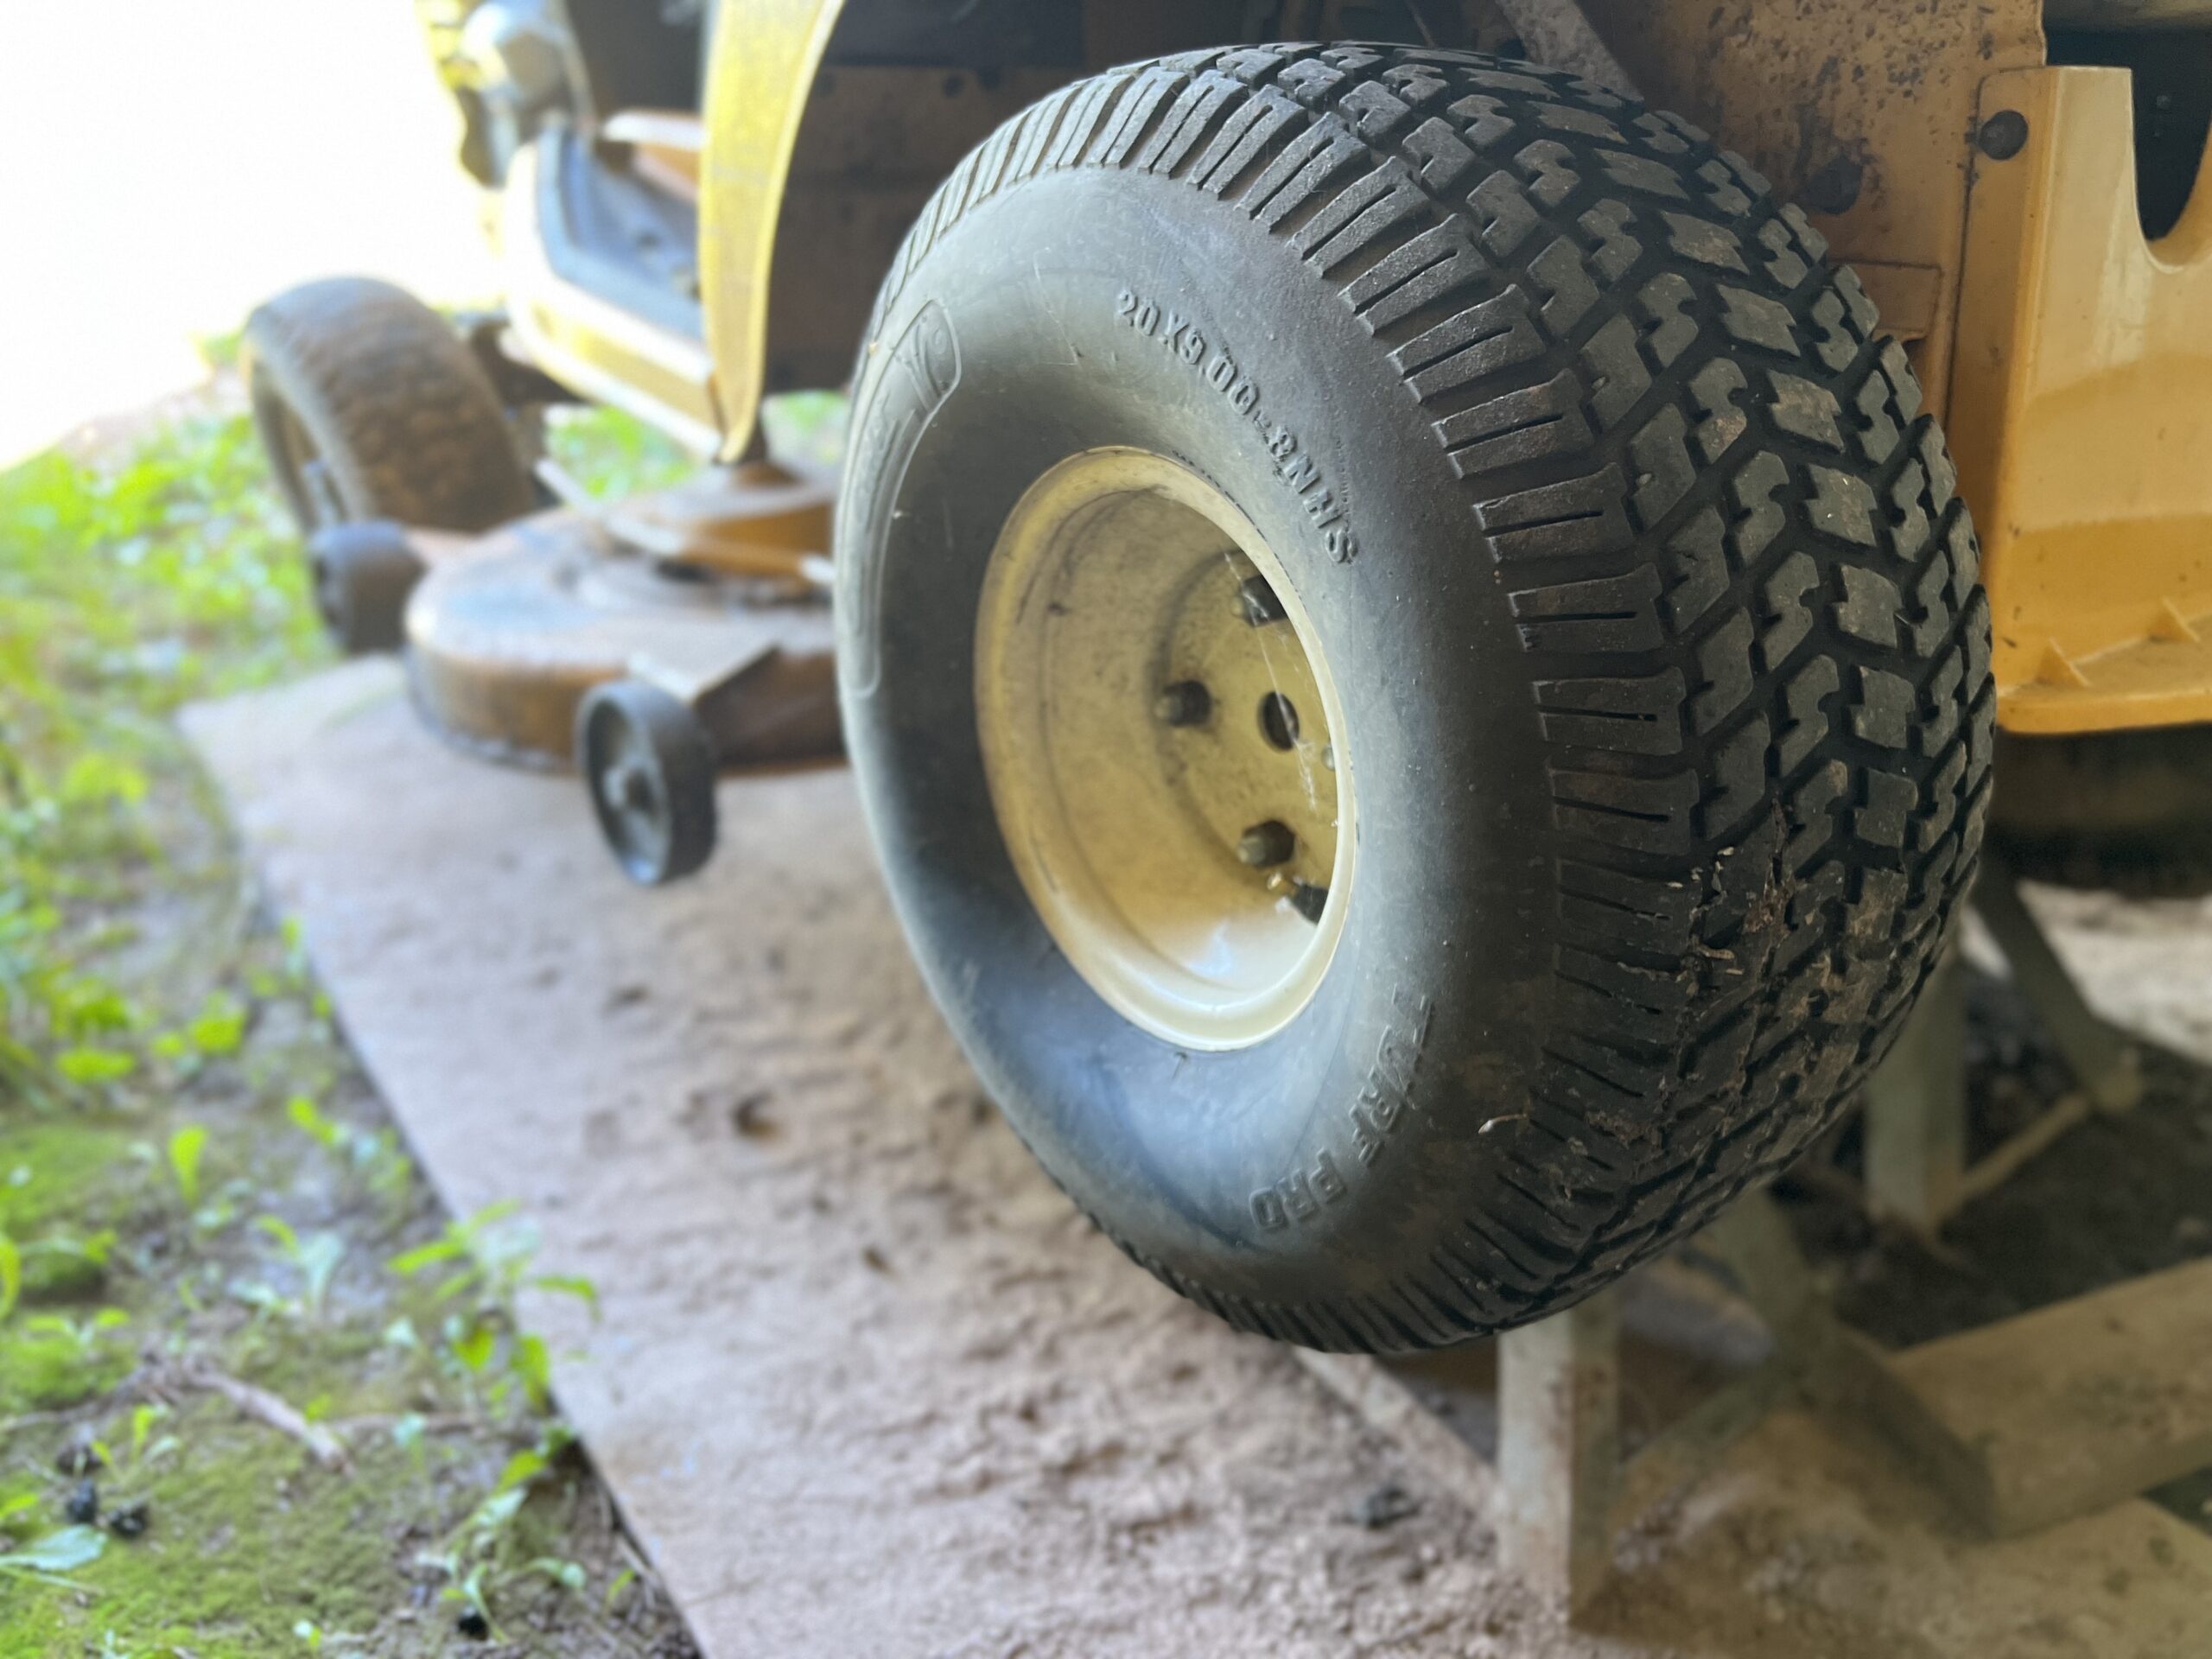
Understanding Your Lawn Mower Tire
Before we dive into the nitty-gritty of removing the tire, it’s helpful to understand what you’re dealing with. Here’s a quick breakdown of the components:
| Component | Description |
|---|---|
| Tire | The rubber part that comes into contact with the ground. |
| Rim | The metal part that the tire is mounted on. |
| Valve Stem | The part you use to inflate or deflate the tire. |
| Beading | The edge of the tire that seals against the rim. |
Knowing these parts will help you understand the process better and make it easier to follow along with the steps.
Why Understanding the Tire is Important
Understanding the structure of your tire can help you identify issues and prevent future problems. For example, if you notice wear and tear on the beading, it might be time for a replacement sooner rather than later.
Step-by-Step Guide
Alright, let’s get into the meat of the article. Here’s how you remove a lawn mower tire from the rim step by step:
Step 1: Deflate the Tire
Start by deflating the tire completely. Use a small screwdriver or a tire deflator tool to press down on the valve core. This will release all the air, making the tire easier to remove.
Step 2: Apply Penetrating Oil
Once the tire is deflated, apply some WD-40 or penetrating oil around the bead where the tire meets the rim. This will help loosen any rust or corrosion that might be holding the tire in place.
Step 3: Break the Bead
Now comes the fun part. Use a tire iron or a large screwdriver to break the bead. Wedge the tool between the tire and the rim and work your way around the tire. This might take a bit of elbow grease, but it’s doable.
Step 4: Remove the Tire
Once the bead is broken, use the tire iron to pry the tire off the rim. You might need to tap the tool gently with a rubber mallet to get it loose. Work your way around the rim until the tire is completely off.
Common Issues and How to Fix Them
Even with the best instructions, sometimes things don’t go as planned. Here are some common issues you might encounter and how to fix them:
- Tire Won’t Deflate: If the tire won’t deflate, check the valve stem for blockages. You might need to clean it out or replace the valve core.
- Rust on the Rim: If the rim is rusted, soak it in a bucket of water with some vinegar for a few hours. This will help loosen the rust and make it easier to remove the tire.
- Tire Stuck Tight: If the tire is really stuck, you might need to use more penetrating oil and let it sit for a while. Sometimes, patience is key.
Tips and Tricks
Here are a few extra tips to make the process smoother:
- Work in a well-lit area so you can see what you’re doing.
- Take breaks if you’re getting frustrated. A fresh set of eyes can make all the difference.
- Consider replacing the tire with a new one while you have it off. It’s always better to have fresh tires for optimal performance.
Cost-Saving Benefits
One of the biggest advantages of doing this yourself is the cost savings. Mechanics can charge anywhere from $50 to $100 just to remove and replace a tire. By doing it yourself, you’re saving that money and gaining valuable skills. Plus, you’ll feel a sense of accomplishment knowing you did it yourself.
Alternatives to DIY
If you’re not up for the challenge, there are alternatives. Many lawn mower repair shops offer tire removal and replacement services. Just make sure to shop around for the best price. Some places might even offer discounts if you bring in multiple items for repair.
Maintenance Tips
To keep your lawn mower running smoothly, here are a few maintenance tips:
- Check the tire pressure regularly to ensure optimal performance.
- Inspect the tire for wear and tear after each use.
- Store the mower in a dry place to prevent rust and corrosion.
Regular maintenance can extend the life of your mower and save you money in the long run.
Conclusion
So there you have it, folks. Removing a lawn mower tire from the rim isn’t as hard as it seems. With the right tools, a bit of patience, and these easy-to-follow steps, you’ll be able to tackle this job like a pro. Not only will you save money, but you’ll also gain valuable skills that you can use for other DIY projects around the house.
Now, I want you to take action. Share this article with a friend who might find it useful. Leave a comment below if you have any questions or if you’ve tried this method yourself. And don’t forget to check out our other articles for more lawn mower tips and tricks. Happy tinkering!