Alright folks, let me tell ya somethin’, cleaning ain’t just about swiping dust here and there. It’s an art, a science, and honestly, it can be a little overwhelming when you’re staring at your Swiffer Duster handle wondering, "How the heck do I put this thing on?" Well, don’t stress! You’re not alone. Learning how to put a Swiffer Duster on is easier than you think, and by the end of this guide, you’ll be a pro. So grab your favorite drink, settle in, and let’s dive into the world of dust-busting.
Now, before we get into the nitty-gritty, let’s talk about why mastering this skill matters. Dust isn’t just unsightly—it’s also a health hazard. It can trigger allergies, asthma, and even make your home feel less cozy. A Swiffer Duster is your secret weapon against all that nastiness. But first, you gotta figure out how to attach that duster pad. No worries, though—we’ve got you covered.
And hey, if you’re already wondering about the cost, durability, or whether Swiffer Dusters are worth it, stick around. We’ll cover all that and more. Think of this as your ultimate Swiffer Duster cheat sheet. Ready? Let’s go!
Table of Contents
- Tools You’ll Need
- Step-by-Step Guide: How to Put a Swiffer Duster On
- Common Issues and How to Fix Them
- Benefits of Using a Swiffer Duster
- Tips and Tricks for Maximum Efficiency
- Alternatives to Swiffer Dusters
- FAQ About Swiffer Dusters
- Are Swiffer Dusters Cost-Effective?
- Environmental Impact of Swiffer Dusters
- Conclusion: Time to Dust That Dust Away!
Tools You’ll Need to Get Started
Before we jump into the process, let’s talk about what you’ll need. You don’t want to start halfway through and realize you’re missing something, right? Here’s a quick list:
- A Swiffer Duster handle
- A Swiffer Duster refill pad
- Your hands (duh!)
- A clean surface to work on
That’s it! No fancy tools required. Now, let’s move on to the main event.
Step-by-Step Guide: How to Put a Swiffer Duster On
Step 1: Unpack Your Supplies
First things first, take out your Swiffer Duster handle and a fresh refill pad. Make sure the pad isn’t crumpled or damaged. If it is, grab another one. Life hack: always keep a few extras on hand because trust me, they run out faster than you’d think.
Step 2: Locate the Attachment Point
Now, check out the bottom of your Swiffer Duster handle. See that flat, rectangular area with two clips? That’s where the magic happens. This is where the refill pad will attach securely.
Step 3: Align the Refill Pad
Take the refill pad and line it up with the attachment point. The pad should fit perfectly over the clips. If it doesn’t, double-check that you’ve got it oriented correctly. The soft, fluffy side should face outward, ready to tackle dust like a boss.
Step 4: Secure the Refill Pad
Once the pad is aligned, gently press it down onto the clips. You should hear a satisfying click. If you don’t hear anything, try pressing a little harder. The pad needs to be snug so it doesn’t fall off while you’re cleaning.
Step 5: Test It Out
Give the Swiffer Duster a few swipes around your room. Does the pad stay put? Great! If it slips or falls off, go back and reattach it. Sometimes it just takes a little finesse.
Common Issues and How to Fix Them
Even the best of us run into problems sometimes. Here are some common issues people face when trying to put a Swiffer Duster on—and how to solve them.
- Problem: The refill pad won’t attach properly.
Solution: Check that the clips on your handle aren’t bent or broken. If they are, you might need a replacement handle. - Problem: The pad keeps falling off.
Solution: Ensure the pad is fully secured. Sometimes it just takes a little extra pressure. - Problem: The pad feels flimsy or doesn’t pick up dust well.
Solution: Try a different brand or type of refill pad. Not all pads are created equal.
Benefits of Using a Swiffer Duster
So, why should you bother with a Swiffer Duster in the first place? Let’s break it down:
- Efficient Dust Removal: Swiffer Dusters are designed to trap dust, not just move it around.
- Easy to Use: No complicated setups or heavy lifting required.
- Convenient: The long handle lets you reach high places without straining your back.
- Time-Saving: With a Swiffer Duster, you can clean an entire room in minutes.
And let’s not forget the satisfaction of watching your home sparkle after a good dusting session.
Tips and Tricks for Maximum Efficiency
Want to take your Swiffer Duster game to the next level? Here are some pro tips:
- Use a dry Swiffer Duster for general dusting and a slightly damp one for tougher grime.
- Start from the top of the room and work your way down to avoid re-dusting areas.
- Keep a separate Swiffer Duster for pet hair to prevent cross-contamination.
- Replace refill pads regularly for optimal performance.
These tips might seem small, but trust me, they make a big difference.
Alternatives to Swiffer Dusters
Not a fan of Swiffer Dusters? No problem. There are plenty of alternatives out there:
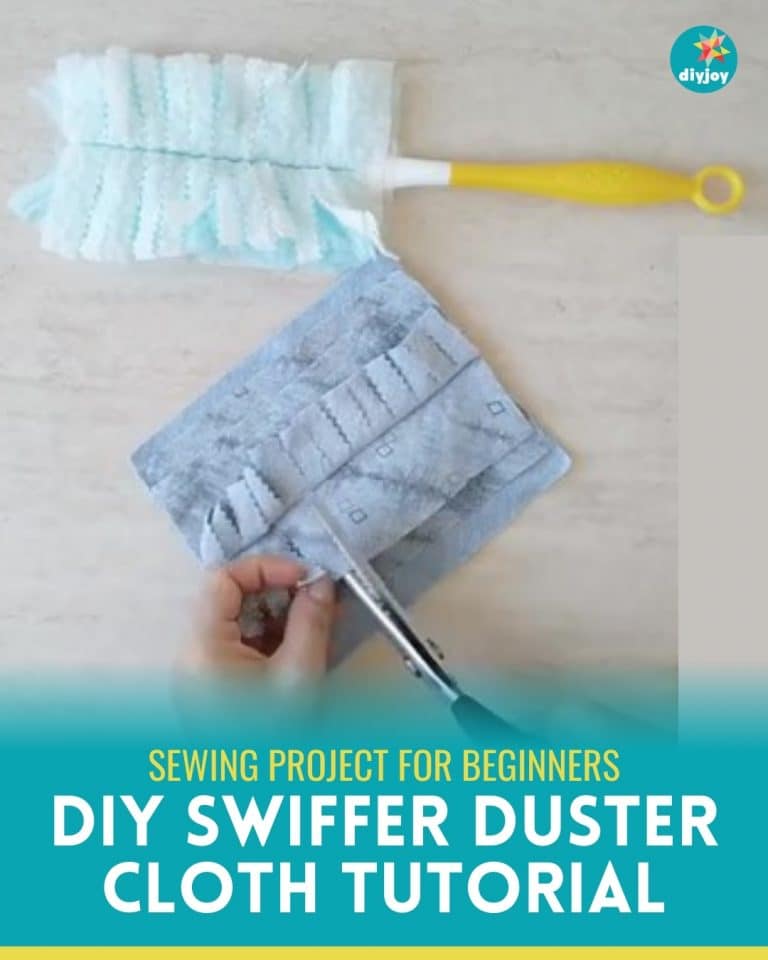
- Microfiber Cloths: Reusable and eco-friendly.
- Homemade Dusters: DIY options using old socks or t-shirts.
- Electric Dust Mops: For those who want a hands-free experience.
It all comes down to personal preference and what works best for your lifestyle.
FAQ About Swiffer Dusters
How often should I replace Swiffer Duster pads?
It depends on how much dusting you do, but generally, it’s recommended to replace them every 1-2 uses for best results.
Can I wash and reuse Swiffer Duster pads?
Technically, yes, but the quality may degrade over time. For best performance, stick with fresh pads.
Are Swiffer Dusters safe for all surfaces?
Most Swiffer Duster pads are safe for a variety of surfaces, but always check the packaging for specific guidelines.
Are Swiffer Dusters Cost-Effective?
This is a question a lot of people ask, and the answer isn’t one-size-fits-all. While the initial investment in a Swiffer Duster handle might seem steep, the convenience and effectiveness can outweigh the cost for many. Plus, if you shop smart and buy refill pads in bulk, you can save even more.
Environmental Impact of Swiffer Dusters
Let’s be real—Swiffer Dusters aren’t exactly eco-friendly. The single-use nature of the refill pads contributes to waste. However, some companies are starting to offer more sustainable options, like biodegradable pads. If this is a concern for you, consider exploring reusable alternatives or supporting brands that prioritize sustainability.
Conclusion: Time to Dust That Dust Away!
Alright, folks, that’s a wrap! You now know how to put a Swiffer Duster on, common issues to watch out for, and why these little dusters are such game-changers. Whether you’re a seasoned pro or a newbie to the world of dusting, mastering this skill will make your cleaning routine smoother and more efficient.
So, what are you waiting for? Grab your Swiffer Duster, get to work, and let us know how it goes. Leave a comment below, share this article with your friends, or check out our other cleaning tips. Together, we’ll conquer dust one room at a time. Happy cleaning!
![DIY Reusable Swiffer Duster Cloths [FREE Pattern + VIDEO Tutorial] ⋆](https://hellosewing.com/wp-content/uploads/reusable-swiffer-duster-cloth-in-use.jpg)
