Listen up, folks. If you're here, you're probably wondering how to make messy bows that not only look chic but also scream effortless style. Well, buckle up because we’re diving deep into the art of crafting these trendy hair accessories. Whether you’re a DIY enthusiast or just someone looking to spice up their look, messy bows are your new best friend. Let’s get started and unravel the secrets behind making these charming bows.
You might be thinking, "What’s so special about a messy bow?" Trust me, it’s all about that laid-back vibe that still manages to look polished. From casual outings to fancy events, messy bows can elevate any hairstyle. They’re versatile, easy to make, and let’s not forget, super fun to personalize. So, if you’re ready to unleash your creativity, keep reading.
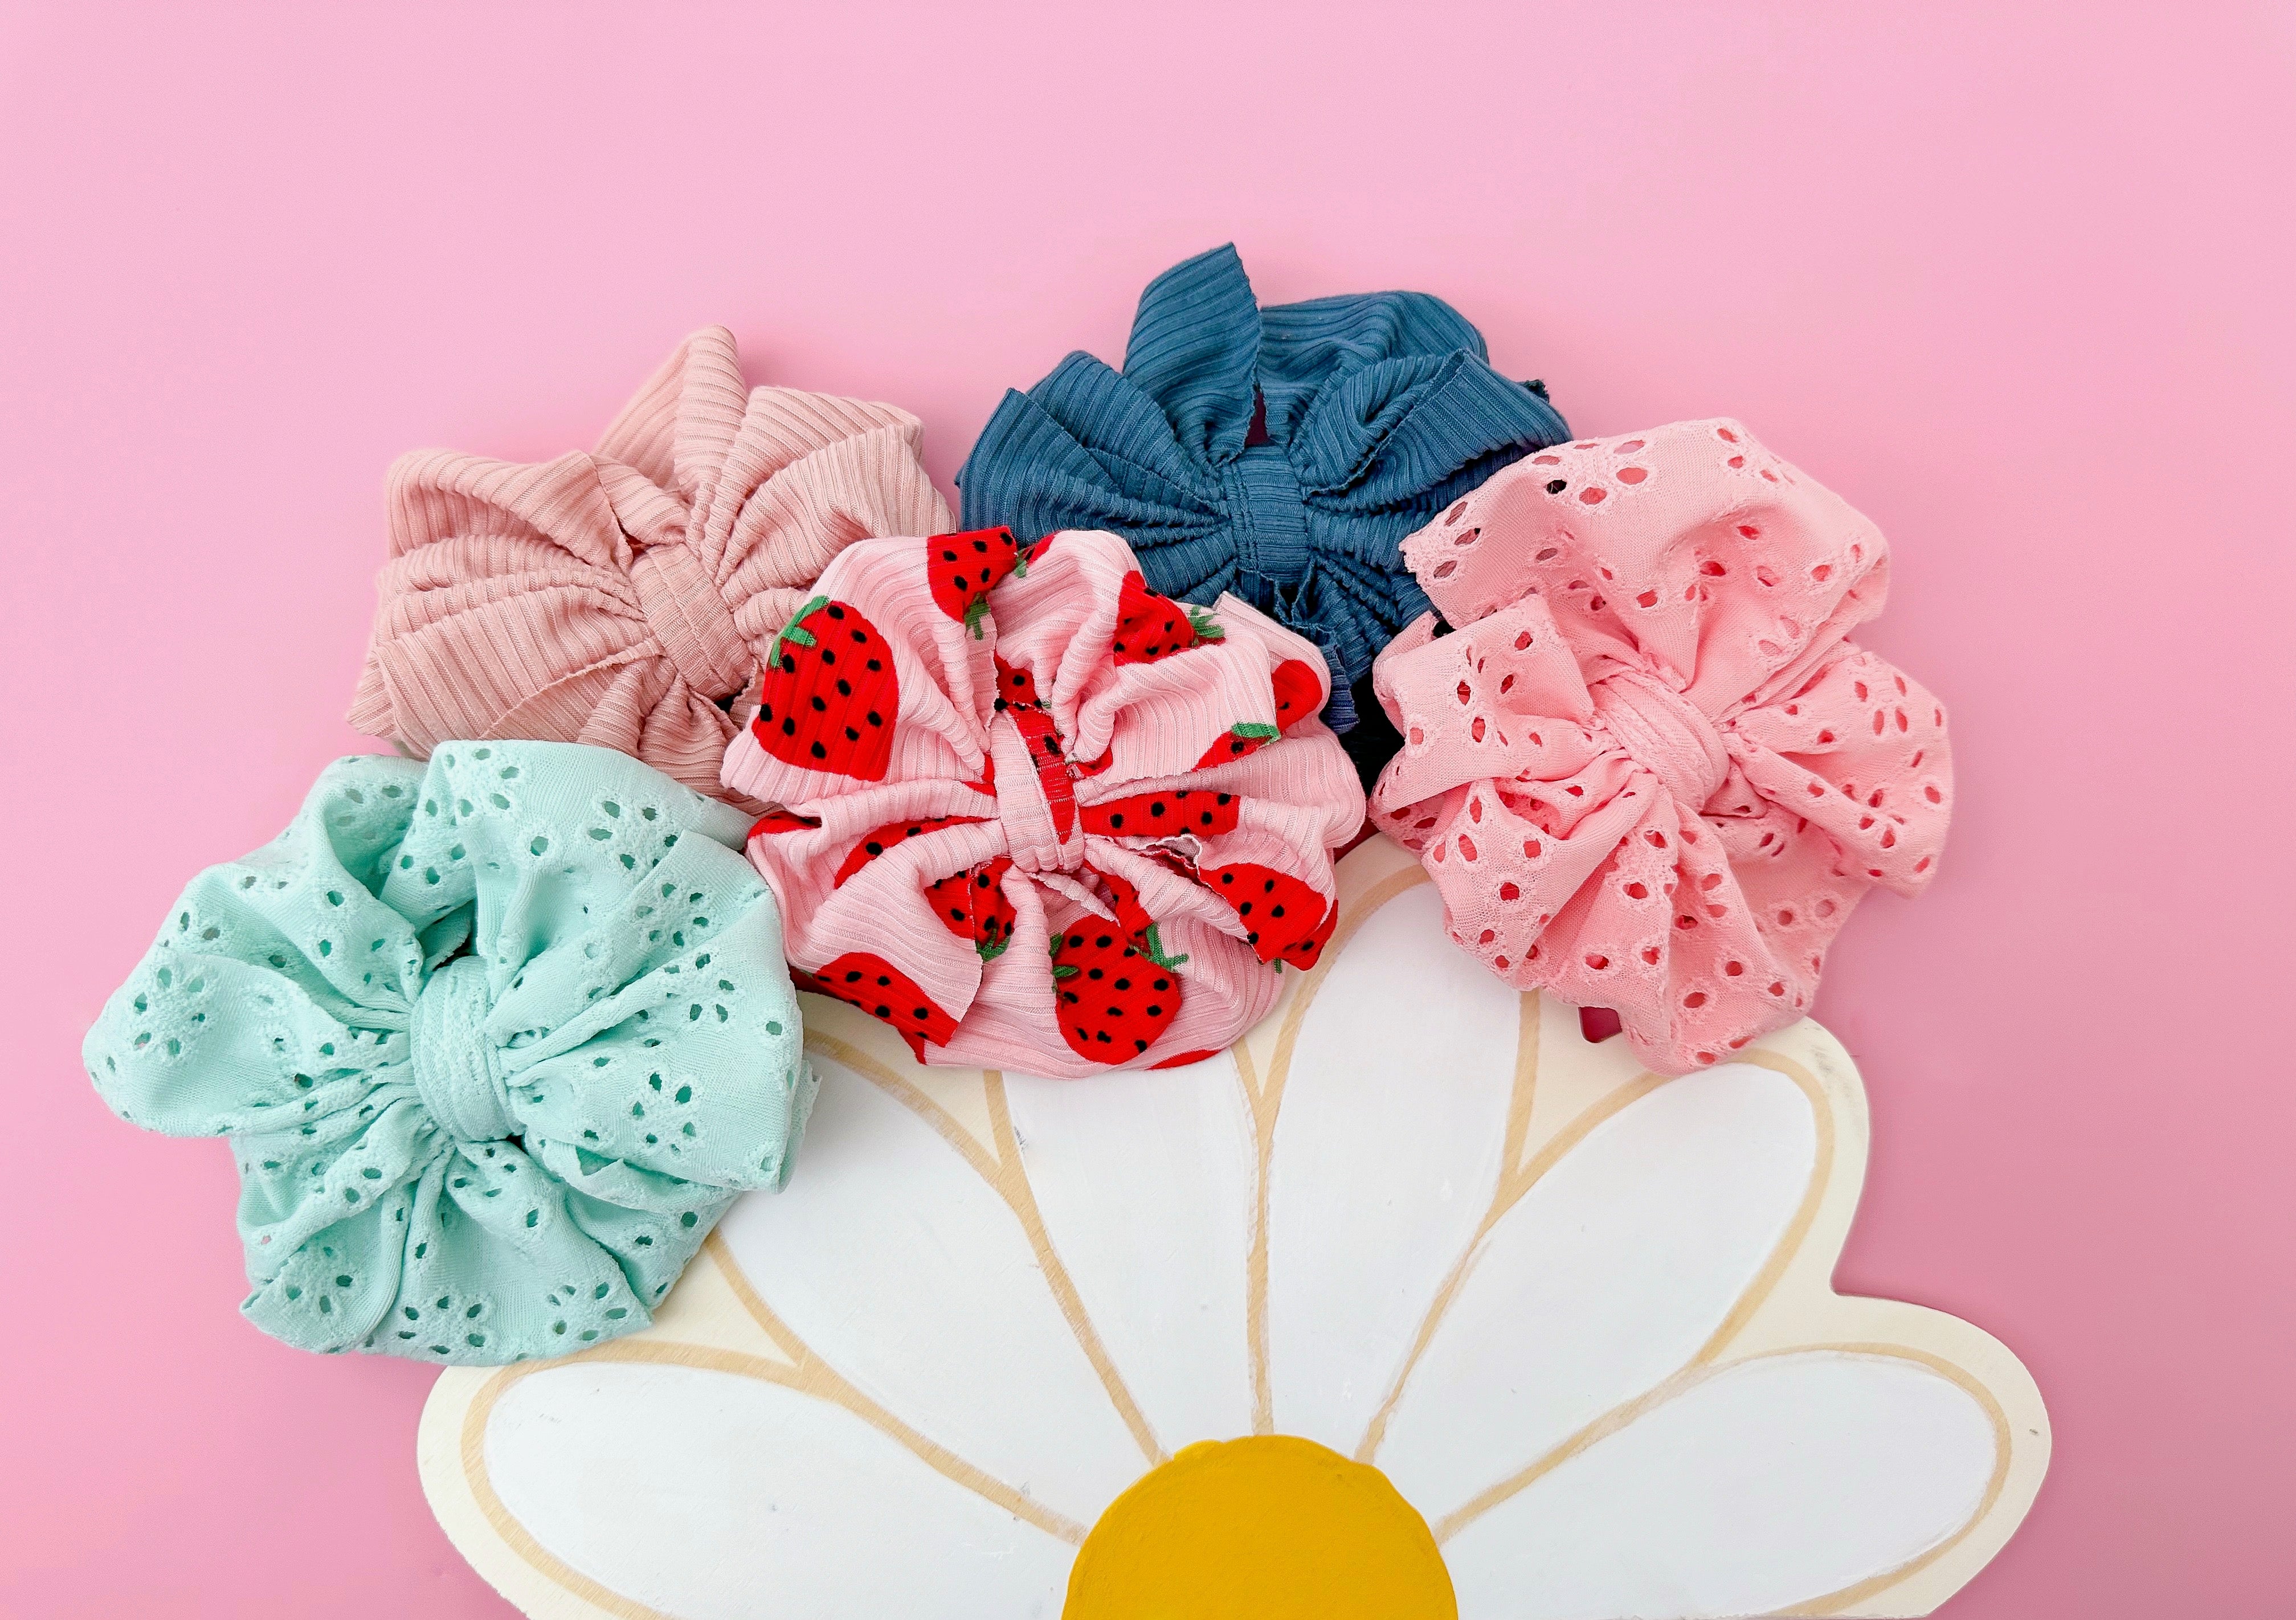
In this guide, we’ll cover everything from the basics of making messy bows to advanced tips that will take your creations to the next level. Whether you're working with ribbon, fabric, or even scraps of old clothes, we’ve got you covered. Let’s dive right in and turn those plain strands into masterpieces. Now, let’s make some bows!
Why Messy Bows Are Trending Right Now
Let’s face it, messy bows are having a moment, and for good reason. They’re the perfect blend of casual and chic, offering a relaxed yet stylish look that works for almost every occasion. In a world where everyone is chasing perfection, messy bows remind us that sometimes, imperfection is what makes something truly beautiful. But why exactly are they so popular? Here are a few reasons:
- They add a playful touch to any outfit.
- Messy bows are easy to customize with different colors and patterns.
- They’re a great way to experiment with DIY projects without breaking the bank.
- Perfect for accessorizing hairstyles, whether you’re going for a sleek ponytail or a wild bun.
Plus, who doesn’t love a craft that feels like a throwback to childhood? Remember those days when you’d tie ribbons around everything in sight? Messy bows bring back that sense of joy while adding a modern twist. So, whether you’re a mom looking for cute hair accessories for your little one or an adult wanting to spice up your look, messy bows are here to stay.
Essential Tools and Materials for Making Messy Bows
Before we dive into the nitty-gritty of how to make messy bows, let’s talk about the tools and materials you’ll need. Don’t worry, you don’t have to break the bank to get started. Most of these items can be found around the house or picked up at your local craft store for a few bucks. Here’s what you’ll need:
Materials You’ll Need
- Ribbon or fabric strips (choose your favorite colors and patterns)
- Alligator clips or hairbands (depending on how you want to wear your bow)
- Fabric glue or hot glue gun (for securing the bow in place)
- Scissors (a good pair of sharp ones will make your life easier)
- Needle and thread (optional, for extra durability)
Now, let’s break it down a little further. When choosing ribbon, go for something that’s easy to work with but still holds its shape. Satin and grosgrain ribbons are popular choices because they’re durable and add a nice sheen to your bows. As for the clips, alligator clips are great for holding the bow securely in place, while hairbands offer a more subtle look. It’s all about personal preference, so feel free to experiment!
Step-by-Step Guide: How to Make Messy Bows
Alright, now that you’ve got your materials ready, let’s dive into the step-by-step process of making messy bows. This is where the magic happens, so pay attention. By the end of this section, you’ll be crafting bows like a pro. Here’s how you do it:
Step 1: Cut Your Ribbon
Start by cutting your ribbon into strips. The length will depend on how big you want your bow to be, but a good starting point is around 12-15 inches. Don’t worry too much about precision here; remember, we’re going for that messy look. If the edges are a little uneven, that’s totally fine.
Step 2: Create the Loops
Take one end of the ribbon and fold it into a loop. Secure it with your fingers and repeat on the other side. You should now have two loops facing opposite directions. This is the foundation of your bow. Adjust the loops to your desired size, keeping in mind that they don’t have to be perfectly symmetrical.
Step 3: Add the Center Knot
Now, take another piece of ribbon (about 2-3 inches long) and wrap it around the center of the loops. Secure it with glue or a small stitch. This will hold everything in place and give your bow that classic bow shape. Again, don’t stress about making it perfect. A little wonkiness is what gives messy bows their charm.
Step 4: Attach the Clip or Band
Finally, attach your alligator clip or hairband to the back of the bow. Use a generous amount of glue to ensure it stays put. If you want extra security, you can reinforce it with a few stitches. Let everything dry completely before using your bow.
And there you have it, your very own messy bow! See how easy that was? Now that you’ve got the basics down, let’s explore some ways to take your bow-making skills to the next level.
Customizing Your Messy Bows
One of the best things about making messy bows is the endless possibilities for customization. Whether you’re going for a minimalist look or something more extravagant, there’s no limit to what you can create. Here are a few ideas to inspire you:
Experiment with Colors and Patterns
Don’t be afraid to mix and match colors and patterns. Bright, bold hues can make a statement, while pastels add a touch of elegance. Floral prints, polka dots, and stripes are all great options to consider. The key is to have fun and let your personality shine through.
Add Some Bling
Feeling fancy? Add some sparkle to your bows with glitter, sequins, or rhinestones. A little embellishment can go a long way in making your bows stand out. Just be careful not to overdo it – remember, less is often more.
Try Different Shapes and Sizes
Why stop at the classic bow shape? Get creative and experiment with different shapes and sizes. Oversized bows can make a bold statement, while smaller bows are perfect for subtle accents. You can even try making asymmetrical bows for a unique look.
Customizing your messy bows is all about letting your creativity run wild. There’s no right or wrong way to do it, so don’t be afraid to try new things. Who knows, you might just discover your new signature style.
Tips and Tricks for Perfecting Your Messy Bows
Now that you’ve got the basics down and a few customization ideas, let’s talk about some tips and tricks for perfecting your messy bows. These little tricks can make a big difference in the final result, so pay attention:
- Use a ruler to measure your ribbon before cutting – this will help ensure consistency in size.
- For a more polished look, use fabric glue instead of hot glue to secure the bow in place.
- If you’re using delicate fabrics, consider adding a layer of interfacing to help the bow hold its shape.
- Experiment with different types of ribbon – satin, grosgrain, velvet, and even lace can all work beautifully.
Remember, practice makes perfect. The more bows you make, the better you’ll get at it. Don’t be discouraged if your first few attempts don’t turn out exactly as planned. Every bow is a learning experience, and before you know it, you’ll be crafting like a pro.
Common Mistakes to Avoid
While making messy bows is relatively easy, there are a few common mistakes that can ruin your creations. Here are some pitfalls to watch out for:
- Over-tightening the loops – this can make your bow look stiff and lose that messy charm.
- Using too much glue – not only can this make your bow feel heavy, but it can also seep through and ruin the fabric.
- Not letting the glue dry completely – this can cause the bow to fall apart before you even get a chance to wear it.
By avoiding these mistakes, you’ll be well on your way to creating beautiful, long-lasting messy bows. Keep these tips in mind, and you’ll be crafting like a pro in no time.
How to Care for Your Messy Bows
Once you’ve put in all that effort to make your messy bows, you’ll want to make sure they last as long as possible. Proper care and maintenance are key to keeping your bows looking fresh. Here’s how:
Storage
Store your bows in a cool, dry place away from direct sunlight. A jewelry box or small container works great for this. If you’re worried about them getting crushed, consider wrapping them in tissue paper before storing.
Cleaning
For minor dirt or stains, gently spot clean your bows with a damp cloth. Avoid submerging them in water, as this can damage the fabric and glue. If your bows are heavily soiled, consider taking them to a professional cleaner who specializes in delicate fabrics.
With a little care, your messy bows can last for years, adding a touch of style to your everyday look.
Where to Find Inspiration for Your Messy Bows
If you’re looking for inspiration for your messy bows, the internet is your best friend. Social media platforms like Pinterest and Instagram are packed with ideas and tutorials. You can also check out craft blogs and YouTube channels for step-by-step guides and creative tips. Don’t forget to join online communities where fellow bow-makers share their creations and offer advice.
And let’s not forget the power of observation. Look around you – inspiration can be found in everything from nature to fashion magazines. Pay attention to colors, patterns, and textures that catch your eye, and incorporate them into your bow designs.
Final Thoughts: Embrace the Messy Bow Trend
And there you have it, folks – everything you need to know about how to make messy bows. From choosing the right materials to perfecting your technique, we’ve covered it all. Remember, the beauty of messy bows lies in their imperfection, so don’t be afraid to let your creativity run wild. Whether you’re crafting for yourself or as a gift for someone special, messy bows are a fun and stylish way to express yourself.
So, what are you waiting for? Grab your materials and start creating. And don’t forget to share your creations with us – we’d love to see what you come up with. Happy crafting!
Table of Contents
- Why Messy Bows Are Trending Right Now
- Essential Tools and Materials for Making Messy Bows
- Step-by-Step Guide: How to Make Messy Bows
- Customizing Your Messy Bows
- Tips and Tricks for Perfecting Your Messy Bows
- Common Mistakes to Avoid
- How to Care for Your Messy Bows
- Where to Find Inspiration for Your Messy Bows
- Final Thoughts: Embrace the Messy Bow Trend