Whisking cream using a blender might sound like an unconventional technique, but trust me, it’s a game-changer. Whether you're whipping up dessert or just trying to add some richness to your dishes, knowing how to whisk cream properly can elevate your cooking skills. In this article, we’ll explore the ins and outs of how to whisk cream with a blender, ensuring you get that perfect texture every time.
Let’s face it, not everyone has a stand mixer sitting around in their kitchen. Sometimes, you’ve got to improvise, and that’s where your trusty blender comes in. It’s not just for smoothies anymore! With a few tips and tricks, you can transform heavy cream into light, fluffy whipped cream using nothing more than your blender. Sound good? Let’s dive in.
Now, before we get into the nitty-gritty, it’s important to understand why this method works so well. The key lies in the power of your blender and the science behind cream. When you blend heavy cream, the air gets incorporated, and voila—you’ve got whipped cream. Ready to learn more? Keep reading!
Why Use a Blender to Whisk Cream?
First things first, why bother using a blender when you could just whip cream by hand or with a hand mixer? Well, here’s the thing: blenders are powerful, and they can do the job in a fraction of the time. If you’re short on time or just tired from cooking all day, a blender is your best friend. Plus, it’s less messy than using a whisk!
Here are a few reasons why you should give this method a shot:
- It’s faster than whisking by hand.
- It’s less effort than using a hand mixer.
- You can achieve consistent results every time.
- Clean-up is a breeze.
So, if you’re ready to level up your cream-whisking game, let’s move on to the next step.
Choosing the Right Cream
Not all creams are created equal, and when it comes to whisking cream, you want to make sure you’re using the right kind. Heavy cream is your best bet because it has a higher fat content, which means it will whip up beautifully. If you use a lighter cream, you might end up with something more like foam instead of fluffy whipped cream.
Here’s a quick rundown of what to look for:
- Heavy cream: Ideal for whipping because of its high fat content.
- Whipping cream: Similar to heavy cream, but sometimes has a slightly lower fat content.
- Light cream: Not recommended for whipping, as it won’t hold its shape.
Remember, the higher the fat content, the better your whipped cream will turn out. So, stick with heavy cream if you can!
Tips for Selecting Cream
When you’re at the grocery store, keep an eye out for these things:
- Check the expiration date to ensure freshness.
- Look for cream that’s been pasteurized but not ultra-pasteurized, as ultra-pasteurized cream can be harder to whip.
- Choose organic if you prefer, but it’s not a necessity for whipping cream.
Now that you know what to look for, let’s move on to the fun part: actually whisking the cream!
How to Whisk Cream with a Blender
Alright, let’s get down to business. Here’s a step-by-step guide to help you whisk cream like a pro using your blender:
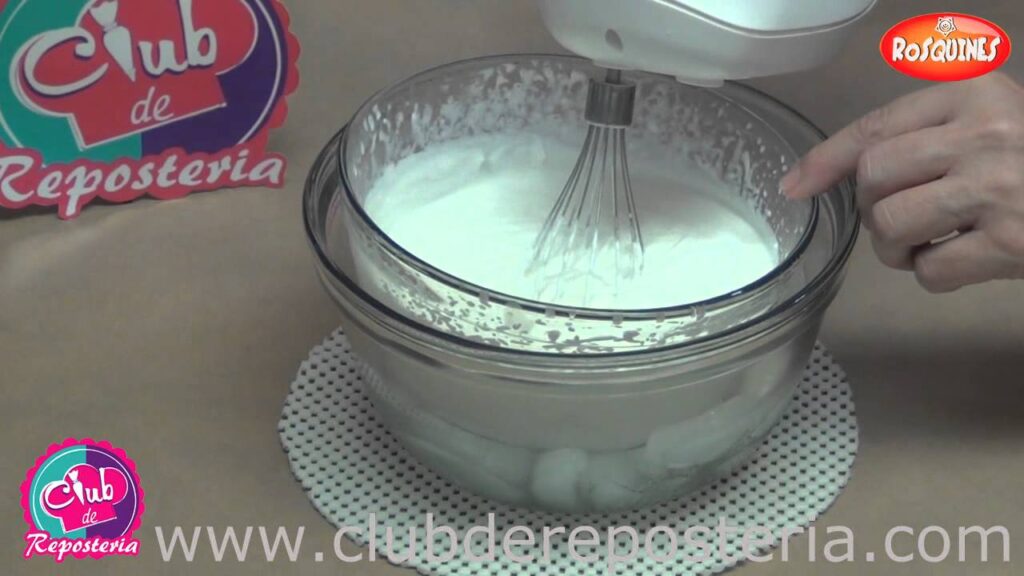
Step 1: Chill Your Cream
Before you start, make sure your cream is nice and cold. This will help it whip up more easily and hold its shape better. You can chill it in the fridge for a few hours or even pop it in the freezer for 15-20 minutes. Just don’t let it freeze solid!
Step 2: Measure Your Cream
Pour your cream into the blender jar, but don’t fill it more than halfway. You need room for the cream to expand as it whips. A good rule of thumb is to use about 1 cup of cream for every 2 cups of space in your blender.
Step 3: Blend on Low Speed
Start blending on the lowest speed and gradually increase it. This will help prevent the cream from splattering everywhere. Blend for about 30 seconds, then check the consistency. If it’s not quite there yet, blend for another 10-15 seconds.
Step 4: Add Sweetener and Flavoring (Optional)
If you’re making sweet whipped cream, now’s the time to add sugar or vanilla extract. You can also experiment with other flavors, like cinnamon or cocoa powder. Just be sure to blend again after adding these ingredients to incorporate them evenly.
Step 5: Store and Enjoy
Once your cream is whipped to perfection, transfer it to a container and store it in the fridge until you’re ready to use it. And there you have it—fluffy, delicious whipped cream made with your blender!
Common Mistakes to Avoid
Here are a few mistakes to watch out for when whisking cream with a blender:
- Overblending: If you blend for too long, your cream can turn into butter. Keep an eye on it and stop as soon as it reaches the desired consistency.
- Not chilling the cream: Warm cream won’t whip up properly, so make sure it’s nice and cold before you start.
- Using too much cream: Don’t overload your blender—leave plenty of room for the cream to expand.
By avoiding these common pitfalls, you’ll be well on your way to whipping cream like a pro.
Blender vs. Hand Mixer: Which is Better?
This is a question that comes up a lot, and the truth is, it depends on your preferences and the situation. Here’s a quick comparison to help you decide:
- Blender: Faster, less effort, and great for large quantities of cream.
- Hand Mixer: More control over the texture, but requires more time and effort.
Ultimately, both methods can produce excellent results, so it’s up to you to decide which one works best for your needs.
When to Use a Blender
Here are some scenarios where using a blender might be the better choice:
- When you need to whip a large amount of cream.
- When you’re short on time and need quick results.
- When you want to avoid the mess of whisking by hand.
So, if any of these sound like you, give your blender a try!
Can You Whisk Cream Without Sugar?
Absolutely! While sugar is a common addition to whipped cream, it’s not necessary. If you’re making savory dishes or just prefer your cream plain, you can totally skip the sugar. Just be aware that unsweetened whipped cream won’t hold its shape as well as sweetened cream, so you might need to use it right away.
Here are a few ideas for using unsweetened whipped cream:
- As a topping for soups or stews.
- As a garnish for savory dishes like roasted vegetables.
- As a base for homemade whipped cream cheese.
So, don’t feel like you have to add sugar if you don’t want to. Whipped cream can be versatile and delicious, no matter how you use it!
Tips for Whipping Cream Without Sugar
If you’re going the unsweetened route, here are a few tips to help you get the best results:
- Use very cold cream to help it hold its shape.
- Blend on low speed to prevent overwhipping.
- Use the cream immediately, as it may not hold its shape as long as sweetened cream.
With these tips, you’ll be whipping up unsweetened cream like a pro in no time!
How Long Does Whipped Cream Last?
This is a question that comes up a lot, and the answer depends on a few factors. If you store your whipped cream properly, it can last for a few days in the fridge. However, if you add sugar or other ingredients, it might last a bit longer.
Here are some tips for storing whipped cream:
- Store it in an airtight container to prevent it from absorbing odors from the fridge.
- Keep it in the coldest part of the fridge, away from the door.
- Use it within 2-3 days for the best results.
And remember, if it starts to look or smell off, it’s better to err on the side of caution and toss it out.
Signs Your Whipped Cream Has Gone Bad
Here are a few signs that your whipped cream might be past its prime:
- A sour smell or taste.
- A change in texture, such as separating or becoming watery.
- Mold or discoloration.
If you notice any of these signs, it’s time to say goodbye to your whipped cream and start fresh.
Conclusion
Whisking cream with a blender is a simple, effective way to get fluffy, delicious whipped cream without all the hassle of traditional methods. By following the steps outlined in this article, you can achieve perfect results every time. So, whether you’re making dessert or just adding a touch of richness to your meals, give this method a try and see how it works for you.
And remember, practice makes perfect. The more you whisk cream with your blender, the better you’ll get at it. So, don’t be afraid to experiment and find what works best for you.
Now, it’s your turn! Try whisking cream with your blender and let us know how it goes. Leave a comment below or share this article with your friends. Happy cooking!