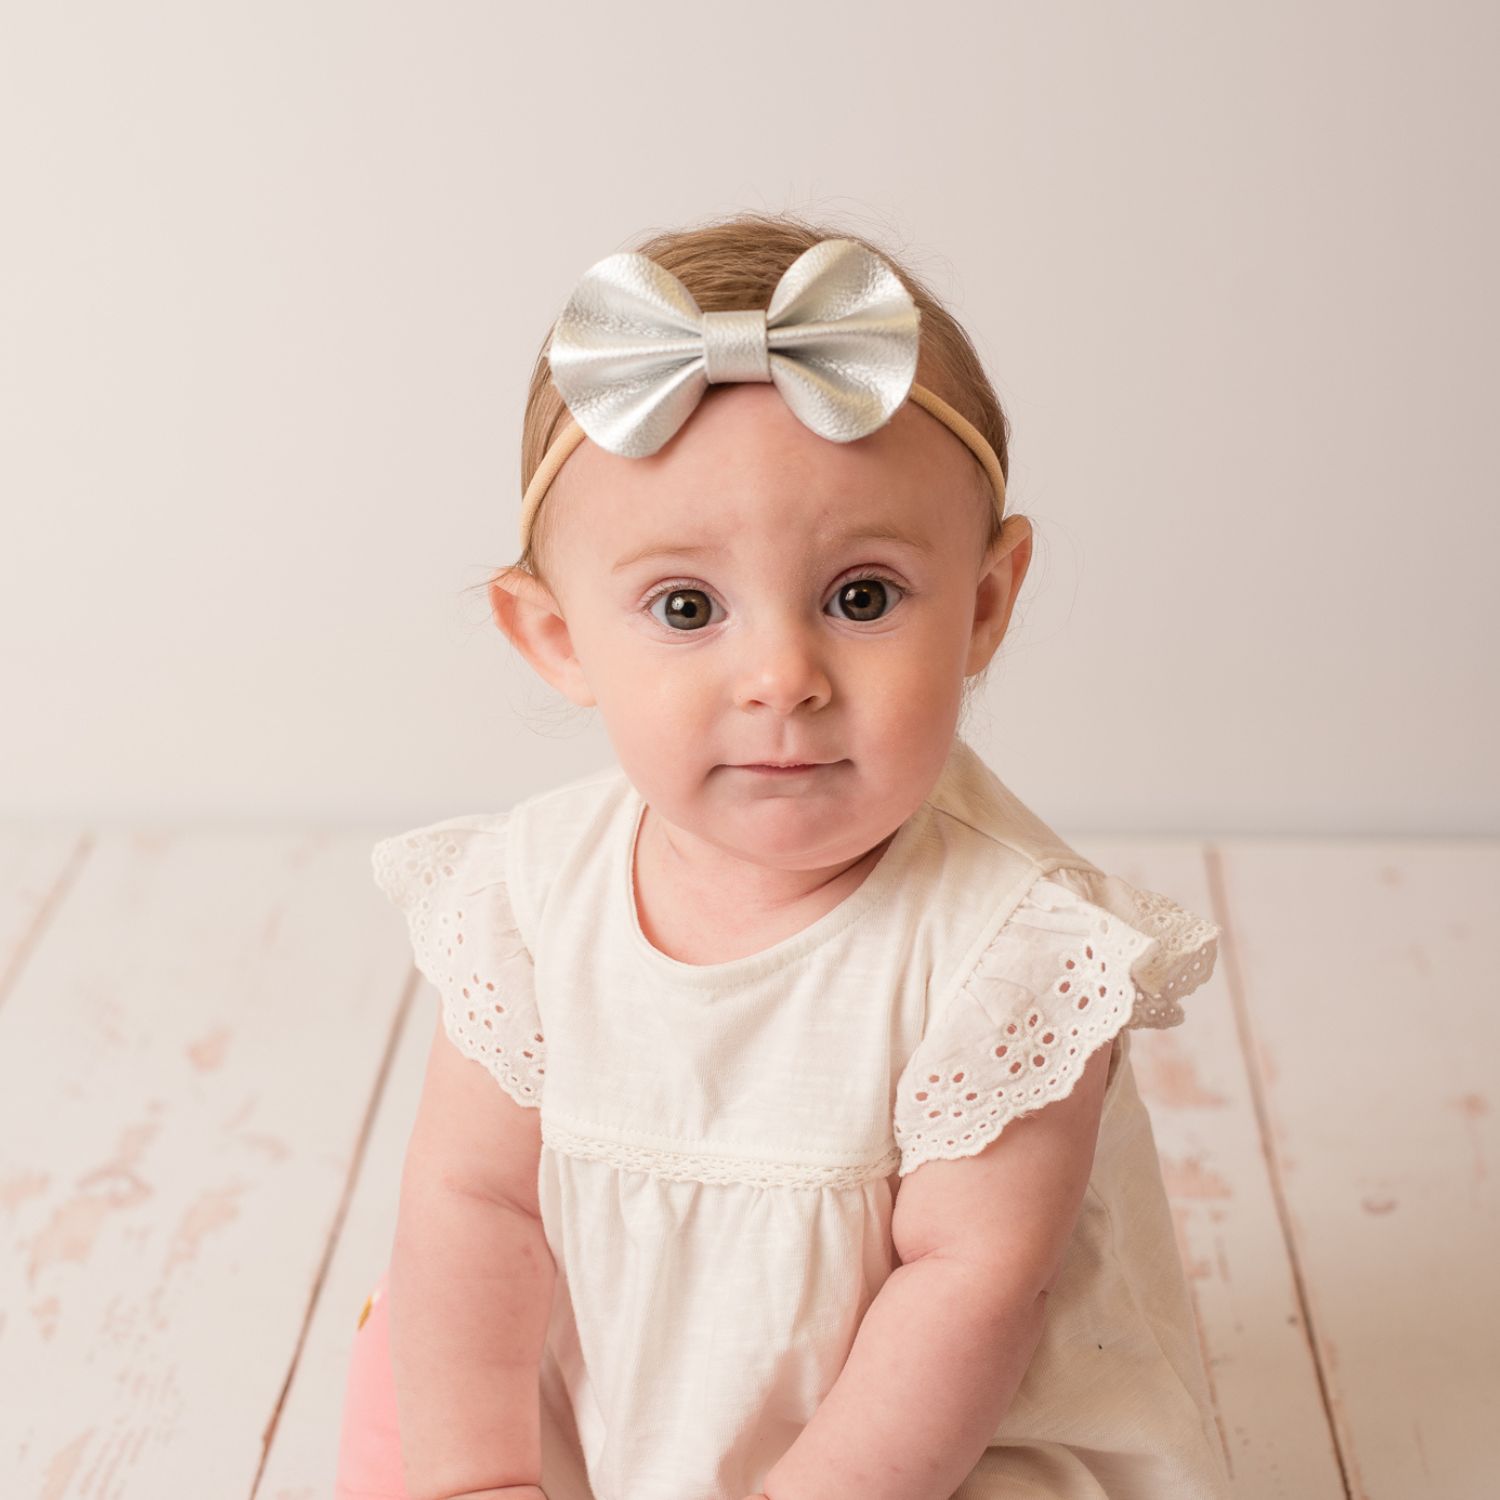
so listen up folks, if you’ve ever found yourself scrolling through Pinterest or Instagram and thought, “man, those Minnie bows look adorable but how do i make one myself?” well guess what? you’re in the right place. today we’re diving deep into the world of diy fashion with a focus on one of the most iconic accessories out there—the Minnie Bow. whether you’re planning a disney trip, throwing a themed party, or just want to add a touch of whimsy to your everyday look, this guide’s got your back. let’s get crafty!
making a Minnie Bow might seem intimidating at first, but trust me, it’s easier than you think. with just a few basic materials and a little bit of patience, you can create a bow that rivals anything you’d find in the official disney store. and the best part? you’ll save some cash while flexing your creative muscles. who doesn’t love a good diy victory?
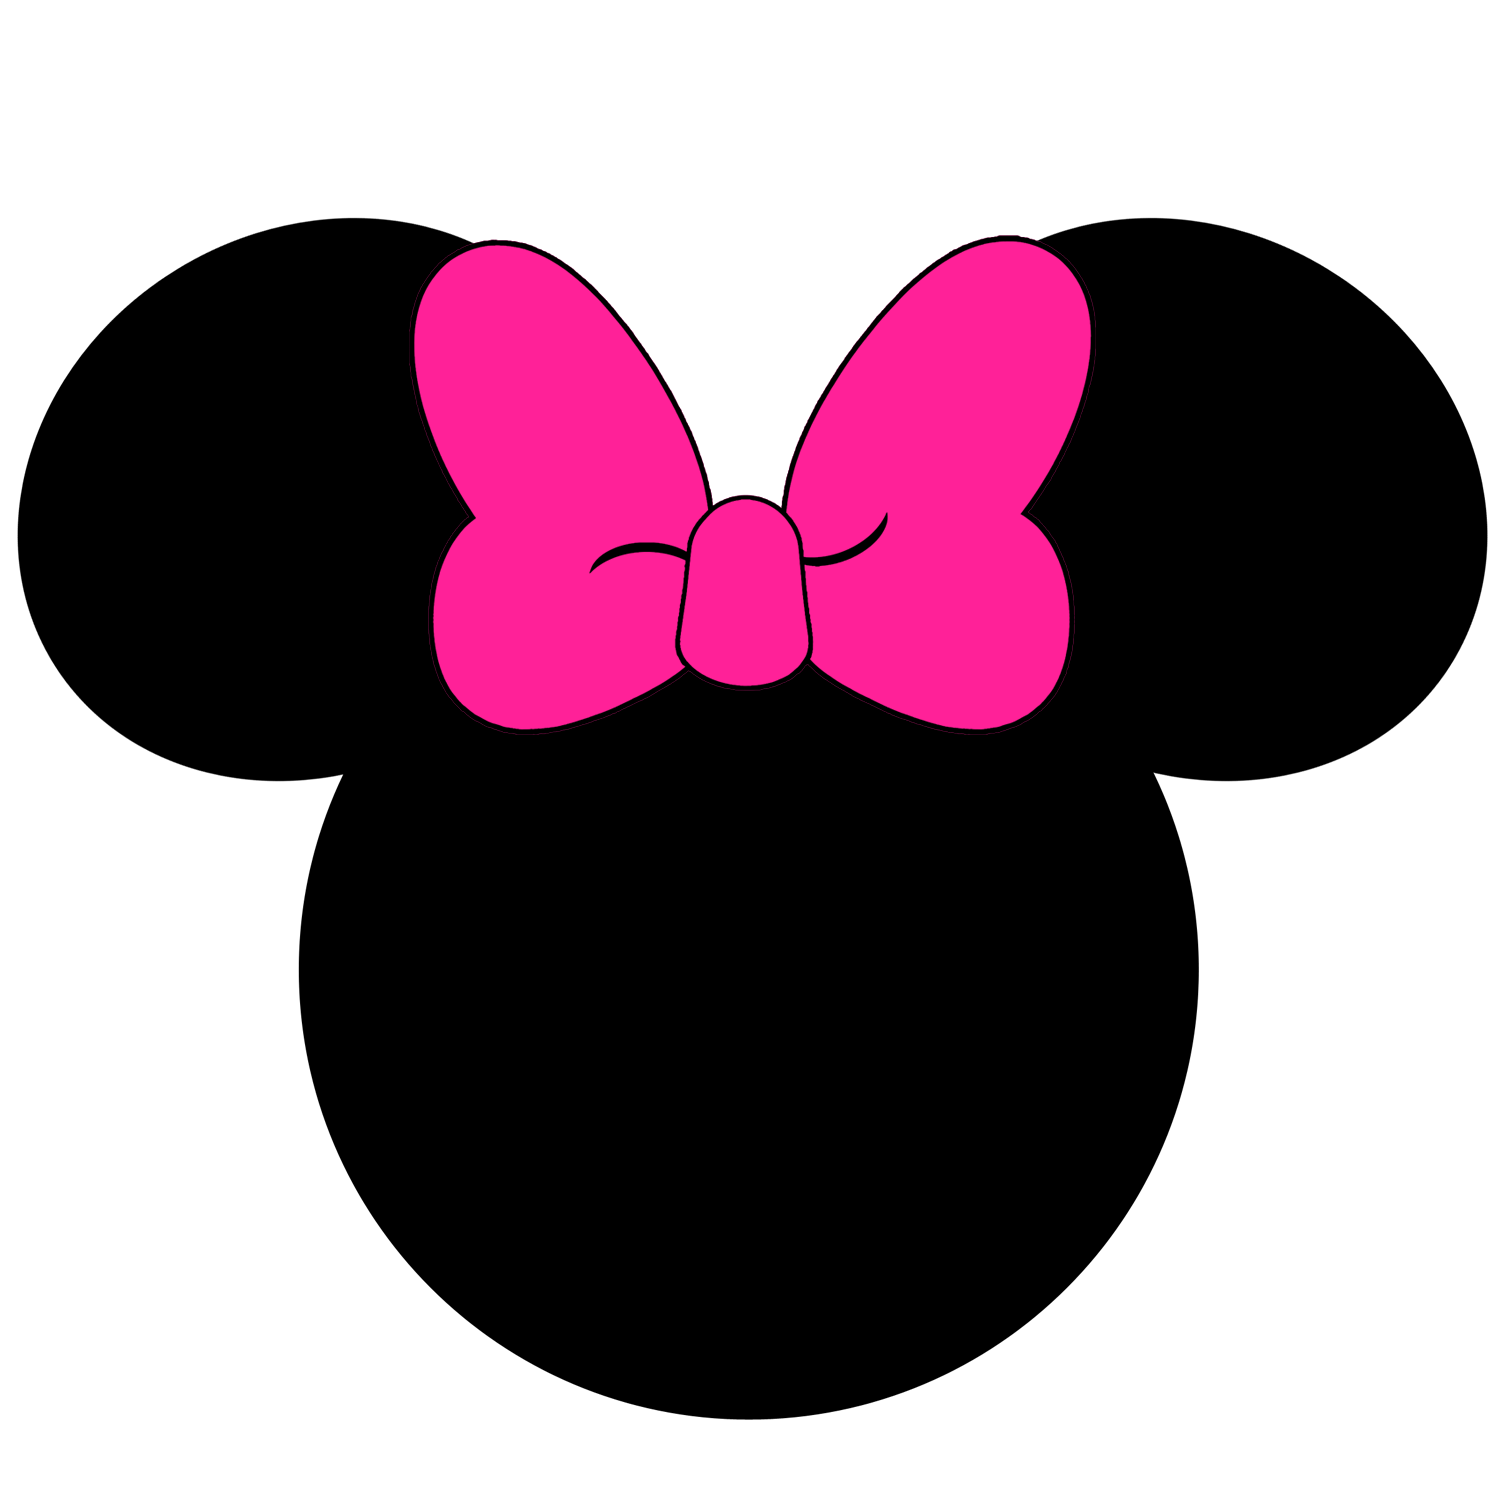
before we dive into the nitty-gritty, let’s talk about why Minnie Bows are such a big deal. they’re not just accessories; they’re a symbol of joy, nostalgia, and that magical disney spirit. so, whether you’re a seasoned crafter or a total beginner, this guide will walk you through everything you need to know to make a Minnie Bow that’s perfect for any occasion. ready to get started? let’s go!
What You’ll Need to Make Minnie Bow
first things first, let’s talk about the materials. having the right tools and supplies is key to making a Minnie Bow that looks polished and professional. here’s a quick rundown of everything you’ll need:
- Felt fabric (red, black, or any color you prefer)
- Hot glue gun or fabric glue
- Scissors
- Headband or alligator clip
- White pom-poms (optional, for that classic Minnie look)
- Ruler or measuring tape
these items are pretty easy to find at your local craft store or even online. if you’re going for that classic Minnie look, red felt with black polka dots is the way to go. but hey, don’t be afraid to get creative and experiment with different colors and patterns. the possibilities are endless!
Choosing the Right Fabric
when it comes to making a Minnie Bow, the fabric you choose can make or break the final product. felt is the go-to material for most crafters because it’s easy to work with and holds its shape well. but if you’re feeling adventurous, you could try using satin or velvet for a more luxurious look. just remember, the fabric should be sturdy enough to keep its shape without fraying.
Step-by-Step Guide to Make Minnie Bow
now that you’ve got your materials ready, it’s time to dive into the actual process of making a Minnie Bow. follow these steps carefully, and you’ll have a bow that’s ready to wear in no time.
Step 1: Cutting the Felt
start by cutting two identical pieces of felt in the shape of a teardrop. these will form the main part of your bow. if you’re not confident in your freehand cutting skills, you can always draw a template on a piece of paper first. just make sure the teardrop shapes are symmetrical so your bow looks balanced.
Step 2: Creating the Bow Shape
once you’ve cut out your teardrop shapes, it’s time to assemble the bow. take one of the teardrop pieces and fold it in half lengthwise. apply a small amount of glue to the folded edge and press it firmly to secure it in place. repeat this process with the second teardrop piece.
Step 3: Attaching the Bow to the Headband
now it’s time to attach your bow to the headband or alligator clip. place the two folded teardrop pieces together, with the pointed ends facing outward. use a generous amount of glue to secure them in place, making sure they’re aligned perfectly. once the glue has dried, attach the bow to your headband or clip using more glue. hold it in place for a few minutes to ensure it’s secure.
Step 4: Adding the Polka Dots
if you’re going for that classic Minnie look, it’s time to add the polka dots. use a small amount of glue to attach white pom-poms to your bow. space them out evenly for a polished look. if you don’t have pom-poms, you can always use white paint or fabric markers to create the dots instead.
Tips and Tricks for Making the Perfect Minnie Bow
here are a few tips and tricks to help you take your Minnie Bow game to the next level:
- use a hot glue gun instead of fabric glue for a stronger hold.
- if you’re worried about fraying, use pinking shears to cut your felt.
- experiment with different sizes and shapes to create a unique look.
- don’t be afraid to add your own personal touch, like glitter or sequins.
these tips might seem small, but they can make a big difference in the final result. remember, the key to crafting is having fun and being creative, so don’t be afraid to try new things!
Common Mistakes to Avoid When Making Minnie Bow
even the best crafters make mistakes sometimes. here are a few common pitfalls to watch out for when making a Minnie Bow:
- using too much glue, which can make the bow stiff and bulky.
- cutting the felt too small, which can make the bow look out of proportion.
- not letting the glue dry completely before wearing the bow.
by avoiding these mistakes, you’ll be well on your way to creating a Minnie Bow that’s both stylish and durable.
Where to Find Inspiration for Your Minnie Bow
if you’re looking for inspiration, there’s no shortage of resources out there. check out pinterest for tons of diy Minnie Bow ideas, or browse instagram for photos of other crafters’ creations. you can also visit craft blogs and youtube channels for tutorials and tips. just remember, the best inspiration comes from your own imagination, so don’t be afraid to put your own spin on things.
Exploring Different Styles and Colors
while the classic red and black Minnie Bow is timeless, there’s nothing wrong with shaking things up a bit. try using different colors, patterns, or even textures to create a bow that’s uniquely yours. maybe you want to go for a pastel pink bow for spring, or a bold neon bow for summer. the possibilities are endless!
How to Customize Your Minnie Bow
customizing your Minnie Bow is one of the best parts of the diy process. here are a few ideas to get you started:
- add a monogram or initial to the bow for a personalized touch.
- use different shapes, like hearts or stars, instead of the traditional teardrop.
- experiment with different sizes to create a statement piece.
the key to customization is thinking outside the box and letting your creativity run wild. who knows? you might just come up with a design that’s even better than the original!
Why DIY Minnie Bows Are Worth the Effort
sure, you could just buy a Minnie Bow at the store, but there’s something special about making one yourself. not only do you save money, but you also get to put your own personal touch on it. plus, there’s nothing quite like the satisfaction of wearing something you made with your own two hands. whether you’re a seasoned crafter or a total beginner, making a Minnie Bow is a fun and rewarding project that’s sure to bring a smile to your face.
Exploring the Benefits of DIY Crafting
crafting isn’t just about making things; it’s also about the process. studies have shown that crafting can reduce stress, improve focus, and even boost your mood. so, while you’re busy cutting felt and gluing pom-poms, you’re also doing something good for your mental health. now that’s what i call a win-win!
Conclusion: Take Action and Start Crafting
so there you have it, folks—a comprehensive guide to making your very own Minnie Bow. whether you’re a disney fanatic, a crafting enthusiast, or just someone looking for a fun weekend project, this guide has everything you need to get started. remember, the most important thing is to have fun and let your creativity shine.
now it’s your turn. grab your materials, roll up your sleeves, and get crafting! and when you’re done, don’t forget to share your masterpiece with the world. who knows? you might just inspire someone else to pick up a pair of scissors and start crafting too. happy crafting, and may all your bows be perfectly polka-dotted!
Table of Contents
- What You’ll Need to Make Minnie Bow
- Step-by-Step Guide to Make Minnie Bow
- Tips and Tricks for Making the Perfect Minnie Bow
- Common Mistakes to Avoid When Making Minnie Bow
- Where to Find Inspiration for Your Minnie Bow
- How to Customize Your Minnie Bow
- Why DIY Minnie Bows Are Worth the Effort
- Conclusion: Take Action and Start Crafting