Ever wondered how to create those sleek, glossy epoxy resin masterpieces? Well, buckle up because we’re diving deep into the world of epoxy resin crafting. Whether you're a beginner or a seasoned pro, this guide will teach you everything you need to know about making epoxy resin projects that’ll blow your mind.
Let’s face it, epoxy resin has taken the crafting world by storm. From stunning coasters to eye-catching jewelry, this material is versatile, durable, and downright amazing. But with so many tutorials out there, it can be overwhelming to know where to start.
Don’t worry, we’ve got you covered. This article isn’t just another run-of-the-mill guide. We’ll break down the process step by step, share insider tips, and even throw in some fun facts to keep things interesting. So, grab your mixing cups and let’s get started!
What is Epoxy Resin Anyway?
Before we dive into the nitty-gritty of how to make epoxy resin, let’s talk about what it actually is. Epoxy resin is a two-part compound that consists of a resin and a hardener. When mixed together, these components create a chemical reaction that turns the liquid mixture into a solid, glossy surface. Cool, right?
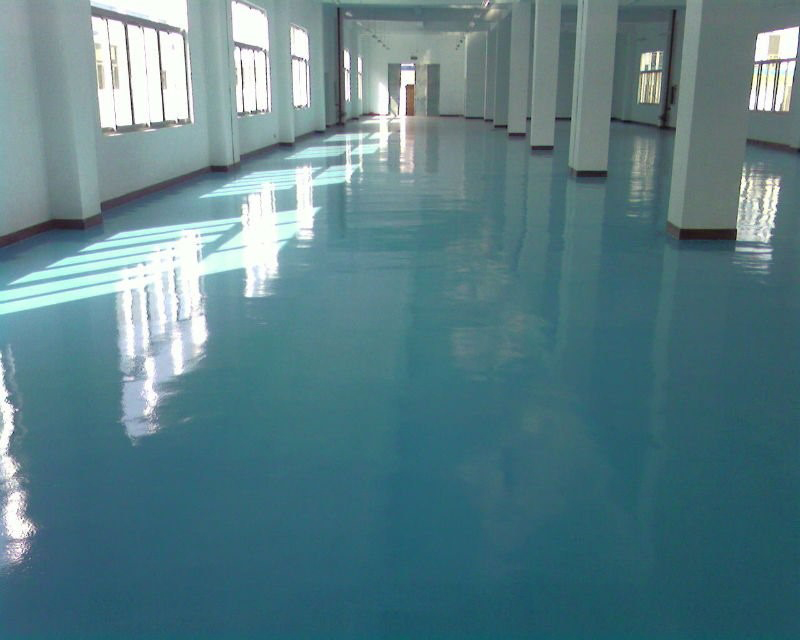
But here’s the kicker—epoxy resin isn’t just for arts and crafts. It’s used in everything from industrial coatings to marine applications. Its durability and resistance to water and chemicals make it a go-to choice for a variety of projects.
Why Should You Use Epoxy Resin?
Let’s get real for a sec. Epoxy resin offers a ton of benefits that make it worth the hype. Here’s why you should consider adding it to your crafting arsenal:
- It creates a super glossy finish that’ll make your projects pop.
- It’s super durable, so your creations will last a long time.
- It’s versatile and can be used on a variety of surfaces.
- It’s easy to work with once you get the hang of it.
And let’s not forget the satisfaction of creating something beautiful with your own two hands. Who doesn’t love that?
Getting Started: Tools and Materials You’ll Need
Now that you know what epoxy resin is and why it’s awesome, let’s talk about what you’ll need to get started. Here’s a quick rundown of the essentials:
- Epoxy resin kit (make sure it’s food-safe if you’re working on kitchen items)
- Mixing cups
- Stir sticks
- Gloves (trust me, you don’t want this stuff on your skin)
- Protective gear like masks and goggles
- A well-ventilated workspace
And don’t forget the surface you’ll be working on. Whether it’s wood, metal, or glass, make sure it’s clean and prepped for resin application.
Choosing the Right Epoxy Resin
Not all epoxy resins are created equal. When choosing a resin, consider the type of project you’re working on. For example, if you’re making jewelry, you’ll want a thinner resin that’s easy to pour. On the other hand, if you’re coating a table, you’ll need a thicker resin that can handle larger surfaces.
Pro tip: Always read the instructions on the resin kit carefully. Different brands may have slightly different mixing ratios and curing times.
Step-by-Step Guide to Making Epoxy Resin
Ready to dive in? Here’s a step-by-step guide to making epoxy resin:
Step 1: Prep Your Workspace
Make sure your workspace is clean, dry, and well-ventilated. You’ll also want to protect your surfaces with drop cloths or newspapers to avoid any accidental spills.
Step 2: Measure and Mix
Using your mixing cups and stir sticks, measure out the resin and hardener according to the instructions on the kit. Mix them together thoroughly, making sure to scrape the sides and bottom of the cup to ensure everything is well combined.
Step 3: Pour and Spread
Once your mixture is ready, pour it onto your prepared surface. Use a brush or spreader to evenly distribute the resin. If you’re working on a larger project, you may need to work in sections to ensure even coverage.
Step 4: Remove Bubbles
Bubbles are a common issue when working with epoxy resin. To get rid of them, use a heat gun or torch to gently pass over the surface. This will pop any bubbles and give you a smooth finish.
Step 5: Let It Cure
Now comes the hardest part—waiting. Depending on the type of resin you’re using, it can take anywhere from a few hours to a few days to fully cure. Resist the urge to touch or move your project during this time.
Tips and Tricks for Success
Here are a few insider tips to help you achieve the best results:
- Work in a dust-free environment to avoid particles settling on your project.
- Use a digital scale for precise measurements.
- Experiment with pigments and dyes to create custom colors.
- Practice on small projects before tackling larger ones.
Remember, practice makes perfect. Don’t be afraid to experiment and learn from your mistakes.
Common Mistakes to Avoid
Even the best crafters make mistakes from time to time. Here are a few common ones to watch out for:
- Not following the mixing ratio correctly.
- Not mixing thoroughly enough.
- Applying resin in an environment that’s too cold or too humid.
- Not removing bubbles properly.
By being aware of these potential pitfalls, you can avoid them and ensure your projects turn out beautifully.
Fixing Mistakes in Epoxy Resin
Mistakes happen, but the good news is that most can be fixed. Here’s how:
- If your resin is too thick, you can try reheating it slightly to thin it out.
- If you have air bubbles, use a torch or heat gun to remove them.
- If your surface isn’t smooth, you can sand it down once it’s cured and apply another layer of resin.
Don’t let mistakes discourage you. They’re all part of the learning process.
Exploring Creative Projects with Epoxy Resin
Now that you know the basics, let’s talk about some fun projects you can tackle with epoxy resin:
Resin Jewelry
Create stunning necklaces, earrings, and rings with epoxy resin. Add pigments, glitter, or even dried flowers to give your jewelry a unique touch.
Resin Coasters
Make a set of personalized coasters by embedding photos, patterns, or even bottle caps in resin. They make great gifts for friends and family.
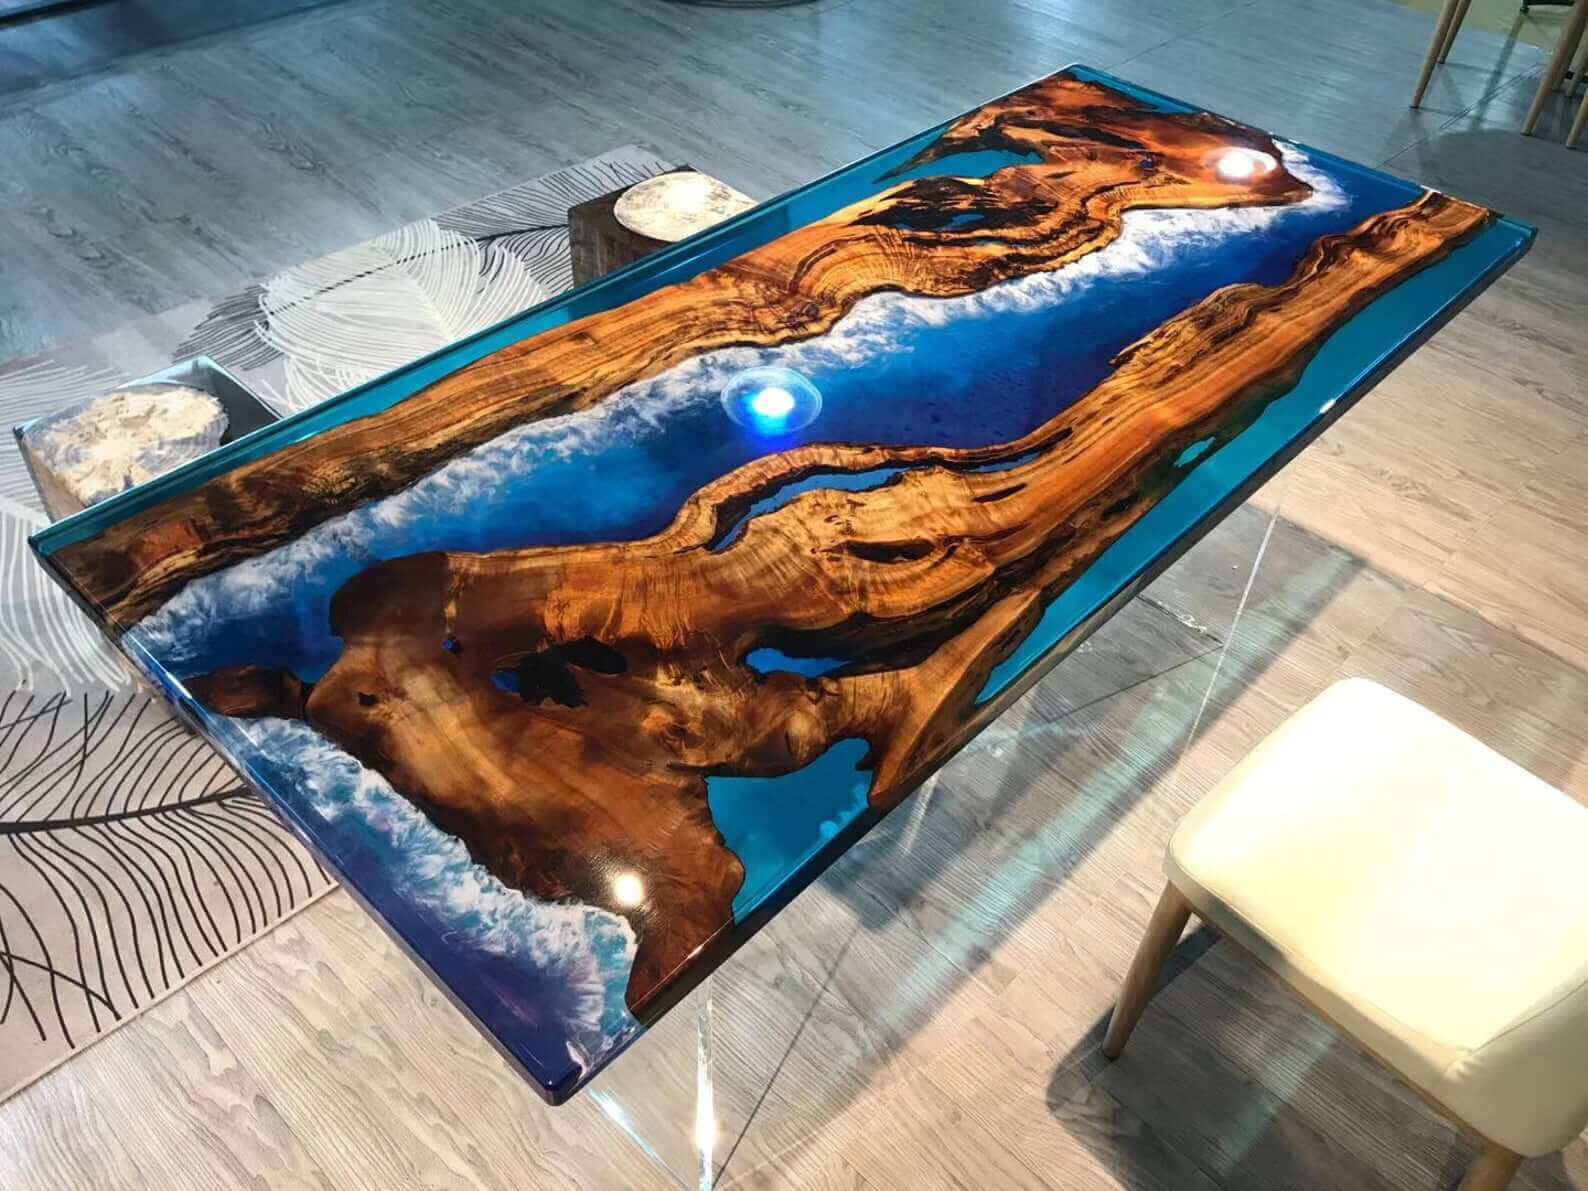
Resin Tabletops
Transform an old table into a work of art with a resin coating. You can even embed decorative items like seashells or marbles for added flair.
The possibilities are endless when it comes to epoxy resin projects. Let your creativity run wild!
Health and Safety Considerations
While epoxy resin is awesome, it’s important to take safety precautions when working with it:
- Always wear gloves and protective gear to avoid skin contact.
- Work in a well-ventilated area or use a respirator.
- Dispose of waste materials properly according to local regulations.
Your health and safety should always come first. By taking the necessary precautions, you can enjoy crafting without worry.
Environmental Impact of Epoxy Resin
It’s worth noting that epoxy resin isn’t the most eco-friendly material out there. However, there are steps you can take to minimize its impact:
- Use only the amount of resin you need to avoid waste.
- Dispose of leftover resin and materials responsibly.
- Look for brands that use sustainable practices.
By being mindful of the environment, you can enjoy your crafting hobby while doing your part to protect the planet.
Conclusion: Take Your Crafting to the Next Level
There you have it—your ultimate guide to making epoxy resin. Whether you’re creating jewelry, coasters, or tabletops, epoxy resin offers endless possibilities for your crafting adventures.
Remember, the key to success is practice, patience, and attention to detail. Don’t be afraid to experiment and try new things. And most importantly, have fun!
Now it’s your turn. Leave a comment below and let us know what kind of epoxy resin project you’re planning to tackle. Or share this article with your crafty friends so they can join in on the fun. Happy crafting!
Table of Contents
- What is Epoxy Resin Anyway?
- Why Should You Use Epoxy Resin?
- Getting Started: Tools and Materials You’ll Need
- Choosing the Right Epoxy Resin
- Step-by-Step Guide to Making Epoxy Resin
- Tips and Tricks for Success
- Common Mistakes to Avoid
- Fixing Mistakes in Epoxy Resin
- Exploring Creative Projects with Epoxy Resin
- Health and Safety Considerations