Imagine this: you're exploring the vast wilderness of Minecraft, and suddenly you stumble upon two towering mountains with a deep ravine in between. Wouldn’t it be cool if you could build your own zipline to glide effortlessly across that gap? Building a zipline in Minecraft is not only an exciting project but also a practical way to navigate challenging terrains. In this guide, we’ll walk you through everything you need to know about creating your very own zipline!
Whether you're a seasoned Minecraft player or just starting out, adding a zipline to your world can elevate your gameplay experience. Not only does it look awesome, but it also saves time when traveling long distances. So, buckle up because we’re about to dive deep into the world of Minecraft ziplines.
Before we get started, let’s clear the air—this isn’t just any ordinary tutorial. We’ll cover everything from the basics of materials needed to advanced tricks that’ll make your zipline stand out. By the end of this guide, you’ll be able to construct a zipline like a pro. Ready? Let’s go!
What You Need to Know Before Starting
Understanding the Basics of Ziplines in Minecraft
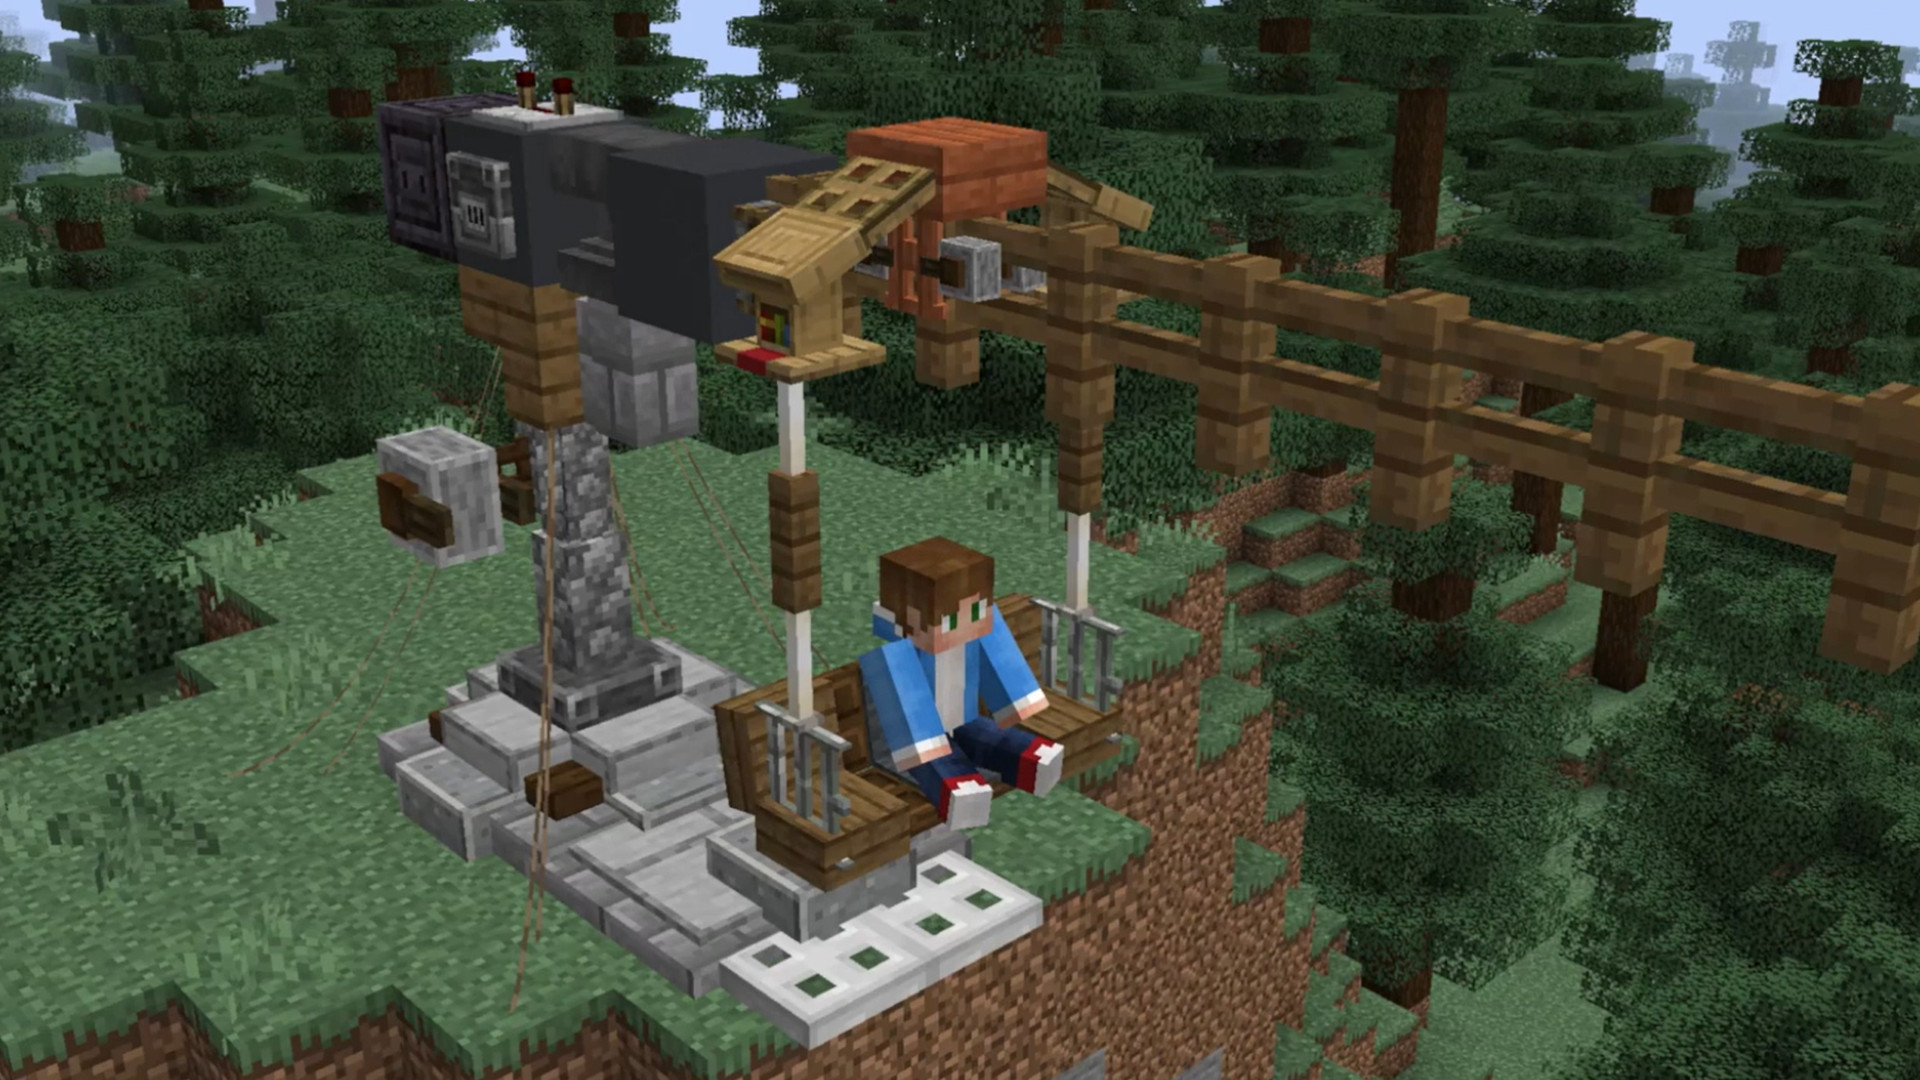
First things first, a zipline in Minecraft is essentially a rope-like mechanism that allows players to slide from one point to another. It’s typically made using tripwires, fences, or even custom redstone contraptions. The beauty of ziplines lies in their simplicity and effectiveness. They’re easy to set up, yet they add a touch of sophistication to your builds.
But here’s the deal: ziplines aren’t just for aesthetics. They serve a functional purpose, especially in survival mode where time management is crucial. Imagine being able to cross large bodies of water or steep cliffs without breaking a sweat. Sounds pretty sweet, right?
Materials Required for Building a Zipline
Now that you understand the concept, let’s talk about the materials you’ll need. Here’s a quick rundown:
- String: This is your primary material. You’ll need lots of it, so start farming spiders or breaking cobwebs.
- Fences: These act as supports for your zipline. You can use wooden fences or iron fences depending on your preference.
- Redstone Components: If you want to add some fancy features, redstone dust, repeaters, and comparators might come in handy.
- Optional Items: Signs, trapdoors, or even boats can enhance the functionality of your zipline.
Remember, the more materials you gather, the better your zipline will turn out. So, don’t skimp on resources!
Step-by-Step Guide to Building a Zipline
Step 1: Choose Your Location Wisely
Picking the right spot for your zipline is crucial. Look for areas with natural obstacles like rivers, cliffs, or canyons. The goal is to create a zipline that solves a navigation problem rather than just being decorative.
Also, consider the distance between the two points. While longer ziplines are impressive, they can be tricky to set up. Start small and work your way up as you gain experience.
Step 2: Gather Your Materials
Once you’ve decided on the location, it’s time to gather your materials. Spend a few minutes farming spiders for string or chopping down trees for wood. If you’re planning to incorporate redstone, make sure you have enough components to bring your ideas to life.
Pro tip: Always carry extra materials. You never know when you might need them!
Step 3: Set Up the Supports
Now comes the fun part—building the supports. Place fences at both ends of your zipline. These will act as anchor points. Make sure they’re sturdy and aligned properly. A wobbly support can ruin the entire structure.
If you’re dealing with uneven terrain, consider using scaffolding or building platforms to ensure a smooth ride.
Step 4: Lay Down the Tripwire
With the supports in place, it’s time to lay down the tripwire. Attach string to each fence post, creating a continuous line between the two points. Be careful not to let the string sag too much, as this can affect the performance of your zipline.
Tip: Use signs or trapdoors to adjust the height and tension of the tripwire. This will give you more control over the zipline’s behavior.
Step 5: Test and Refine
Once everything is set up, it’s time to test your zipline. Jump onto the tripwire and see how it performs. If everything goes smoothly, congratulations! You’ve successfully built your first zipline.
However, if you encounter issues like falling off or getting stuck, don’t worry. This is where the refining process comes in. Adjust the tension, height, or support structures until you achieve the desired results.
Advanced Techniques for Building Ziplines
Adding Redstone Power
For those who want to take their ziplines to the next level, redstone is your best friend. By incorporating redstone mechanisms, you can create automated ziplines that activate when you step onto a pressure plate or flip a lever.
Here’s a simple example: place a pressure plate at the starting point of your zipline. Connect it to a redstone circuit that powers a piston or door, allowing you to glide effortlessly to the other side.
Using Boats for Extra Speed
Another cool trick is using boats to increase the speed of your zipline. Place a boat at the starting point and jump into it before activating the zipline. The combination of momentum and gravity will propel you forward, making the ride faster and smoother.
Just remember to land safely on the other side. Nobody likes a crash landing!
Troubleshooting Common Issues
Why Is My Zipline Sagging?
Sagging is one of the most common problems when building ziplines. This usually happens when the tripwire isn’t taut enough or the supports are too far apart. To fix this, try adding more supports or using signs to tighten the string.
Another solution is to use stronger materials like iron fences instead of wooden ones. They provide better stability and prevent sagging.
Why Am I Falling Off?
Falling off the zipline can be frustrating, especially if you’re halfway through the ride. This usually happens when the tripwire is too high or the tension isn’t right. Lower the height slightly and adjust the tension until you find the sweet spot.
Also, make sure your character is centered on the tripwire. Straying too far to one side can cause you to lose balance and fall.
Design Ideas for Your Zipline
Vertical Ziplines
Who says ziplines have to be horizontal? Vertical ziplines are a great way to navigate steep cliffs or tall structures. Simply place fences at different heights and connect them with tripwire. With a bit of creativity, you can create a zipline that takes you from the ground to the sky.
Multi-Stage Ziplines
For an even more impressive build, try creating a multi-stage zipline. This involves setting up multiple ziplines in sequence, allowing you to travel long distances without stopping. Use signs or trapdoors to transition between stages seamlessly.
Pro tip: Add lighting to your ziplines to make them visible at night. Nothing ruins a good ride like accidentally walking into a spider web in the dark.
Tips for Maintaining Your Zipline
Regular Inspections
Just like any other structure in Minecraft, ziplines require regular maintenance. Inspect the tripwire and supports periodically to ensure they’re in good condition. Replace any broken or worn-out materials immediately.
Also, keep an eye out for mobs that might try to destroy your zipline. Creeper explosions or spider webs can wreak havoc on your carefully crafted contraption.
Upgrades and Enhancements
Don’t be afraid to upgrade your zipline over time. As you gain more experience and resources, consider adding new features like automated gates, faster speeds, or even decorative elements.
Remember, the sky’s the limit when it comes to creativity in Minecraft. Let your imagination run wild!
Conclusion
In this guide, we’ve covered everything you need to know about building a zipline in Minecraft. From choosing the right location to troubleshooting common issues, we’ve provided you with all the tools and knowledge to create your very own zipline masterpiece.
So, what are you waiting for? Grab your pickaxe, gather some string, and get building! And don’t forget to share your creations with the Minecraft community. Who knows, you might inspire others to build their own ziplines.
Lastly, if you enjoyed this guide, be sure to check out our other articles on Minecraft tips and tricks. There’s always something new to learn in the world of Minecraft, and we’re here to help you every step of the way. Happy building!
Table of Contents