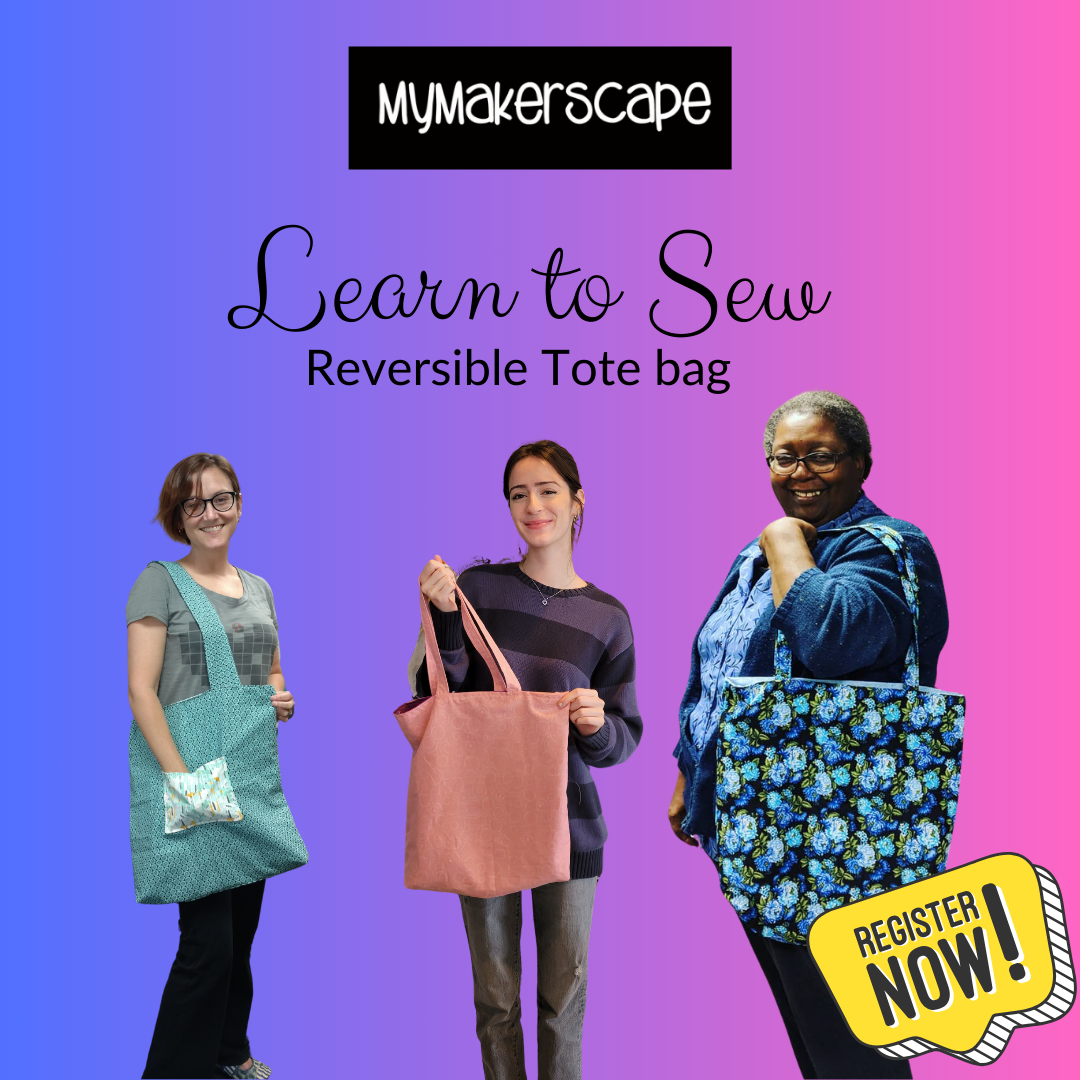
Are you ready to dive into the world of DIY sewing and create something truly unique? Sewing a reversible tote bag is not only a fun project but also an excellent way to reduce waste and express your creativity. Imagine having a bag that’s stylish, functional, and can flip inside out for a completely different look. Sound cool, right? Well, today we’re going to break down exactly how to sew a reversible tote bag step by step, so even if you’re a complete beginner, you’ll be rocking your new creation in no time.
If you’ve been looking for a craft project that’s both practical and eco-friendly, this one’s for you. Reversible tote bags are all the rage right now, and they’re surprisingly easy to make once you get the hang of it. Plus, they’re super customizable—you can choose any fabric patterns, colors, or even add personalized touches like embroidery or patches.
Before we dive into the nitty-gritty of how to sew reversible tote bag, let’s talk about why this project is worth your time. Not only will you save money by making your own bag, but you’ll also reduce your reliance on single-use plastics. And hey, who doesn’t love feeling good about their environmental impact while rocking a stylish accessory?
Why You Should Learn How to Sew a Reversible Tote Bag
There’s something incredibly satisfying about creating something with your own hands. When it comes to sewing, the possibilities are endless, and learning how to sew a reversible tote bag is just the beginning. Here are a few reasons why this project is worth your time:
- It’s eco-friendly: By making your own tote bag, you’re reducing waste and promoting sustainability.
- It’s versatile: A reversible tote bag gives you two looks in one, making it perfect for any occasion.
- It’s cost-effective: You can create a high-quality bag for a fraction of the cost of buying one from a store.
- It’s a confidence booster: There’s nothing like the pride that comes with carrying a bag you made yourself.
Now that you know why this project is so awesome, let’s get into the details of how to sew reversible tote bag. Trust me, it’s easier than it sounds, and by the end of this guide, you’ll be a pro!
What You’ll Need to Get Started
Before we jump into the sewing process, you’ll need to gather a few essential materials and tools. Don’t worry if you don’t have everything on hand—most of these items are readily available at your local craft store or online. Here’s what you’ll need:
Materials
- Fabric (choose two different patterns or colors for the reversible effect)
- Fusible interfacing (optional, but recommended for added structure)
- Coordinating thread
- Zipper (optional, if you want to add a pocket)
- Webbing or fabric strips for handles
Tools
- Sewing machine
- Scissors
- Rotary cutter and mat (optional, but helpful for precision cuts)
- Pins
- Measuring tape or ruler
- Iron and ironing board
Once you’ve gathered all your materials and tools, you’re ready to start sewing. Let’s go!
Step-by-Step Guide: How to Sew Reversible Tote Bag
Now that you’ve got everything you need, let’s break down the process of sewing a reversible tote bag into simple, manageable steps. Don’t worry if you’re new to sewing—this project is beginner-friendly, and we’ll walk you through each step.
Step 1: Measure and Cut Your Fabric
The first step is to measure and cut your fabric. You’ll need two pieces of fabric for the exterior and interior of your bag. Here’s how to do it:
- Decide on the size of your tote bag. A standard size is around 14 inches wide, 14 inches tall, and 4 inches deep, but feel free to adjust based on your preferences.
- Cut two rectangles from each fabric (four total pieces) to the desired size. Remember to add an extra inch for seam allowances.
- Iron your fabric pieces to ensure they’re smooth and wrinkle-free.
Pro tip: Use a rotary cutter and mat for clean, precise cuts. If you don’t have one, a good pair of fabric scissors will do the job just fine.
Step 2: Prepare Your Handles
Your tote bag won’t be much use without handles, so let’s tackle that next. Here’s how:
- Cut your webbing or fabric strips to the desired length. A good starting point is around 24 inches for each handle.
- Fold the fabric strips in half lengthwise and press with an iron to create a clean crease.
- Stitch along the open edges to create a tube. Turn the handles right side out and press again.
Voila! Your handles are ready to go. Now let’s move on to the next step.
Step 3: Assemble the Exterior and Interior Pieces
This step involves sewing the exterior and interior pieces of your tote bag together. Here’s how:
- Place the right sides of your exterior fabric pieces together and pin along the sides and bottom edges.
- Sew along the pinned edges with a 1/2-inch seam allowance. Leave the top edge open.
- Repeat the same process with your interior fabric pieces.
At this point, you should have two separate bags—one for the exterior and one for the interior. Don’t worry, we’ll combine them soon!
Step 4: Add the Handles
Now it’s time to attach your handles. Here’s how:
- Decide where you want your handles to go. A good rule of thumb is to place them about 3 inches in from the sides and 4 inches down from the top edge.
- Pin the handles in place and sew them securely to the exterior fabric. Make sure to reinforce the stitches for added strength.
Once your handles are attached, your exterior piece is almost complete. Let’s move on to the next step.
Step 5: Combine the Exterior and Interior Pieces
This is where the magic happens. Here’s how to combine your exterior and interior pieces:
- Place the interior piece inside the exterior piece, with the right sides facing each other.
- Pin the top edges together and sew around the entire perimeter, leaving a 4- to 5-inch opening on one side for turning.
Pro tip: Take your time with this step to ensure everything lines up perfectly. Precision is key!
Step 6: Turn Your Bag Right Side Out
Now it’s time to turn your bag right side out through the opening you left earlier. Here’s how:
- Use a turning tool or a chopstick to gently push out the corners and edges.
- Press the entire bag with an iron to create crisp, clean lines.
Once your bag is turned right side out, it’s starting to look like a real tote bag, isn’t it? Let’s finish it off with the final step.
Step 7: Close the Opening and Finish the Edges
The final step is to close the opening and finish the edges of your bag. Here’s how:
- Sew the opening shut by hand or using your sewing machine. Make sure to reinforce the stitches for added durability.
- If desired, add a topstitch around the entire perimeter of the bag for a polished look.
Congratulations! You’ve just sewn your very own reversible tote bag. Give yourself a pat on the back—you earned it!
Tips and Tricks for Sewing a Reversible Tote Bag
Now that you’ve learned how to sew reversible tote bag, here are a few tips and tricks to take your project to the next level:
- Experiment with patterns: Don’t be afraid to mix and match different patterns and colors for a unique look.
- Add pockets: Consider adding a few pockets to the interior or exterior of your bag for added functionality.
- Use high-quality materials: Investing in good-quality fabric and thread will make your bag last longer.
- Practice makes perfect: If your first attempt doesn’t turn out exactly as planned, don’t get discouraged. Every project is a learning experience!
With these tips in mind, you’ll be sewing reversible tote bags like a pro in no time.
Common Mistakes to Avoid
Even the most experienced sewers make mistakes from time to time. Here are a few common pitfalls to watch out for when sewing a reversible tote bag:
- Not leaving enough seam allowance: This can result in a bag that’s too small or doesn’t fit together properly.
- Not pressing your seams: Pressing your seams with an iron helps create a professional finish and makes your bag look polished.
- Not reinforcing your handles: Weak handles can lead to a bag that falls apart after just a few uses.
By avoiding these common mistakes, you’ll ensure your tote bag is both stylish and durable.
Conclusion: Start Sewing Your Own Reversible Tote Bag Today
And there you have it—everything you need to know about how to sew reversible tote bag. Whether you’re a seasoned sewer or a complete beginner, this project is a fun and rewarding way to express your creativity and reduce your environmental impact. Not only will you end up with a beautiful, functional bag, but you’ll also gain valuable sewing skills that you can apply to future projects.
So what are you waiting for? Grab your materials, fire up your sewing machine, and get started on your very own reversible tote bag. Don’t forget to share your finished project with friends and family—they’re sure to be impressed! And if you enjoyed this guide, be sure to check out our other sewing tutorials for even more inspiration.
Table of Contents