Have you ever applied glass frosting spray and then regretted it? Don’t worry, you’re not alone! Glass frosting spray is a fantastic solution for privacy, but sometimes you might want to reverse the process. Whether you’ve changed your mind or need to restore the glass to its original state, removing glass frosting spray is easier than you think. In this guide, we’ll walk you through everything you need to know about how to remove glass frosting spray safely and effectively.
Before diving into the nitty-gritty, let’s talk about why this process matters. Glass frosting spray can transform clear glass into frosted glass, giving you that extra privacy you crave. But what happens when you no longer need it? Maybe you’re selling your home, or you’ve decided the frosted look isn’t for you. Whatever the reason, knowing how to remove glass frosting spray is a skill worth mastering.
This guide is packed with practical tips, expert advice, and step-by-step instructions to help you tackle this DIY project with confidence. So grab your tools, roll up your sleeves, and let’s get started!
Table of Contents
- Introduction
- What Is Glass Frosting Spray?
- Why Remove Glass Frosting Spray?
- Tools You Need
- Step-by-Step Process
- Common Mistakes to Avoid
- Tips for a Smooth Removal
- Alternatives to Glass Frosting Spray
- Frequently Asked Questions
- Conclusion
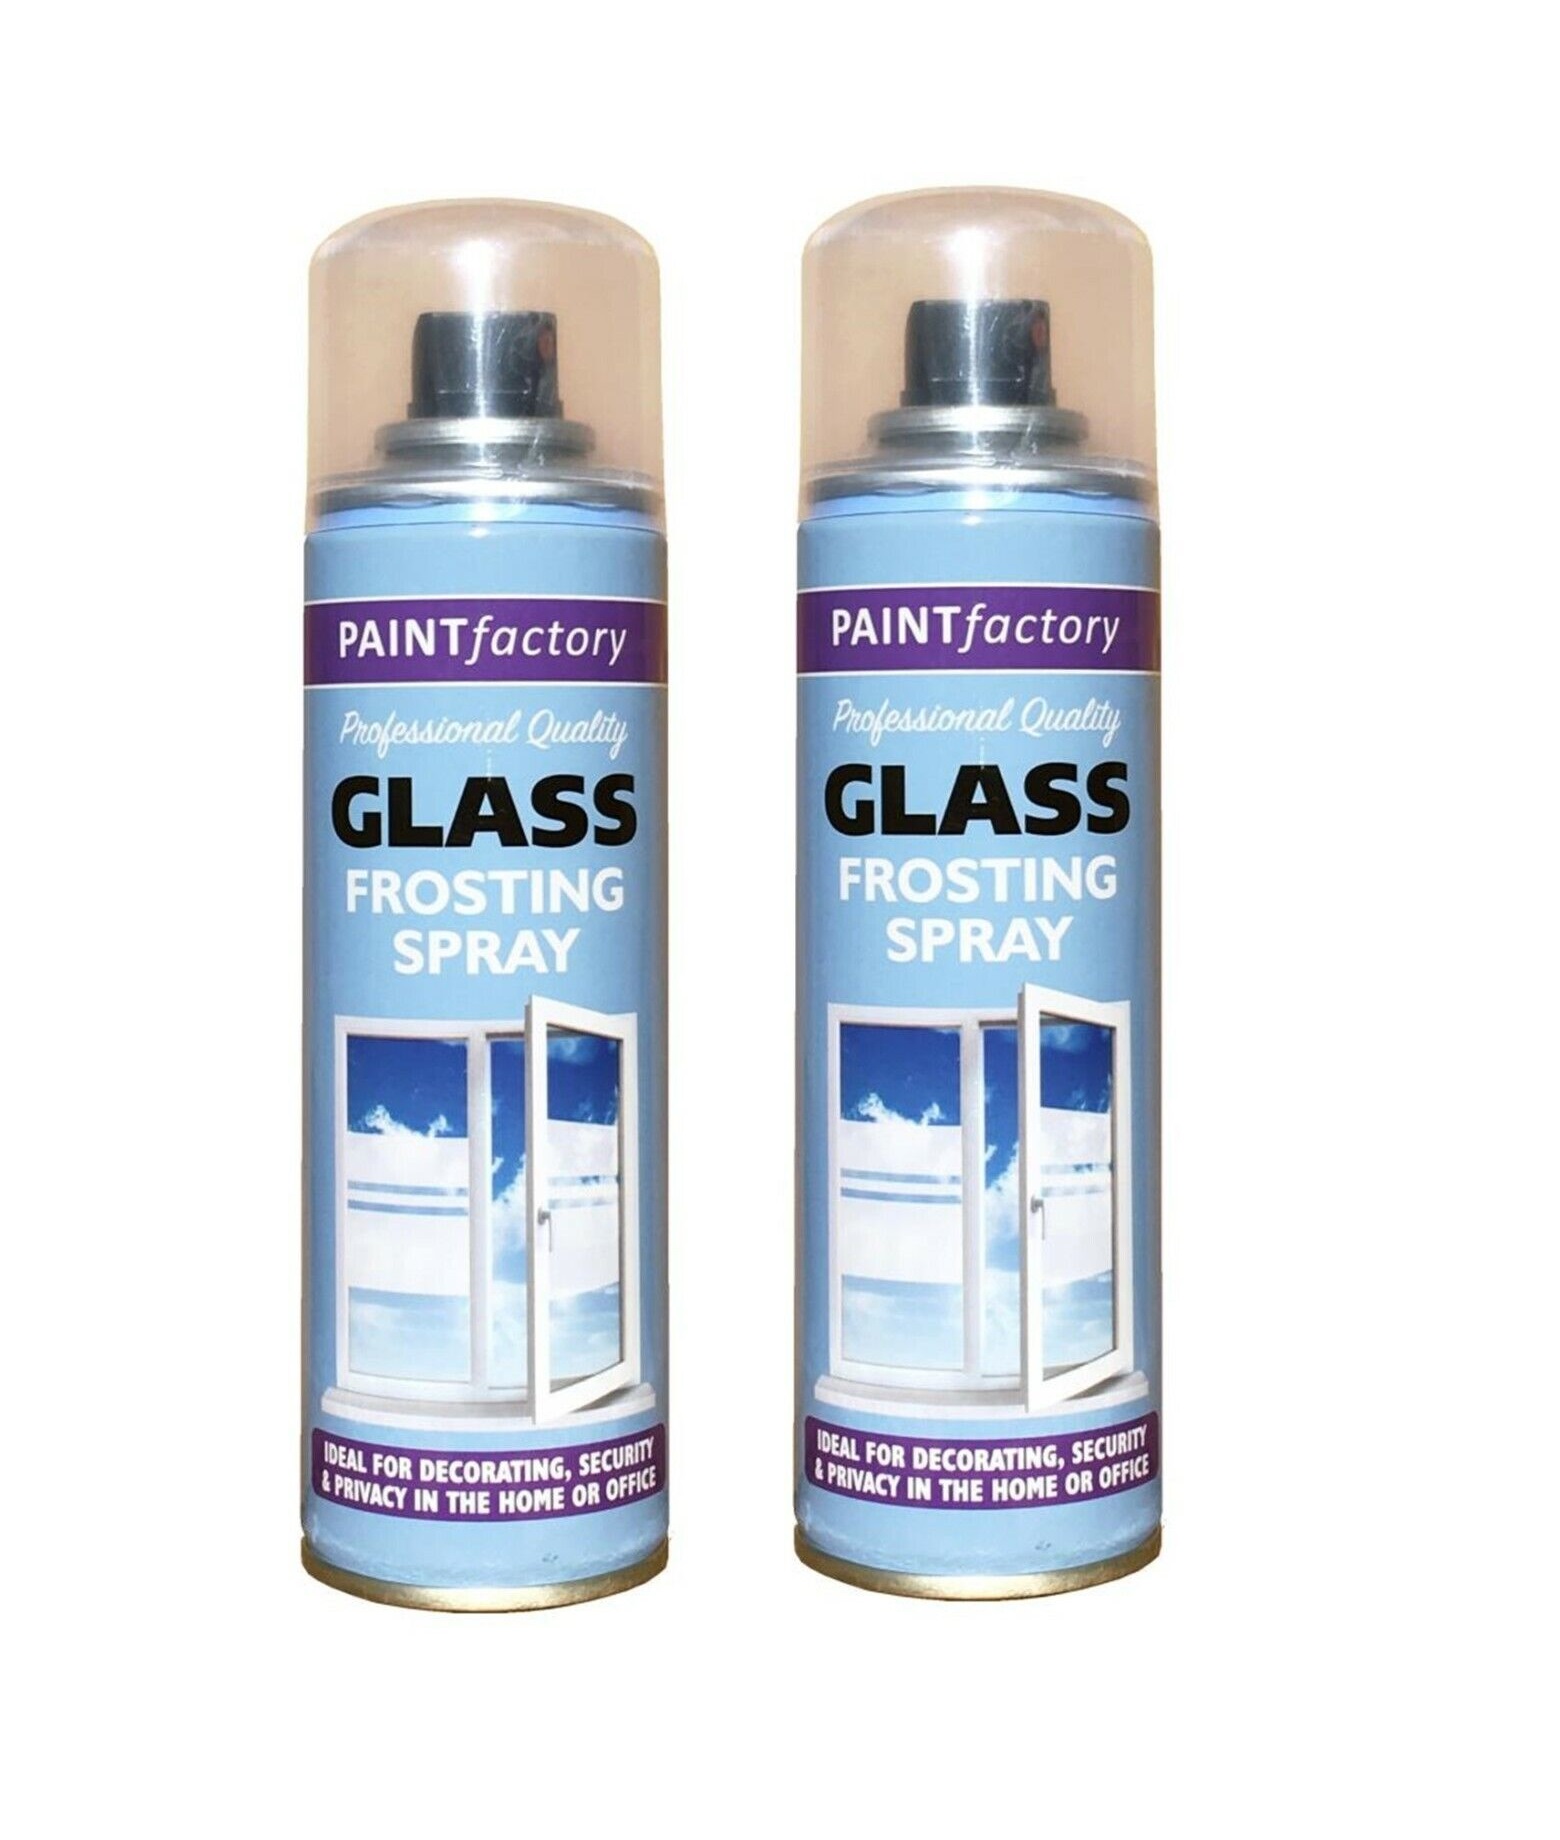
What Is Glass Frosting Spray?
Glass frosting spray is a magical product that can turn any clear glass surface into frosted glass in minutes. It’s a popular choice for homeowners who want to add privacy to their windows, mirrors, or shower doors without permanently altering them. The spray creates a matte finish that diffuses light, making it harder for people to see through the glass. Cool, right?
But here’s the thing: not all glass frosting sprays are created equal. Some are temporary, while others are more permanent. If you’ve used a permanent spray, the removal process might be a bit trickier. Don’t worry, though—we’ve got you covered no matter what type of spray you’ve used.
How Does Glass Frosting Spray Work?
Glass frosting spray works by creating a thin layer of etching on the surface of the glass. This etching disrupts the smooth surface, scattering light and creating that frosted effect. While it’s easy to apply, removing it requires a bit more effort. But with the right tools and techniques, you can restore your glass to its former glory.
Why Remove Glass Frosting Spray?
There are plenty of reasons why you might want to remove glass frosting spray. Maybe you’ve moved into a new home and the frosted glass just doesn’t vibe with your aesthetic. Or perhaps you’ve decided that the frosted look isn’t as practical as you thought. Whatever your reason, removing the spray is a great way to give your glass a fresh start.
Here are a few common scenarios where removing glass frosting spray makes sense:
- You’re selling your home and want to appeal to a wider audience.
- You’ve changed your interior design and want to match your glass with the new look.
- The frosted finish has started to peel or look worn out.
- You simply prefer clear glass for better visibility.
Tools You Need
Before you start the removal process, make sure you have all the necessary tools. Having the right tools will make the job easier and ensure you don’t damage the glass in the process. Here’s what you’ll need:
Basic Tools
- Scrubbing sponge
- Plastic scraper
- Soft cloth
- Gloves
Specialized Tools
- Glass cleaner
- Adhesive remover (like Goo Gone or WD-40)
- Vinegar or rubbing alcohol
These tools might seem basic, but trust us—they’ll make a huge difference in the removal process. And hey, if you don’t have all of them on hand, most of these items are affordable and easy to find at your local store.
Step-by-Step Process
Now that you have your tools ready, let’s dive into the step-by-step process for removing glass frosting spray. Follow these steps carefully to ensure a smooth and successful removal.
Step 1: Prep the Area
Start by clearing the area around the glass. Remove any furniture or decorations that might get in the way. This will give you plenty of space to work and help prevent accidents. You might also want to cover the floor with a drop cloth to catch any drips or spills.
Step 2: Test a Small Area
Before you start scrubbing away, test the removal process on a small, inconspicuous area of the glass. This will help you ensure that the method you’re using won’t damage the glass or leave any residue behind.
Step 3: Apply Adhesive Remover
Using a product like Goo Gone or WD-40, apply a small amount to the frosted area. Let it sit for a few minutes to soften the spray. Then, use a scrubbing sponge to gently rub the area in circular motions. You might notice the frosted layer starting to lift off the glass.
Step 4: Scrape Away Residue
Once the spray has softened, use a plastic scraper to gently scrape away any remaining residue. Be careful not to press too hard, as this could scratch the glass. If you notice any stubborn spots, reapply the adhesive remover and try again.
Step 5: Clean the Glass
After you’ve removed the frosted layer, clean the glass thoroughly with a glass cleaner and a soft cloth. This will remove any leftover residue and leave your glass looking sparkling clean.
Common Mistakes to Avoid
Removing glass frosting spray might seem straightforward, but there are a few common mistakes that could make the process more difficult. Here are some pitfalls to avoid:
- Using abrasive tools: Avoid using metal scrapers or harsh scrubbers, as these can scratch the glass.
- Applying too much pressure: Pressing too hard can damage the glass or leave scratches.
- Skipping the test area: Always test your removal method on a small area first to ensure it works without causing damage.
By avoiding these mistakes, you’ll ensure a smoother and more successful removal process.
Tips for a Smooth Removal
Here are a few extra tips to help you achieve the best results:
- Work in a well-ventilated area to avoid inhaling fumes from the adhesive remover.
- Take breaks if the process feels overwhelming. Removing glass frosting spray can be time-consuming, so don’t rush it.
- Consider using a heat gun or hairdryer to help loosen the spray if it’s particularly stubborn.
These tips might seem simple, but they can make a big difference in the overall outcome of your project.
Alternatives to Glass Frosting Spray
If you’re looking for alternatives to glass frosting spray, there are plenty of options to choose from. Here are a few popular alternatives:
1. Frosted Window Film
Frosted window film is a great alternative to glass frosting spray. It’s easy to apply and remove, and it comes in a variety of finishes and patterns. Plus, it’s reusable, so you can move it to a different area if you change your mind.
2. Etched Glass Stickers
Etched glass stickers are another option for adding privacy to your glass surfaces. They’re easy to install and remove, and they come in a wide range of designs to suit your style.
3. DIY Frosted Glass Paint
If you’re feeling crafty, you can try making your own frosted glass paint using acrylic paint and rubbing alcohol. This method gives you more control over the frosted effect and is completely reversible.
Frequently Asked Questions
Q: Can I remove glass frosting spray with water?
A: Unfortunately, water alone won’t do the trick. Glass frosting spray is designed to be water-resistant, so you’ll need to use an adhesive remover or a similar product to break it down.
Q: Will removing glass frosting spray damage my glass?
A: If done correctly, removing glass frosting spray shouldn’t damage your glass. Just make sure to use gentle tools and avoid applying too much pressure.
Q: How long does it take to remove glass frosting spray?
A: The time it takes to remove glass frosting spray depends on the size of the area and the type of spray used. On average, you can expect the process to take anywhere from 30 minutes to a few hours.
Conclusion
Removing glass frosting spray might seem intimidating at first, but with the right tools and techniques, it’s a task you can tackle with confidence. By following the steps outlined in this guide, you’ll be able to restore your glass to its original state and create a fresh new look for your space.
So what are you waiting for? Grab your tools, roll up your sleeves, and get to work! And don’t forget to share your success story in the comments below. Your experience could help others who are tackling the same project. Happy DIY-ing!