Let’s face it, folks. Escaping from prison isn’t as easy as it looks in the movies, but in The Escapists, it’s all about strategy, creativity, and crafting the right tools. And if there’s one tool that’s practically a VIP pass to freedom, it’s the shovel. So, how do you make a shovel in The Escapists? Stick around, because we’re about to break it down step by step, no holds barred.
In The Escapists, crafting is king. Whether you’re digging through walls, sneaking past guards, or planning your great escape, having the right items can mean the difference between freedom and getting thrown back into solitary. And let’s be real—what’s a prison break without a little dirt-digging action? That’s where the shovel comes in. This humble yet mighty tool is your ticket to digging tunnels, creating distractions, or even hiding contraband. But first, you gotta know how to make it.
Before we dive into the nitty-gritty, let’s set the scene. The Escapists is not just about running away; it’s about planning, timing, and using every resource you can get your hands on. A shovel might seem like a simple item, but trust me, it’s a game-changer. So, grab your crafting materials, and let’s get this party started.
Why Is a Shovel Essential in The Escapists?
Here’s the deal: a shovel isn’t just a tool—it’s a lifeline. In The Escapists, digging is one of the primary ways to create escape routes, whether it’s busting through walls, digging tunnels, or uncovering hidden items. Without a shovel, you’re basically stuck playing hide-and-seek with the guards, and let’s be honest, that’s not a fun game.
Think of it this way: the shovel is like your Swiss Army knife in the world of prison breaks. It’s versatile, reliable, and oh-so-effective. Whether you’re digging for freedom or just trying to move some dirt to cover your tracks, a shovel is your go-to gadget. Plus, it’s one of the few tools that can actually help you escape without making too much noise. And in a prison where every sound is magnified, silence is golden.
Key Benefits of Using a Shovel
Let’s break it down into bite-sized chunks:
- Digging Tunnels: Need a secret passage to freedom? A shovel’s got your back.
- Hiding Contraband: Bury those suspicious items and keep them safe from prying eyes.
- Breaking Walls: Some walls are weaker than they look. A shovel can help you break through them.
- Creative Uses: Need a distraction? Use the shovel to dig up some dirt and create chaos.
See what I mean? A shovel isn’t just a tool; it’s a multi-purpose escape artist’s best friend.
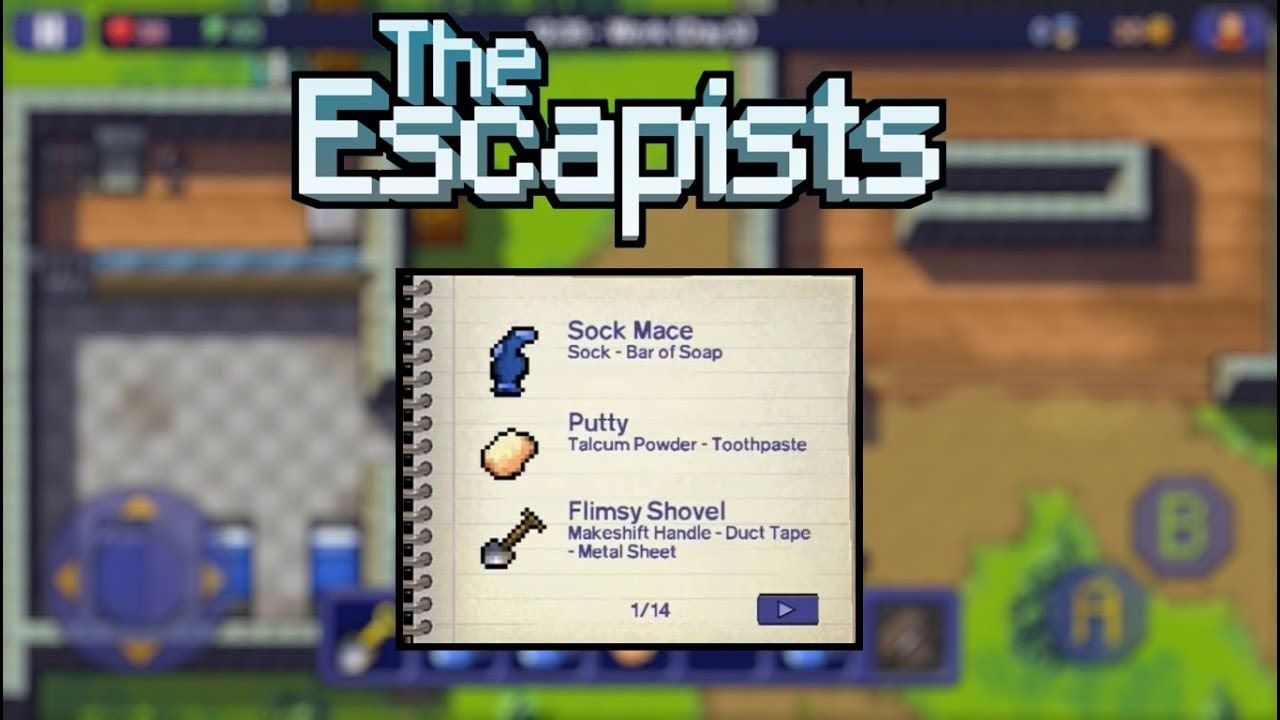
How to Make a Shovel in The Escapists
Alright, let’s get to the main event. Crafting a shovel in The Escapists is a straightforward process, but it requires a bit of patience and resourcefulness. Here’s how you do it:
First things first, you need to gather your materials. In The Escapists, crafting requires specific items, and for a shovel, you’ll need:
- Wood: This is your handle. You can find wood by chopping down trees or scavenging around the yard.
- Metal: This is your blade. Metal can be found in workshops, kitchens, or even by dismantling other items.
Once you’ve got your materials, head over to a crafting bench. These are usually located in workshops or hidden areas. Combine the wood and metal, and voilà! You’ve got yourself a shiny new shovel. Easy peasy, right?
Where to Find Crafting Materials
Now, I know what you’re thinking: “Where do I even start looking for wood and metal?” Don’t worry, I’ve got you covered. Here’s a quick guide:
- Wood: Look for trees in the yard, or check out the carpentry area if your prison has one.
- Metal: Scavenge the kitchen for pots and pans, or dismantle metal objects you find lying around.
Pro tip: Keep an eye out for guards. Scavenging can be risky business, so make sure you’re not caught red-handed.
Step-by-Step Guide to Crafting a Shovel
Let’s walk through the process step by step. Grab a snack, because this is where the magic happens:
Step 1: Gather Your Materials
Head out into the yard and start chopping down trees for wood. Don’t forget to check the kitchen for metal scraps. Every little bit helps.
Step 2: Find a Crafting Bench
Not all prisons are created equal, so you’ll need to do a bit of exploring to find a crafting bench. They’re usually located in workshops or hidden areas.
Step 3: Combine Your Materials
Once you’ve got your wood and metal, it’s time to craft. Place the materials on the crafting bench, and watch as your shovel takes shape.
Tips for Efficient Crafting
Crafting a shovel might seem straightforward, but there are a few tricks to make the process smoother:
- Time Your Actions: Guards have routines. Use their patterns to your advantage and craft when they’re not looking.
- Be Stealthy: Scavenging materials can attract attention. Stick to the shadows and avoid drawing suspicion.
- Use Diversions: Create distractions to keep guards busy while you craft. A little chaos can go a long way.
Common Mistakes to Avoid
Even the best escape artists make mistakes. Here are a few common pitfalls to watch out for:
Mistake #1: Getting Caught Scavenging
Guards are always on the lookout for suspicious activity. If you’re caught scavenging, you could end up in solitary. Stay low and keep your head down.
Mistake #2: Crafting Without a Plan
Having a shovel is great, but it’s useless if you don’t have a plan. Figure out where you’re going to dig and what you’re going to do with the shovel before you craft it.
Mistake #3: Ignoring Guard Routines
Guards have schedules, and knowing them can be the difference between success and failure. Pay attention to their movements and time your actions accordingly.
How to Avoid Detection
Here are a few strategies to stay under the radar:
- Blend In: Act natural. Don’t draw attention to yourself by acting suspiciously.
- Use Distractions: Create diversions to keep guards busy while you work.
- Stick to the Shadows: Guards are less likely to notice you if you stay out of the light.
Advanced Techniques for Shovel Crafting
Ready to take your shovel crafting to the next level? Here are a few advanced techniques to try:
Technique #1: Upgrade Your Shovel
Once you’ve crafted your basic shovel, look for ways to upgrade it. Add reinforcements or modify the design to make it more effective.
Technique #2: Experiment with Materials
Not all wood and metal are created equal. Experiment with different materials to see what works best for your needs.
Technique #3: Combine Tools
Why stop at a shovel? Combine it with other tools to create even more effective escape devices. The possibilities are endless.
Pro Tips for Escape Artists
Here are a few insider tips from the pros:
- Plan Ahead: Know where you’re going before you start digging.
- Stay Flexible: Things don’t always go as planned. Be ready to adapt on the fly.
- Work with Others: Sometimes, two heads are better than one. Team up with fellow inmates to increase your chances of success.
Real-Life Examples of Successful Escapes
Let’s take a look at some real-life examples of successful escapes using shovels:
Example #1: The Tunnel Escape
In one famous escape, a group of inmates used shovels to dig a tunnel under the prison walls. They planned carefully, worked in shifts, and managed to slip past the guards undetected.
Example #2: The Distraction Escape
Another group used shovels to create a diversion. They dug up dirt in a high-traffic area, causing chaos and confusion, which allowed them to slip away unnoticed.
Lessons Learned from Real-Life Escapes
Here are a few lessons to take away:
- Planning is Key: Without a solid plan, even the best tools won’t help.
- Teamwork Matters: Working together can increase your chances of success.
- Think Outside the Box: Sometimes, the most unexpected strategies are the most effective.
Conclusion: Your Path to Freedom
And there you have it, folks. Crafting a shovel in The Escapists might seem like a simple task, but it’s a crucial step on the road to freedom. Remember, it’s not just about the tools—it’s about the planning, the strategy, and the execution. Stay stealthy, stay smart, and most importantly, stay one step ahead of the guards.
So, what are you waiting for? Grab your materials, head to the crafting bench, and start digging your way to freedom. And don’t forget to share your escape stories in the comments below. Who knows? You might just inspire the next great escape artist.
Now, go forth and conquer. The road to freedom is waiting for you!
Table of Contents
- Why Is a Shovel Essential in The Escapists?
- How to Make a Shovel in The Escapists
- Where to Find Crafting Materials
- Step-by-Step Guide to Crafting a Shovel
- Tips for Efficient Crafting
- Common Mistakes to Avoid
- How to Avoid Detection
- Advanced Techniques for Shovel Crafting
- Pro Tips for Escape Artists
- Real-Life Examples of Successful Escapes