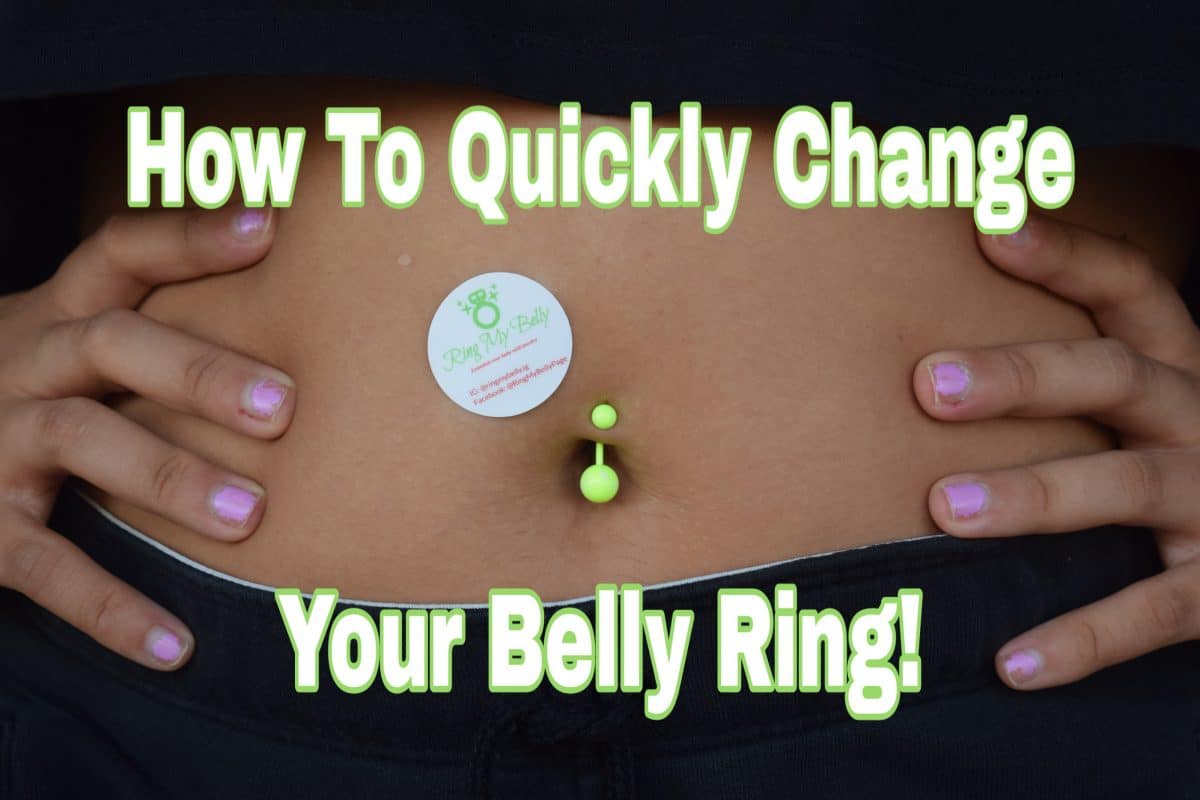
Changing your belly button ring might seem intimidating, but trust me, it's easier than you think! Whether you're switching up your style or simply need to clean your jewelry, this guide has got you covered. From tools to tips, we'll walk you through every step of the process so you can rock your new bling with confidence.
There's something magical about belly button piercings. They're a bold statement, a form of self-expression, and let's face it—super cool. But like any accessory, sometimes you just want a change. Maybe you're tired of that old hoop or ready to try something new. Whatever the reason, knowing how to change your belly button ring is a skill worth mastering.
Before we dive in, let's address the elephant in the room: Is it safe to do this yourself? Absolutely! With the right tools, a little patience, and some guidance, you can swap out your belly button jewelry without a hitch. So grab your tools and let's get started!
Here’s what we’ll cover in this guide:
- Tools you’ll need
- Step-by-step instructions
- Tips for maintaining hygiene
- Common mistakes to avoid
- And more!
Why You Should Learn How to Change Your Belly Button Ring
Let’s be real—belly button rings are awesome, but they’re not one-size-fits-all. Your style evolves, and so should your jewelry. Knowing how to change your belly button ring means you can experiment with different designs, colors, and even sizes. Plus, it’s a great way to keep your piercing clean and healthy.
Another perk? You save money by doing it yourself. Professional jewelers charge for simple swaps, and if you’re switching rings frequently, those costs can add up fast. So why not learn how to do it yourself?
Tools You’ll Need to Change Your Belly Button Ring
Alright, let’s talk tools. You don’t need a fancy kit or anything super complicated. Here’s a quick list of everything you’ll need:
- A clean pair of hands (wash ‘em thoroughly!)
- Alcohol wipes or rubbing alcohol
- A fresh belly button ring (make sure it fits your piercing)
- Tweezers (optional but helpful)
- A small mirror (for those hard-to-see spots)
Pro tip: Always sanitize your tools before and after use. This ensures your piercing stays clean and reduces the risk of infection.
Step-by-Step Guide: How to Change Your Belly Button Ring
Ready to roll? Follow these steps carefully, and you’ll have your new belly button ring in no time.
1. Clean Your Piercing Area
Start by washing your hands with soap and water. Then, use an alcohol wipe to gently clean around your piercing. This step is crucial because bacteria can easily enter the area during the process.
2. Remove the Old Ring
Here’s where things get interesting. If your belly button ring has a ball closure, twist it gently until it comes apart. For threaded rings, unscrew the bead carefully. If it feels stuck, don’t force it—apply a little saline solution to loosen things up.
3. Insert the New Ring
Now comes the fun part. Hold the new ring steady with one hand and insert the post into your piercing. If it’s a ball closure, twist the ball back into place. For threaded rings, screw the bead on tightly but not too tight—you don’t want to irritate your skin.
4. Double-Check Everything
Take a moment to ensure everything is secure. Wiggle the ring slightly to confirm it’s snug. If it feels loose, adjust it accordingly. And remember, a little discomfort is normal, but if it hurts, stop immediately.
Tips for Maintaining Hygiene
Hygiene is key when changing your belly button ring. Here are some tips to keep your piercing happy and healthy:
- Wash your hands before touching your piercing.
- Clean your new ring with saline solution daily for the first few days.
- Avoid using harsh chemicals like hydrogen peroxide—it can dry out your skin.
- Stay away from pools or hot tubs until your piercing heals completely.
Remember, cleanliness isn’t just about the jewelry—it’s about the entire area. Keeping your skin healthy will help prevent infections and promote faster healing.
Common Mistakes to Avoid
Mistakes happen, but they’re easy to avoid if you know what to look out for. Here are a few common pitfalls to watch out for:
1. Forcing the Ring
Never force a ring into place. If it doesn’t fit easily, take a break and try again later. Forcing it can damage your piercing or cause irritation.
2. Using Dirty Tools
Unsanitized tools are a breeding ground for bacteria. Always clean your tools before and after use to minimize the risk of infection.
3. Ignoring Pain Signals
If something feels wrong, trust your instincts. Pain, swelling, or redness could indicate an issue. Stop immediately and consult a professional if needed.
What to Do If You Encounter Issues
Sometimes, even the best-laid plans go awry. If you run into problems while changing your belly button ring, here’s what to do:
1. Infection Signs
Watch for signs of infection, such as increased redness, swelling, or discharge. If you notice any of these symptoms, see a doctor or piercer right away.
2. Ring Won’t Fit
If the new ring doesn’t fit, it might be the wrong size. Measure your old ring to ensure the new one matches. If it still doesn’t work, consider visiting a professional piercer for assistance.
Choosing the Right Belly Button Ring
Not all belly button rings are created equal. When shopping for a new piece, consider the following:
1. Material Matters
Opt for high-quality materials like surgical steel, titanium, or gold. These are less likely to cause allergic reactions or irritations.
2. Size Compatibility
Make sure the new ring matches the gauge and length of your current piercing. Mismatched sizes can lead to discomfort or even damage your piercing.
3. Style Preferences
From hoops to bars, the options are endless. Choose a style that complements your personality and outfits. Who says practicality can’t be fun?
How Often Should You Change Your Belly Button Ring?
There’s no hard-and-fast rule here, but most people change their belly button rings every few months. However, if your piercing is still healing, avoid swapping rings too frequently. Give your body time to adjust to the new jewelry.
Expert Advice: Consult a Professional Piercer
Even the most experienced DIY-ers benefit from professional advice. If you’re unsure about anything, visit a licensed piercer. They can answer your questions, recommend suitable jewelry, and provide tips tailored to your specific needs.
Conclusion: Rock Your New Belly Button Ring with Confidence
Changing your belly button ring doesn’t have to be scary. With the right tools, techniques, and a dash of confidence, you can master this skill in no time. Remember to prioritize hygiene, choose quality jewelry, and listen to your body. And hey, don’t forget to show off your new bling!
Have questions or tips of your own? Drop a comment below and let’s chat. Happy piercing!