Drawing a singer might sound intimidating, but trust me, it’s a skill anyone can master. Whether you’re sketching your favorite pop star or creating an original piece, this guide will help you every step of the way. In today’s world, learning how to draw a singer isn’t just about art—it’s about expressing yourself, capturing emotions, and bringing life to paper. So grab your pencil, and let’s dive in!
Art has always been a universal language, and when it comes to drawing singers, there’s something magical about capturing their essence on paper. It’s not just about replicating their face—it’s about bringing their personality, vibe, and energy into your artwork. And hey, even if you’re not a professional artist, don’t sweat it. This guide is here to make sure you’re set up for success.
From understanding proportions to adding intricate details, we’re going to break down the entire process of how to draw a singer into manageable steps. By the time you finish reading this, you’ll have all the tools, tips, and tricks you need to create stunning pieces that’ll impress even the toughest critics (and your friends).
Table of Contents
- Biography of Famous Singers
- Tools You Need to Get Started
- Creating a Basic Sketch
- Understanding Face Proportions
- Capturing Expressions and Emotions
- Adding Details Like Hair and Clothing
- Mastering Shading Techniques
- Using Colors for Impact
- The Importance of Practice
- Finding Inspiration from Real Singers
Biography of Famous Singers
Before we dive into the technical aspects of drawing a singer, let’s take a moment to appreciate some of the legends who’ve inspired millions of artists around the globe. Here’s a quick rundown of a few famous singers whose iconic looks could be perfect subjects for your artwork:
Famous Singers to Draw
Here’s a table with some key details about singers who could inspire your next masterpiece:
| Name | Birthdate | Genre | Famous For |
|---|---|---|---|
| Freddie Mercury | September 5, 1946 | Rock | Queen’s lead vocalist, powerful voice |
| Whitney Houston | August 9, 1963 | Pop | “I Will Always Love You,” incredible range |
| Ariana Grande | June 26, 1993 | Pop | Powerhouse vocals, unique hairstyles |
| Elvis Presley | January 8, 1935 | Rock ‘n’ Roll | “King of Rock ‘n’ Roll,” iconic style |
These singers aren’t just famous for their voices—they also have distinct appearances that make them ideal subjects for artists. Let’s move on to the tools you’ll need to bring these legends to life on paper.
Tools You Need to Get Started
When learning how to draw a singer, having the right tools can make all the difference. Here’s what you’ll need:
- Pencils (various hardness levels like HB, 2B, 4B)
- Eraser (both kneaded and standard)
- Sketchbook or drawing paper
- Blending tools like blending stumps or tortillons
- Colored pencils or markers (optional)
Investing in quality materials might seem like a lot at first, but trust me, they’ll pay off big time in the long run. And hey, if you’re on a budget, start small and upgrade as you go.
Creating a Basic Sketch
Alright, now that you’ve got your tools ready, let’s talk about creating a basic sketch. This is where you lay the foundation for your masterpiece. Start with light, gentle strokes to outline the singer’s head, shoulders, and any other key features.
Step-by-Step Guide
Here’s a quick guide to help you create a solid base:
- Sketch a circle for the head.
- Add guidelines for the face (vertical line down the center, horizontal lines for eyes, nose, and mouth).
- Outline the jawline and neck.
- Roughly sketch the shoulders and upper body.
Remember, this is just the beginning. You’ll refine everything later, so don’t stress if things look a little messy right now.
Understanding Face Proportions
Proportions are key when it comes to drawing a singer. Getting the face just right will make your artwork look realistic and lifelike. Here are some tips to help you nail those proportions:
- The eyes should be roughly halfway down the face.
- The nose should align with the bottom of the eyes.
- The mouth should be about halfway between the nose and chin.
- Ears should line up with the eyes and nose.
These guidelines might seem simple, but they’re crucial for creating a balanced and realistic portrait. Practice makes perfect, so don’t be afraid to experiment and tweak as needed.
Capturing Expressions and Emotions
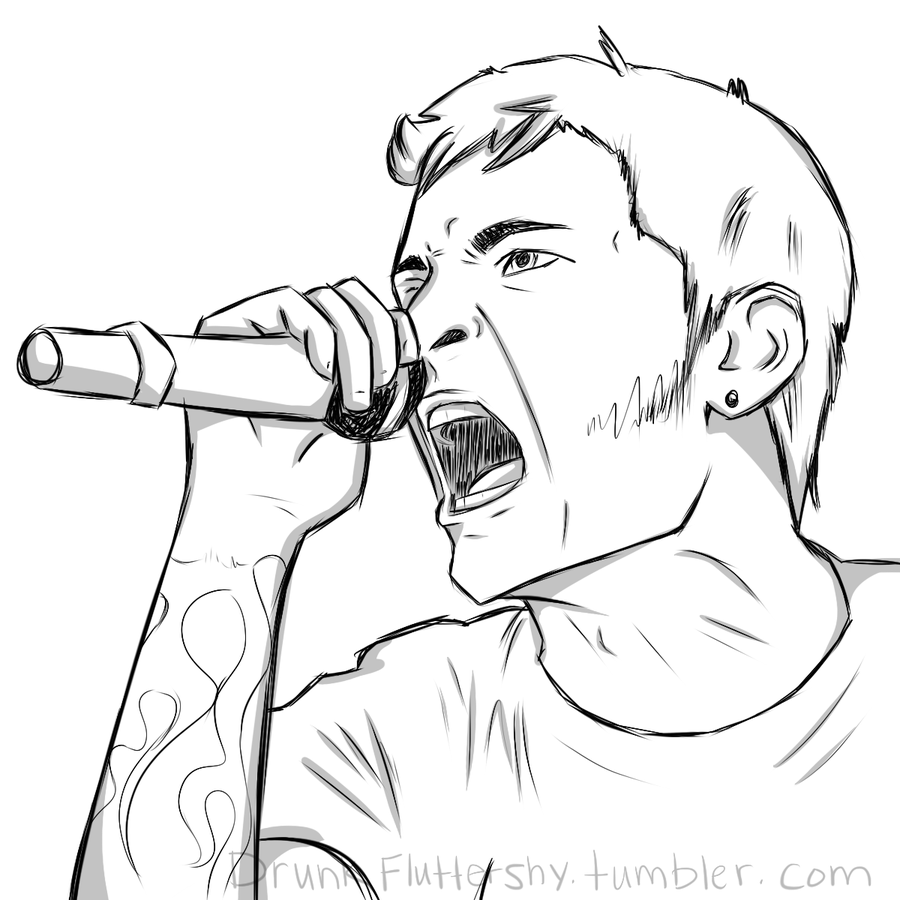
One of the coolest things about drawing a singer is capturing their emotions. Whether they’re belting out a powerful ballad or rocking the stage with energy, their expressions tell a story. Here’s how to bring those emotions to life:
Tips for Capturing Expressions
- Pay attention to the eyes—they’re often the most expressive part of the face.
- Study photos of singers performing to see how their facial muscles move.
- Experiment with different mouth shapes to convey different moods.
Think about the singer’s personality and style. Are they known for their dramatic flair or their laid-back vibe? Let that influence your artwork.
Adding Details Like Hair and Clothing
Once you’ve got the basics down, it’s time to add some flair. Hair and clothing are two of the most fun aspects of drawing a singer. Here’s how to make them pop:
How to Draw Hair
- Study the singer’s hairstyle and break it down into simple shapes.
- Use shading to create depth and volume.
- Don’t forget to add highlights and lowlights for realism.
How to Draw Clothing
- Focus on the singer’s signature style—do they rock flashy outfits or keep it simple?
- Use folds and creases to show movement and texture.
- Experiment with patterns and textures for added interest.
These details might seem small, but they can make a huge difference in the overall look of your drawing.
Mastering Shading Techniques
Shading is what gives your drawing depth and dimension. Here are some techniques to help you master the art of shading:
- Use cross-hatching to create texture and shadow.
- Experiment with stippling for a more delicate effect.
- Blend shades smoothly using blending stumps or tortillons.
Remember, shading isn’t just about making things darker—it’s about creating contrast and balance. Take your time and observe how light interacts with the singer’s features.
Using Colors for Impact
If you’re feeling adventurous, adding color to your drawing can take it to the next level. Here’s how to do it right:
Color Tips
- Start with light layers and gradually build up intensity.
- Use complementary colors to create contrast and depth.
- Don’t be afraid to experiment with bold colors for a dramatic effect.
Color can add emotion and personality to your artwork, so let your creativity shine!
The Importance of Practice
Let’s face it—no one becomes an expert overnight. Practice is key when it comes to learning how to draw a singer. The more you practice, the better you’ll get. Here are some tips to keep you motivated:
- Set aside time each day to practice, even if it’s just for 10 minutes.
- Challenge yourself with new subjects and techniques.
- Join online communities or art groups to get feedback and inspiration.
Remember, every great artist started somewhere. Keep pushing yourself, and you’ll be amazed at how far you can go.
Finding Inspiration from Real Singers
Finally, don’t underestimate the power of inspiration. Look to real singers for ideas and motivation. Study their photos, watch their performances, and let their energy fuel your creativity. Here are some ways to find inspiration:
- Follow your favorite singers on social media for behind-the-scenes glimpses.
- Attend concerts or watch live performances to see singers in action.
- Explore art galleries or online platforms to see how other artists interpret singers.
Inspiration is everywhere—you just have to keep your eyes open for it.
Conclusion
Learning how to draw a singer might seem daunting at first, but with the right tools, techniques, and mindset, anyone can do it. From understanding proportions to mastering shading and adding color, each step brings you closer to creating stunning artwork that captures the essence of your favorite singers.
So what are you waiting for? Grab your pencil, find a photo of your favorite singer, and start sketching. And don’t forget to share your creations with the world—your art might just inspire someone else to pick up a pencil and start drawing too.
Until next time, keep creating, keep exploring, and most importantly, keep believing in yourself. You’ve got this!