Ever wondered how you can bring the magic of Harry Potter into your home? Well, buckle up, because today we’re diving into the enchanting world of the Deathly Hallows wreath DIY. Whether you’re a die-hard fan of the series or just someone who appreciates creative crafts, this project is going to be a game-changer. From the Triwizard Tournament to the battle of Hogwarts, the Deathly Hallows symbol has always been a powerful representation of unity, hope, and destiny. So, why not make it a part of your living space?
This isn’t just about crafting—it’s about creating something meaningful. The Deathly Hallows wreath can serve as a reminder of the lessons we’ve learned from the books and movies. It’s about bringing that sense of wonder and magic into your everyday life. Plus, it’s super fun to make, and you don’t need to be a witch or wizard to pull it off!
So, if you’re ready to channel your inner Hermione Granger and whip up a masterpiece, stick around. We’ve got all the tips, tricks, and spells (well, not actual spells, but you get the idea) to help you create the perfect Deathly Hallows wreath. Let’s get started, shall we?
Table of Contents
- Introduction to the Deathly Hallows Wreath
- The Symbolism Behind the Deathly Hallows
- Materials You’ll Need
- Step-by-Step Guide to Making Your Wreath
- Customizing Your Wreath
- Pro Tips for a Perfect Wreath
- Budget-Friendly Options
- Where to Display Your Wreath
- Frequently Asked Questions
- Wrapping Up the Magic
Introduction to the Deathly Hallows Wreath
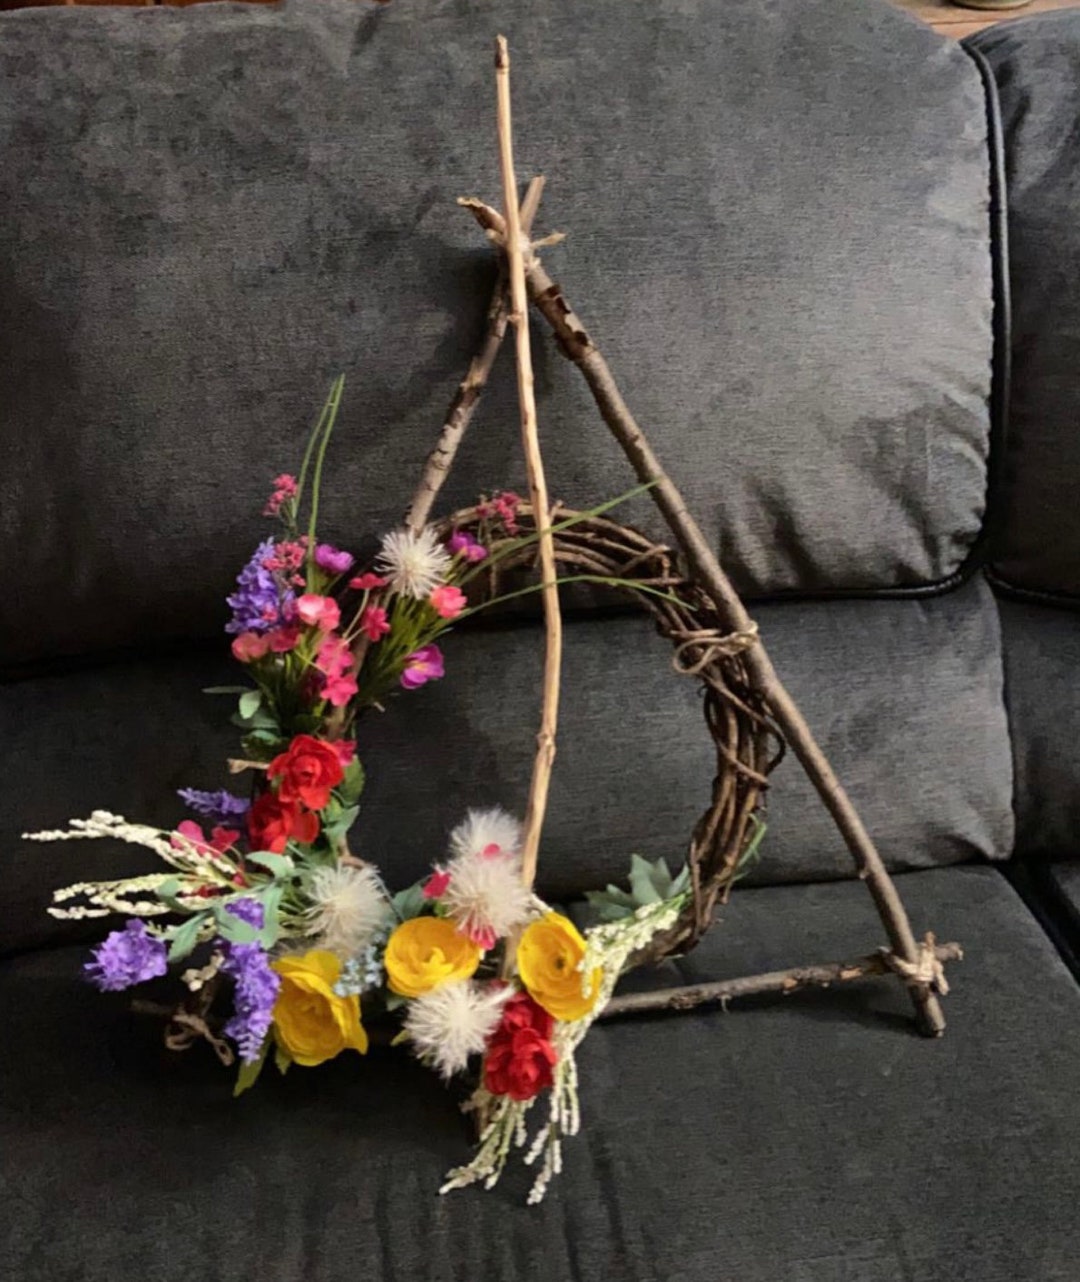
Alright, let’s talk about why this Deathly Hallows wreath is such a big deal. It’s not just a decoration; it’s a symbol of everything the Harry Potter series stands for. The wreath represents the three Hallows—the Elder Wand, the Resurrection Stone, and the Invisibility Cloak. Together, they form a powerful emblem of love, sacrifice, and the choices we make in life.
Now, here’s the cool part: making this wreath is easier than you think. You don’t need to be a master craftsman or spend a fortune. With just a few basic materials and a bit of creativity, you can create something truly magical. Plus, it’s a great way to bond with friends or family. Imagine hosting a Harry Potter-themed crafting party—sounds like a plan, right?
The Symbolism Behind the Deathly Hallows
Before we dive into the nitty-gritty of crafting, let’s take a moment to appreciate the significance of the Deathly Hallows. In the Harry Potter universe, the Hallows are three legendary magical objects that supposedly make their owner the "Master of Death." But it’s not about conquering death in the literal sense—it’s about accepting it and living a life filled with purpose and meaning.
Breaking Down the Hallows
- The Elder Wand: Known as the most powerful wand in existence, it represents strength and power.
- The Resurrection Stone: This magical gem allows its owner to bring back the spirits of the dead, symbolizing love and loss.
- The Invisibility Cloak: Passed down through generations, it stands for protection and wisdom.
Together, these Hallows form a triangle with a line and a circle inside—a symbol that has captivated fans worldwide. By creating a wreath inspired by this emblem, you’re not just making art—you’re honoring the story and its deeper meaning.
Materials You’ll Need
Now that we’ve got the backstory out of the way, let’s talk about what you’ll need to create your Deathly Hallows wreath. Don’t worry; it’s not as complicated as brewing a Polyjuice Potion. Here’s a quick list of essentials:
- A foam wreath base (you can find these at most craft stores)
- Fabric or ribbon in colors like gold, silver, or green (to represent the Hallows)
- A black marker or paint for drawing the emblem
- Hot glue gun and glue sticks
- Scissors
- Optional: glitter, beads, or other decorative elements
Pro tip: If you’re on a budget, you can use recycled materials like old magazines or newspapers to create a unique look. Who says magic has to be expensive?
Step-by-Step Guide to Making Your Wreath
Alright, now for the fun part! Here’s a step-by-step guide to help you create the perfect Deathly Hallows wreath:
Step 1: Prepare Your Base
Start by covering your foam wreath base with fabric or ribbon. This will serve as the foundation for your design. Use a hot glue gun to secure the material in place, making sure there are no gaps or loose edges.
Step 2: Draw the Emblem
Using a black marker or paint, draw the Deathly Hallows symbol on the wreath. Take your time with this step—it’s the focal point of your creation. If you’re not confident in your drawing skills, you can print out a template and trace it onto the wreath.
Step 3: Add Decorations
This is where you can get creative! Add glitter, beads, or other embellishments to give your wreath some extra sparkle. You can also incorporate elements like feathers or leaves to represent the magical world of Harry Potter.
Step 4: Let It Dry
If you’ve used paint or glue, make sure to let your wreath dry completely before hanging it up. Patience is key, folks!
Customizing Your Wreath
One of the best things about this project is that it’s completely customizable. Want to add a personal touch? Here are a few ideas:
- Use house colors (Gryffindor red and gold, Slytherin green and silver, etc.) to show your loyalty.
- Include quotes from the books or movies, like “It is our choices, Harry, that show what we truly are, far more than our abilities.”
- Experiment with different textures, such as velvet or satin ribbons, for a luxurious look.
The possibilities are endless, so don’t be afraid to let your imagination run wild!
Pro Tips for a Perfect Wreath
Here are a few expert tips to help you achieve the best results:
- Work in a well-ventilated area, especially if you’re using paint or glue.
- Keep a damp cloth nearby to clean up any spills or mistakes.
- Don’t rush the process—take your time and enjoy the crafting experience.
Remember, the goal is to have fun and create something meaningful. So, if things don’t turn out exactly as planned, that’s okay! Imperfections can make your wreath even more unique.
Budget-Friendly Options
Not everyone has a bottomless wallet, but that doesn’t mean you can’t create a stunning Deathly Hallows wreath. Here are some budget-friendly alternatives:
- Use recycled materials like cardboard or old t-shirts for your base.
- Opt for dollar store supplies like glitter and beads.
- DIY your own paint using flour, water, and food coloring.
With a little creativity, you can make a beautiful wreath without breaking the bank. And hey, it’s always satisfying to turn trash into treasure, right?
Where to Display Your Wreath
Once your wreath is complete, it’s time to decide where to display it. Here are a few ideas:
- Hang it on your front door to welcome guests with a touch of magic.
- Place it above your fireplace mantle for a cozy, Harry Potter-inspired vibe.
- Use it as a centerpiece for your next Harry Potter movie marathon.
No matter where you choose to display it, your Deathly Hallows wreath is sure to be a conversation starter. Just be prepared for people to ask, “Did you make that yourself?”
Frequently Asked Questions
Got questions? We’ve got answers! Here are some common queries about the Deathly Hallows wreath:
Q: Do I need special tools to make this wreath?
A: Nope! All you need are basic crafting supplies like a hot glue gun, scissors, and fabric. You probably already have most of what you need at home.
Q: How long does it take to complete the project?
A: Depending on your level of customization, it can take anywhere from an hour to a few hours. It’s a great weekend activity!
Q: Can I use this wreath for a party?
A: Absolutely! It’s a fantastic way to set the mood for a Harry Potter-themed gathering. Just make sure to protect it from food and drinks.
Wrapping Up the Magic
There you have it—everything you need to know about creating a Deathly Hallows wreath. Whether you’re a seasoned crafter or a complete beginner, this project is a fantastic way to connect with the magic of Harry Potter. Plus, it’s a great conversation starter and a beautiful addition to your home décor.
So, what are you waiting for? Grab your supplies and get crafting! And don’t forget to share your creations with the world. Who knows? You might just inspire someone else to embark on their own magical journey.
Until next time, stay magical and keep creating. And remember, “Happiness can be found even in the darkest of times, if one only remembers to turn on the light.”