So listen up, chili lovers! If you're into growing your own spicy plants or just got your hands on a massive haul of fresh chili peppers, you're probably wondering, "How do I preserve these beauties without losing their flavor?" Well, buckle up because today we're diving deep into the art of drying chili peppers by hanging them. This method is not only super effective but also gives you that rustic, farmhouse charm in your kitchen. Let's get started, shall we?
Drying chili peppers is a time-tested technique that people have been using for centuries. It’s one of the best ways to extend the life of your chili harvest while keeping their vibrant flavors intact. Whether you're a seasoned gardener or just experimenting with spice, learning how to hang chili peppers to dry is a skill you’ll be glad you picked up.
Now, before we dive into the nitty-gritty, let me tell you this: it’s not as complicated as it sounds. With a little patience and some basic supplies, you’ll have a gorgeous string of dried chilies in no time. So grab a cup of coffee, and let’s chat about turning those fresh chilies into a pantry staple!
Why You Should Hang Chili Peppers to Dry
Hanging chili peppers to dry is more than just a preservation technique; it’s a way of life for spice enthusiasts. Let’s break down why this method is so popular:
- Preserves Flavor: Unlike other preservation methods, hanging chili peppers retains their natural taste and heat.
- Cost-Effective: You don’t need fancy equipment or chemicals—just a bit of string and some airflow.
- Decorative Appeal: A string of dried chili peppers can double as kitchen decor, adding a rustic vibe to your space.
- Long Shelf Life: Properly dried chilies can last for months, sometimes even years, if stored correctly.
And hey, who doesn’t love the idea of turning their kitchen into a spice haven? Plus, it’s a great conversation starter when guests visit. Imagine them asking, “What’s that hanging up there?” and you confidently reply, “Oh, that’s my chili harvest!”
What You Need to Get Started
Before you start hanging chili peppers, gather these essential supplies. Don’t worry, you probably already have most of them lying around:
- Fresh chili peppers (obviously)
- Twine or dental floss (yes, dental floss works great!)
- A needle or a sharp object for threading
- A pair of scissors
- A well-ventilated area (like a garage, attic, or kitchen)
See? Nothing too fancy here. The key is to use sturdy string that won’t snap under the weight of the peppers and a spot where air can circulate freely. Oh, and make sure the area is out of direct sunlight, as UV rays can affect the color and flavor of your chilies.
Selecting the Right Chili Peppers
Not all chili peppers are created equal when it comes to drying. Some varieties are better suited for this process than others. Here are a few tips to help you pick the right ones:
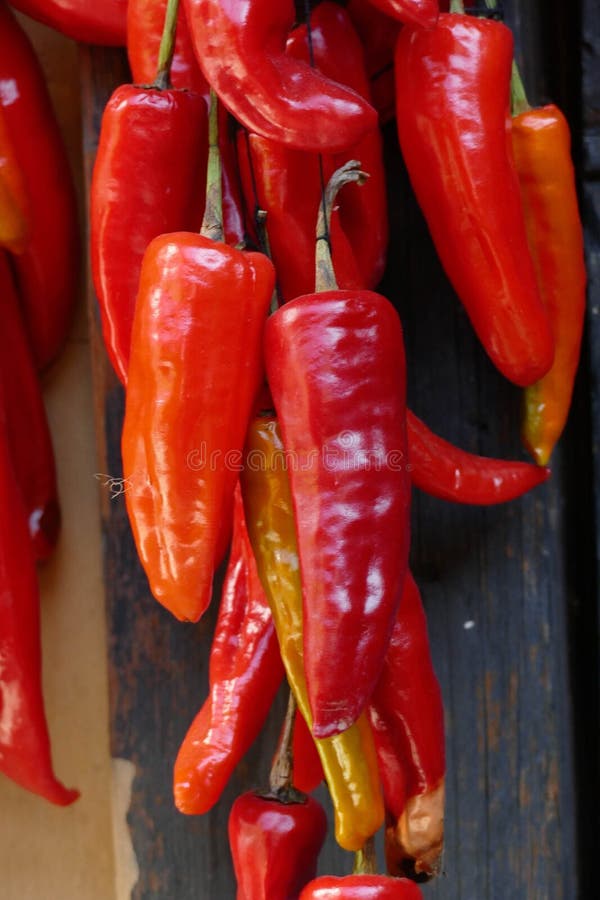
Look for thin-walled peppers: These dry faster and are less likely to rot. Varieties like cayenne, jalapeño, and Thai chili work great.
Choose fully matured peppers: Green chilies haven’t reached their full flavor potential, so opt for ones that have turned red, orange, or yellow, depending on the variety.
Inspect for blemishes: Avoid peppers with cuts, bruises, or signs of mold. They won’t dry well and could ruin the whole batch.
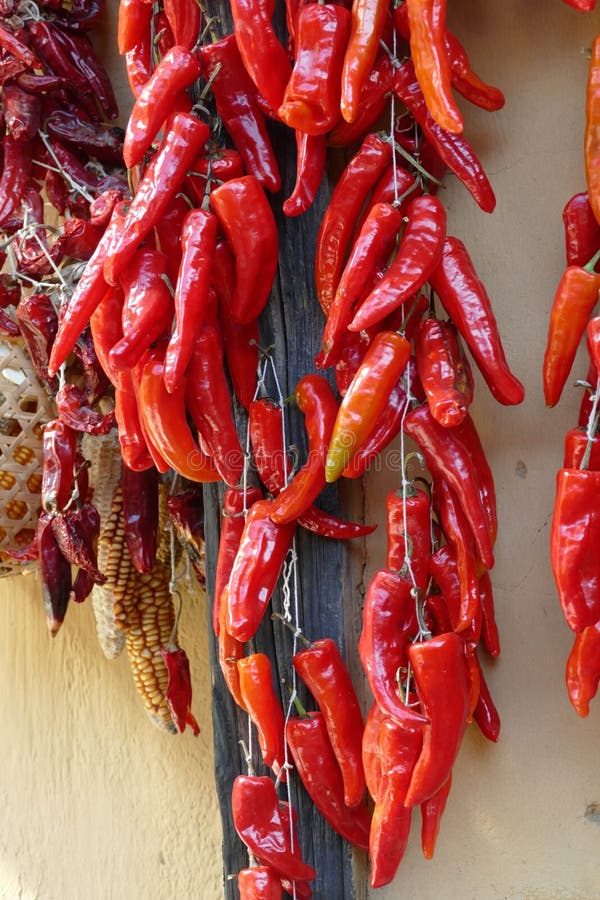
Step-by-Step Guide on How to Hang Chili Peppers
Alright, let’s get down to business. Follow these steps to create your very own chili ristra (that’s the fancy name for a string of dried chilies):
Step 1: Clean Your Peppers
Gently wash your chili peppers under running water to remove any dirt or debris. Be careful not to bruise them, as this can lead to rot during the drying process. Pat them dry with a clean towel or let them air-dry for a bit.
Step 2: Thread the Peppers
Take your twine or dental floss and thread it through the stem of each pepper. You can use a needle or even a toothpick to poke a hole if needed. Leave about 1-2 inches of space between each pepper to allow for proper airflow.
Step 3: Tie the String
Once you’ve strung enough peppers together, tie the ends of the string securely. Make sure it’s tight enough to hold the weight of the peppers without snapping. You can also add a loop at the top for easy hanging.
Step 4: Hang in a Ventilated Area
Find a spot with good airflow but away from direct sunlight. A garage, attic, or even a shady corner of your kitchen works perfectly. Hang your chili string and let nature do its thing.
Pro tip: If you live in a humid area, consider using a fan to speed up the drying process.
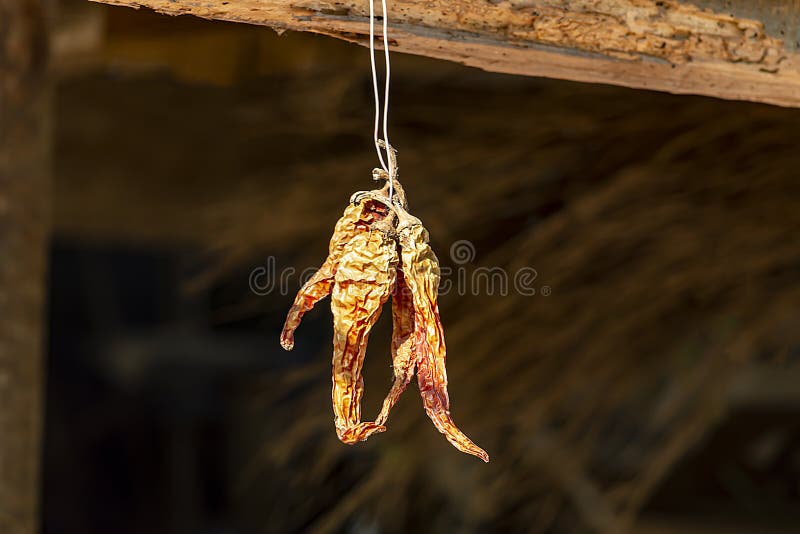
How Long Does It Take to Dry Chili Peppers?
The drying time depends on several factors, including the size of the peppers, humidity levels, and airflow. Generally, it takes about 1-3 weeks for chili peppers to dry completely. How do you know they’re ready? Here’s what to look for:
- The peppers should feel brittle and lightweight.
- The stems should snap easily when bent.
- There should be no visible moisture or soft spots.
If you notice any signs of mold or rot, remove the affected peppers immediately to prevent contamination.
Storing Dried Chili Peppers
Once your chili peppers are fully dried, it’s time to store them properly. Here’s how:
Whole Peppers: Place them in an airtight container or a cloth bag and store them in a cool, dark place. Whole peppers can last up to a year if stored correctly.
Crushed or Ground: If you prefer crushed chili flakes or powder, grind the dried peppers using a spice grinder or mortar and pestle. Store them in airtight jars and label them with the date.
Tips for Storing Dried Chili Peppers
- Avoid exposing them to moisture or direct sunlight.
- Label your containers with the type of chili and the date of drying.
- Consider freezing crushed chili flakes for extended freshness.
With proper storage, your dried chili peppers will remain flavorful and ready to spice up your meals whenever you need them.
Uses for Dried Chili Peppers
Now that you’ve successfully dried your chili peppers, what can you do with them? The possibilities are endless:
- Make homemade chili flakes for cooking.
- Create spicy seasoning blends for rubs and marinades.
- Infuse oils or vinegars with dried chili for a kick.
- Use them as natural insect repellents in your garden.
And let’s not forget their decorative appeal. A string of dried chili peppers can add a touch of warmth and personality to any room. Hang them in your kitchen or give them as gifts to fellow spice lovers.
Common Mistakes to Avoid
Even the best-laid plans can go awry if you’re not careful. Here are a few mistakes to watch out for:
- Using immature peppers: Green chilies won’t dry as well as fully matured ones.
- Hanging in direct sunlight: UV rays can degrade the color and flavor of your chilies.
- Not leaving enough space between peppers: Proper airflow is crucial for preventing mold.
By avoiding these pitfalls, you’ll ensure your chili drying process goes smoothly and results in perfectly dried peppers every time.
FAQs About Drying Chili Peppers
Got questions? We’ve got answers. Here are some frequently asked questions about drying chili peppers:
Q: Can I dry chili peppers in the oven?
A: Yes, but it’s not recommended unless you have a low-temperature setting. Oven-drying can alter the flavor and texture of your chilies.
Q: How do I know if my chili peppers are dry enough?
A: They should feel brittle, snap easily, and have no visible moisture.
Q: Can I freeze fresh chili peppers instead of drying them?
A: Absolutely! Freezing is another great preservation method, though it changes the texture slightly.
Final Thoughts: Spice Up Your Life!
And there you have it, folks! A complete guide on how to hang chili peppers to dry. Whether you’re preserving your harvest or creating a stunning kitchen decoration, this technique is both practical and rewarding. Remember, patience is key, and the end result is worth every second.
Now, here’s your call to action: Try this method yourself and share your experience in the comments below. Did you encounter any challenges? What’s your favorite way to use dried chili peppers? Let’s keep the conversation going and help each other become better spice wizards!
Happy drying, and may your kitchen always be filled with the aroma of fresh spices!
Table of Contents
- Why You Should Hang Chili Peppers to Dry
- What You Need to Get Started
- Selecting the Right Chili Peppers
- Step-by-Step Guide on How to Hang Chili Peppers
- How Long Does It Take to Dry Chili Peppers?
- Storing Dried Chili Peppers
- Uses for Dried Chili Peppers
- Common Mistakes to Avoid
- FAQs About Drying Chili Peppers
- Final Thoughts