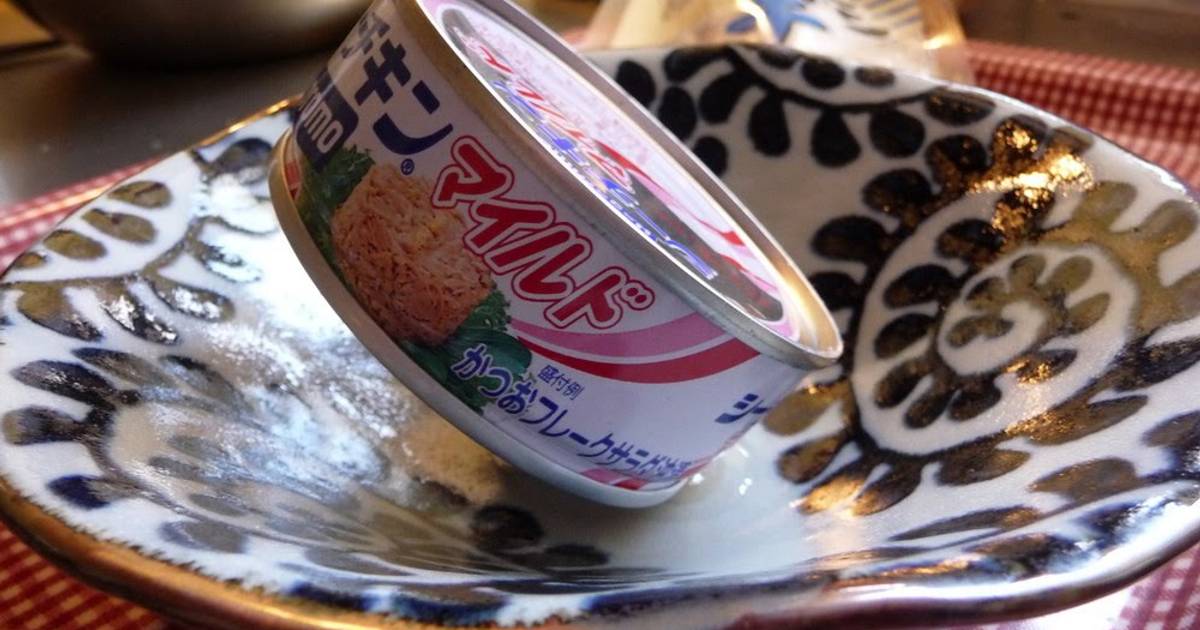
So, you’ve got a can of tuna sitting in your pantry, and you’re thinking, “how the heck do I drain this thing properly?” You’re not alone, my friend. Whether you’re making a quick tuna sandwich, a fancy tuna salad, or whipping up some pasta dish, knowing how to drain tuna in a can is a skill that every home cook should have in their toolkit. But here’s the deal—there’s more to it than just flipping the can upside down and calling it a day. Let’s dive into the nitty-gritty, shall we?
Draining tuna might seem like a simple task, but trust me, doing it wrong can ruin your dish. Excess oil or water can make your meal soggy, greasy, or just plain gross. That’s why learning the right way to drain tuna is crucial if you want to elevate your cooking game. And don’t worry, we’ve got you covered with all the tips and tricks you need to become a tuna-draining pro.
In this article, we’ll break down everything you need to know about how to drain tuna in a can. From the basics to advanced techniques, we’ll make sure you never mess up your tuna again. So grab your can opener, and let’s get started!
Table of Contents:
- Introduction
- Why Drain Tuna?
- Types of Tuna in a Can
- Tools You’ll Need
- Step-by-Step Guide
- Common Mistakes to Avoid
- Tips for Best Results
- Health Benefits of Tuna
- Recipes Using Drained Tuna
- Frequently Asked Questions
- Conclusion
Why Drain Tuna?
Alright, let’s talk about why draining tuna is such a big deal. See, tuna in a can usually comes packed in either oil or water. While both options have their own set of pros and cons, neither one is ideal for every recipe. For example, if you’re making a tuna salad, you definitely don’t want your lettuce swimming in a pool of oil. And if you’re baking something, excess water can throw off the texture.
Draining tuna properly helps you control the moisture content in your dish. It also ensures that the flavor of the tuna shines through without being overshadowed by the packing liquid. Plus, it’s just plain hygienic—nobody wants to eat a soggy tuna sandwich, right?
Types of Tuna in a Can
Oil-Packed vs Water-Packed Tuna
Before we dive into the draining process, it’s important to understand the two main types of canned tuna: oil-packed and water-packed. Each type has its own characteristics, so the way you drain them might vary slightly.
- Oil-Packed Tuna: This type of tuna is richer in flavor and texture. It’s perfect for dishes where you want that extra richness, like pasta or casseroles. However, the oil can be a bit heavy, so draining it thoroughly is essential.
- Water-Packed Tuna: This is the healthier option, as it contains less fat. Water-packed tuna is great for salads, sandwiches, and wraps. But because it’s packed in water, you’ll need to make sure you drain it well to avoid sogginess.
Tools You’ll Need
Now that you know why draining tuna is important, let’s talk about the tools you’ll need to get the job done. Don’t worry, you don’t need any fancy gadgets—just a few basic kitchen items:
- A can opener (duh!)
- A colander or strainer
- A fork or spoon
- A paper towel or clean cloth
These simple tools will help you drain the tuna efficiently and cleanly. No excuses for messy countertops here!
Step-by-Step Guide: How to Drain Tuna in a Can
Alright, let’s get down to business. Here’s a step-by-step guide to draining tuna like a pro:
Step 1: Open the Can
Use your trusty can opener to open the can of tuna. Be careful not to cut yourself on the sharp edges. If you’re feeling extra fancy, you can use an electric can opener to make the process even easier.
Step 2: Pour the Liquid
Carefully pour the liquid (either oil or water) from the can into a sink or a bowl. If you’re using a bowl, you can save the liquid for other uses, like sautéing veggies or adding richness to soups.
Step 3: Use a Colander
Transfer the tuna chunks into a colander or strainer. This will help you catch any remaining liquid and ensure the tuna is completely drained.
Step 4: Fluff with a Fork
Use a fork to gently fluff the tuna chunks. This will break up any large pieces and make it easier to incorporate into your recipe. Plus, it’ll help you get rid of any hidden pockets of liquid.
Step 5: Pat Dry
For an extra-dry result, pat the tuna with a paper towel or clean cloth. This step is optional but highly recommended if you’re making a dish where moisture can be a problem.
Common Mistakes to Avoid
Even the best cooks make mistakes sometimes. Here are a few common errors to watch out for when draining tuna:
- Not draining enough: Leaving too much oil or water in the tuna can lead to a soggy or greasy dish.
- Over-draining: On the flip side, draining too much can make the tuna dry and unappetizing. Strike a balance!
- Skipping the colander: Using a colander ensures that all the liquid is removed, so don’t skip this step.
Tips for Best Results
Want to take your tuna-draining skills to the next level? Here are a few tips to help you achieve the best results:
- Choose the right type of tuna: Depending on your recipe, opt for oil-packed or water-packed tuna accordingly.
- Fluff the tuna: Breaking up the chunks with a fork helps distribute the flavor evenly in your dish.
- Plan ahead: If you have time, let the drained tuna sit for a few minutes to allow any remaining liquid to drain out.
Health Benefits of Tuna
Let’s talk about why tuna is such a great addition to your diet. Packed with protein, omega-3 fatty acids, and essential vitamins and minerals, tuna is a nutritional powerhouse. Here are a few health benefits to keep in mind:
- Heart Health: The omega-3 fatty acids in tuna help reduce inflammation and lower the risk of heart disease.
- Brain Function: Tuna is rich in nutrients that support brain health, including vitamin B12 and selenium.
- Weight Management: With its high protein content and low calorie count, tuna is a great option for those looking to maintain or lose weight.
Recipes Using Drained Tuna
Now that you know how to drain tuna, let’s talk about some delicious recipes you can make with it:
Classic Tuna Salad
Ingredients:
- 1 can of drained tuna
- 1/4 cup mayonnaise
- 1 tablespoon lemon juice
- 1/4 cup diced celery
- 1/4 cup diced onion
- Salt and pepper to taste
Instructions:
- Mix all the ingredients in a bowl until well combined.
- Chill in the refrigerator for at least 30 minutes before serving.
Tuna Pasta Bake
Ingredients:
- 1 can of drained tuna
- 8 oz cooked pasta
- 1 cup marinara sauce
- 1 cup shredded mozzarella cheese
Instructions:
- Mix the tuna, pasta, and marinara sauce in a baking dish.
- Top with shredded cheese and bake at 375°F for 20 minutes.
Frequently Asked Questions
Here are some common questions people have about draining tuna:
- Can I reuse the oil from canned tuna? Absolutely! The oil can be used for cooking or adding richness to soups and sauces.
- Is water-packed tuna healthier than oil-packed tuna? Generally, yes. Water-packed tuna contains less fat and calories than oil-packed tuna.
- How long does canned tuna last once opened? Once opened, canned tuna should be stored in an airtight container in the fridge and consumed within 3-4 days.
Conclusion
There you have it, folks! A comprehensive guide on how to drain tuna in a can. Whether you’re a seasoned chef or a cooking newbie, mastering this skill will take your tuna dishes to the next level. Remember, the key is to drain thoroughly but not overdo it, and always choose the right type of tuna for your recipe.
So, go ahead and give it a try. And don’t forget to share your delicious tuna creations with us in the comments below. Who knows? Your recipe might just become the next viral hit!