Have you ever heard of the cross stitch loop method? If you're into embroidery or needlework, this technique is a game-changer. Imagine creating stunning cross stitch designs with minimal effort and maximum precision. It's like having a secret weapon in your crafting arsenal. Whether you're a beginner or a seasoned pro, the loop method can elevate your stitching game to the next level.
Let's be real, cross stitching can sometimes feel like a chore, especially when you're dealing with tiny stitches and a lot of thread management. But the loop method simplifies the process, making it faster and more enjoyable. It's no wonder why so many crafters are switching to this technique. In this guide, we'll dive deep into everything you need to know about the cross stitch loop method, from its basics to advanced tips.
Before we get into the nitty-gritty, let's address the elephant in the room. Why should you care about the loop method? Well, it's all about efficiency and precision. By mastering this technique, you'll save time, reduce thread tangling, and achieve cleaner, more uniform stitches. So, buckle up and get ready to revolutionize your cross stitching experience!
What is the Cross Stitch Loop Method?
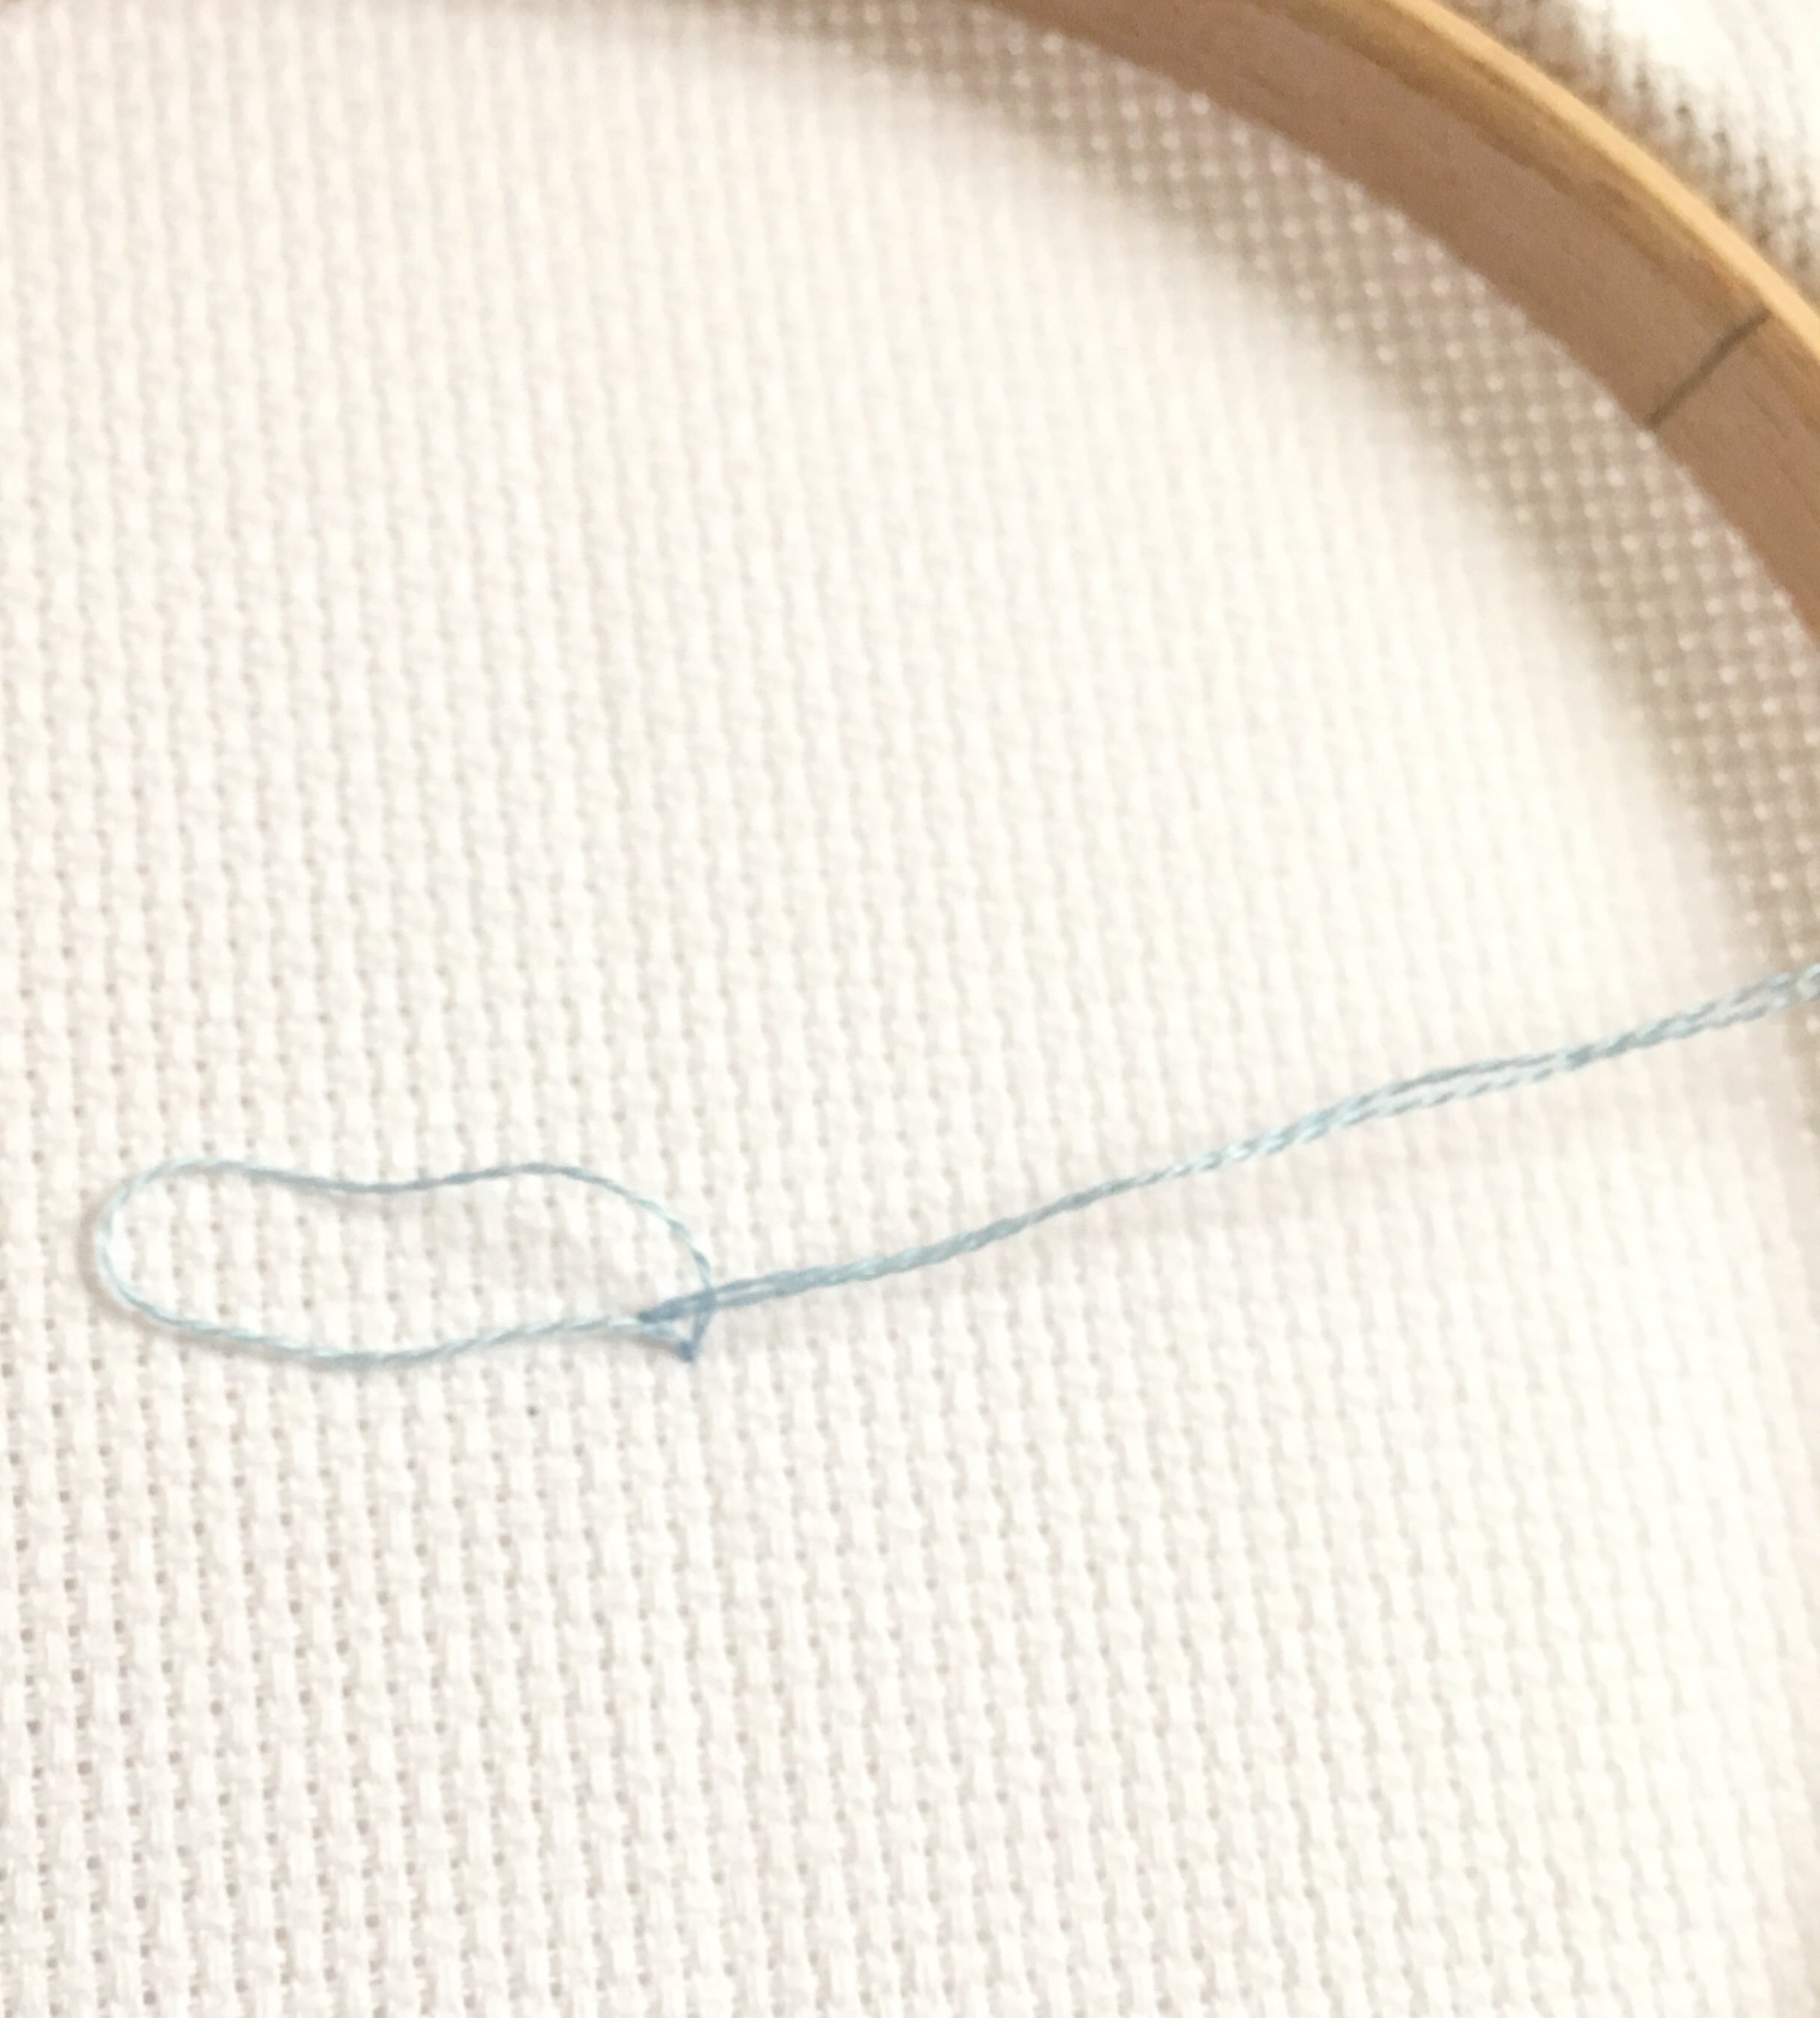
The cross stitch loop method is a stitching technique that allows you to create half stitches without pulling the thread all the way through the fabric. Instead of threading the needle every time, you form a loop that stays on the fabric, making the process smoother and faster. Think of it as a shortcut for your stitching journey.
Here's the deal: traditional cross stitching involves pulling the thread through the fabric for each stitch, which can be time-consuming and prone to tangles. The loop method eliminates these issues by keeping the thread in a loop, reducing the number of times you need to re-thread your needle. This means less frustration and more stitching fun!
Why Choose the Loop Method?
Let's break it down with some bullet points:
- Reduces thread tangling
- Speeds up the stitching process
- Improves stitch consistency
- Perfect for large projects
- Great for beginners and pros alike
These benefits make the loop method a no-brainer for anyone looking to up their cross stitching game.
History and Origins of the Cross Stitch Loop Method
Believe it or not, the loop method has been around for decades, but it's only recently gained popularity among modern stitchers. Back in the day, crafters would use similar techniques to save time and effort, but the loop method as we know it today was popularized by embroidery enthusiasts in the late 20th century.
So, where did it all begin? The loop method likely originated from traditional embroidery techniques used in various cultures. Crafters realized that by keeping the thread in a loop, they could work faster and more efficiently. Over time, this method evolved into the streamlined process we use today.
How the Loop Method Changed Cross Stitching
This technique revolutionized the way people approach cross stitching. It's like going from a flip phone to a smartphone – everything just works better. Stitchers no longer had to deal with constant thread tangling or uneven stitches, making the whole experience more enjoyable.
Fun fact: Some professional embroiderers swear by the loop method for its ability to produce consistent, high-quality results. It's not just for hobbyists; it's a technique that stands the test of time.
Tools You Need for the Loop Method
Now that you're sold on the loop method, let's talk about the tools you'll need. The good news is, you probably already have most of them in your crafting stash. Here's a quick rundown:
- Aida fabric or evenweave fabric
- Embroidery hoop
- Embroidery needle
- Embroidery floss
- Scissors
Pro tip: Use a needle with a larger eye to make threading easier, especially if you're working with multiple strands of floss.
Choosing the Right Fabric
When it comes to cross stitching, fabric choice matters. Aida fabric is the go-to option for most stitchers because of its grid-like structure, which makes it easy to follow patterns. If you're using the loop method, consider using an evenweave fabric for smoother stitching and better thread control.
Don't forget to pre-wash your fabric to prevent shrinking later on. Nobody wants to spend hours stitching only to have the fabric warp in the wash!
Step-by-Step Guide to the Loop Method
Ready to give the loop method a try? Follow these simple steps to master the technique:
- Thread your needle with the desired number of strands of floss.
- Bring the needle up from the back of the fabric to start your first stitch.
- Insert the needle into the next hole, but don't pull the thread all the way through.
- Leave a small loop on the fabric and bring the needle up through the next hole.
- Pass the needle through the loop to secure the stitch.
- Repeat the process for each stitch.
And that's it! You've just completed your first stitch using the loop method. See how easy that was?
Tips for Success
Here are a few tips to help you master the loop method:
- Practice on a scrap piece of fabric before starting your main project.
- Keep your fabric taut in the hoop to prevent puckering.
- Use a consistent tension when pulling the thread to ensure uniform stitches.
With a little practice, you'll be stitching like a pro in no time!
Common Mistakes to Avoid
Even the best stitchers make mistakes, but with the loop method, there are a few pitfalls you'll want to avoid:
- Pulling the thread too tight, which can distort the fabric.
- Not leaving enough thread at the back of the fabric to secure the stitches.
- Using the wrong needle size for your fabric type.
Remember, practice makes perfect. Don't get discouraged if your first few attempts don't turn out exactly as planned. Keep trying, and you'll soon find your rhythm.
How to Fix Mistakes
Mistakes happen, but the good news is that they're usually easy to fix. If you notice a mistake in your stitching, simply remove the affected stitches and rework them using the loop method. It's a lot easier than starting from scratch!
Pro tip: Use a small pair of embroidery scissors to carefully trim away any loose threads before re-stitching.
Advanced Techniques for the Loop Method
Once you've mastered the basics, you can start experimenting with advanced techniques to take your stitching to the next level. Here are a few ideas:
- Try using different thread colors for a multi-colored effect.
- Experiment with varying stitch lengths for added texture.
- Incorporate backstitching to add detail to your designs.
These techniques can add depth and dimension to your cross stitch projects, making them truly unique.
Combining the Loop Method with Other Techniques
Don't be afraid to mix and match the loop method with other stitching techniques. For example, you can use the loop method for the main design and traditional stitching for details. This combination can create stunning, one-of-a-kind pieces that showcase your creativity.
Remember, the key to successful cross stitching is experimentation. Don't be afraid to try new things and see what works best for you.
Benefits of Using the Loop Method
Let's recap some of the benefits of the cross stitch loop method:
- Increased efficiency and speed
- Reduced thread tangling
- Improved stitch consistency
- Less frustration and more fun
These benefits make the loop method a must-try for anyone serious about cross stitching. Whether you're working on a small project or a large masterpiece, this technique can help you achieve professional-quality results.
Why the Loop Method is Worth It
At the end of the day, the loop method is all about making your stitching experience better. It saves time, reduces stress, and produces beautiful results. What's not to love?
So, are you ready to give the loop method a try? Trust us, once you experience the benefits firsthand, you'll wonder how you ever stitched without it.
Conclusion: Take Your Stitching to the Next Level
In conclusion, the cross stitch loop method is a game-changing technique that every stitcher should know. From reducing thread tangling to improving stitch consistency, this method offers countless benefits that make cross stitching faster, easier, and more enjoyable.
Now it's your turn to put the loop method into practice. Grab your materials, follow the steps outlined in this guide, and start stitching like a pro. And don't forget to share your creations with the world – we'd love to see what you come up with!
Call to Action: Leave a comment below and let us know how the loop method has transformed your stitching experience. Or, if you're just starting out, tell us what you're most excited to try. Happy stitching!
Table of Contents
- What is the Cross Stitch Loop Method?
- History and Origins of the Cross Stitch Loop Method
- Tools You Need for the Loop Method
- Step-by-Step Guide to the Loop Method
- Common Mistakes to Avoid
- Advanced Techniques for the Loop Method
- Benefits of Using the Loop Method
- Why Choose the Loop Method?
- Choosing the Right Fabric
- How to Fix Mistakes