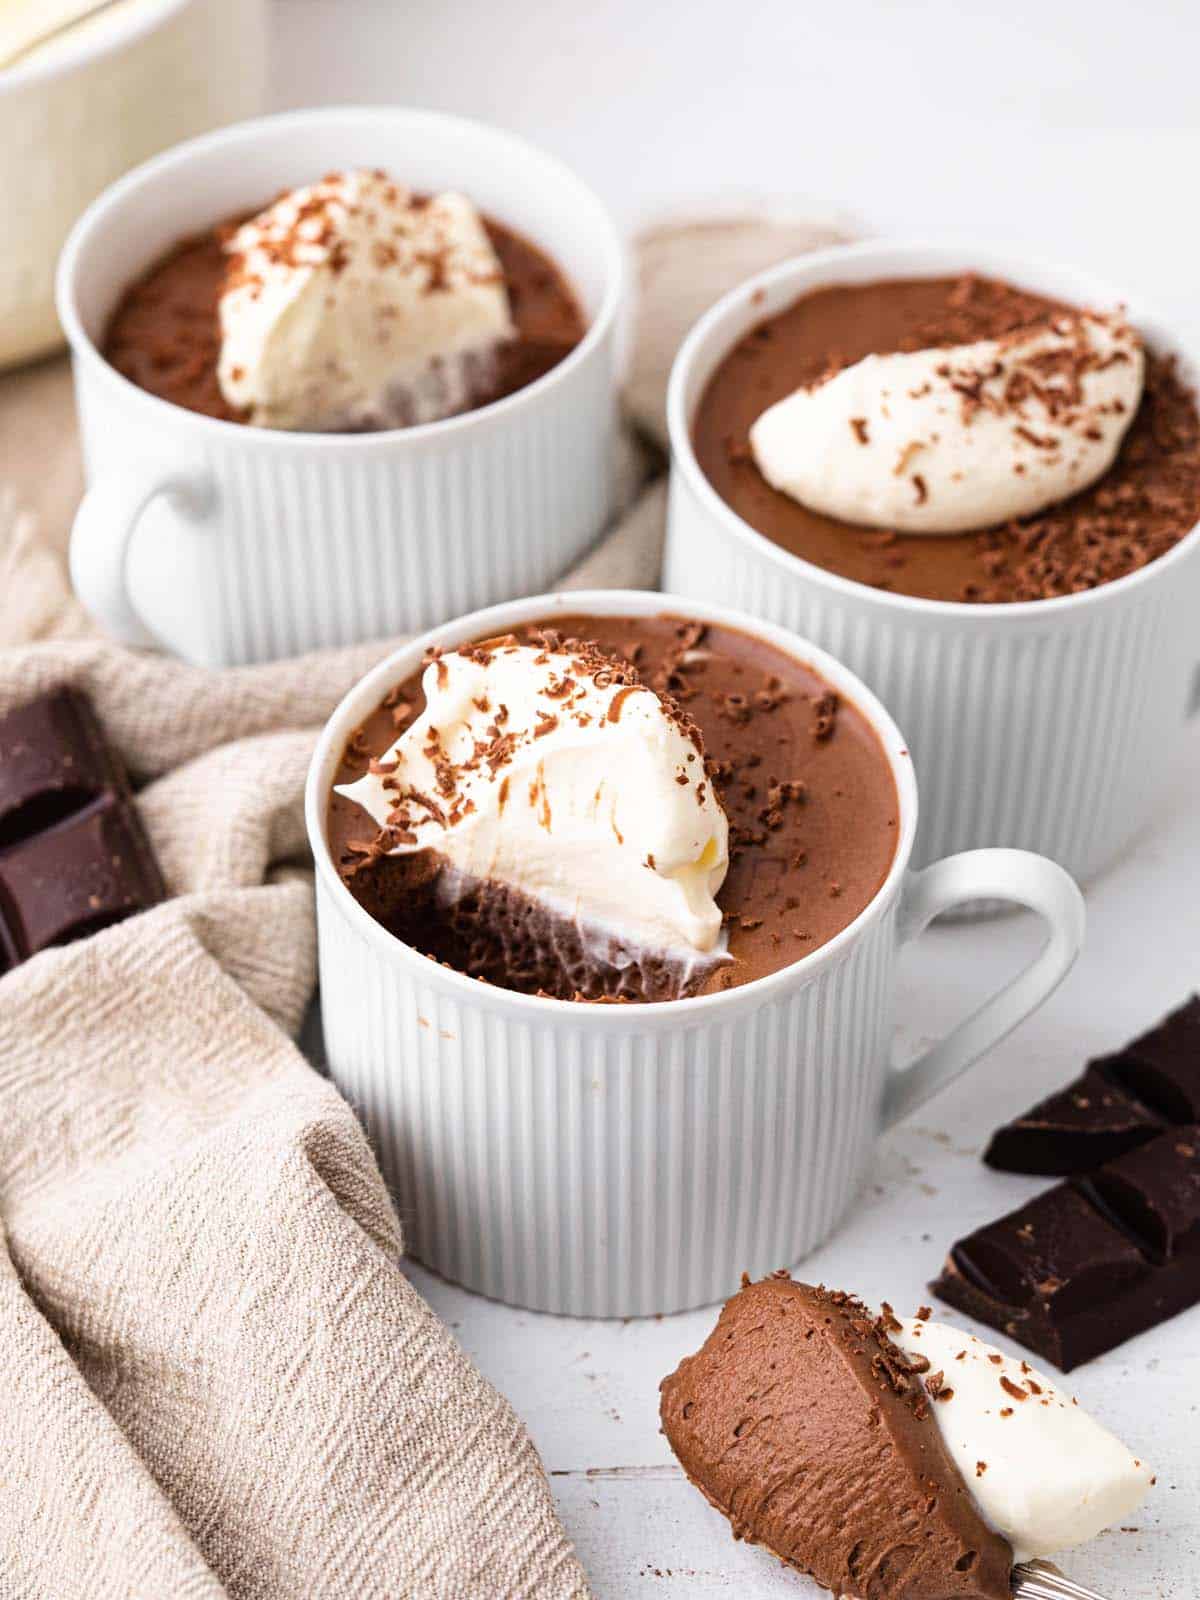
There’s nothing more satisfying than diving into a creamy, decadent chocolate mousse. But let’s be real—sometimes it just doesn’t turn out as thick and luxurious as we’d hoped. If you’ve ever found yourself staring at a bowl of runny chocolate mousse, wondering what went wrong, you’re not alone. But don’t worry! We’ve got your back. In this guide, we’ll walk you through how to thicken chocolate mousse like a pro, so your dessert dreams become a reality.
Whether you’re a baking enthusiast or just someone who loves to experiment in the kitchen, mastering the art of thickening chocolate mousse can elevate your dessert game. This isn’t just about fixing a mistake—it’s about creating something truly unforgettable. So grab your whisk, chocolate, and let’s dive in!
Before we get into the nitty-gritty, let’s address the elephant in the room: why does chocolate mousse sometimes fail to thicken? The answer lies in a few key factors—temperature, technique, and ingredients. Understanding these elements will help you avoid common pitfalls and achieve that perfect texture every time.
Understanding the Basics of Chocolate Mousse
What is Chocolate Mousse, Anyway?
Chocolate mousse is essentially a creamy, airy dessert made by folding whipped cream or beaten egg whites into melted chocolate. The magic happens when air is incorporated into the mixture, giving it that light, fluffy texture. But achieving the right consistency isn’t always a piece of cake (pun intended).
One of the biggest challenges with chocolate mousse is getting the right balance between creaminess and structure. If it’s too runny, it loses its appeal. If it’s too stiff, it loses that melt-in-your-mouth sensation. The key is finding the sweet spot—and we’re here to show you how.
Common Reasons Why Your Chocolate Mousse is Runny
Let’s talk about the main culprits behind a runny chocolate mousse. Understanding these issues will help you troubleshoot and avoid them in the future.
- Incorrect Ratio of Ingredients: Too much liquid or not enough solid chocolate can throw off the balance.
- Poor Temperature Control: Melted chocolate that’s too hot or cream that’s too cold can prevent the mixture from setting properly.
- Inadequate Whipping: Under-whipped cream or egg whites won’t provide the structure needed for a thick mousse.
- Improper Mixing: Folding too aggressively can deflate the air bubbles, leading to a denser, less fluffy result.
Now that we’ve identified the problems, let’s move on to the solutions!
How to Thicken Chocolate Mousse: Step-by-Step Guide
Here’s the part you’ve been waiting for: a step-by-step guide to thickening your chocolate mousse. Follow these tips, and you’ll be serving up restaurant-quality desserts in no time.
Step 1: Use the Right Chocolate
The type of chocolate you use makes a huge difference. High-quality dark chocolate with a high cocoa content will give your mousse a richer flavor and better texture. Avoid using chocolate chips, as they often contain additives that can interfere with the setting process.
Step 2: Control the Temperature
Temperature is everything when making chocolate mousse. Melt your chocolate gently over a double boiler or in short bursts in the microwave, stirring frequently. Let it cool slightly before mixing it with the other ingredients. This ensures that the cream and eggs won’t curdle or cook.
Step 3: Whip It Good
Whipping your cream and egg whites properly is crucial for adding volume and structure to your mousse. Use a cold bowl and whisk attachment for best results. Whip the cream until stiff peaks form, and beat the egg whites until they’re light and fluffy. Be careful not to over-whip, as this can cause the mixture to become grainy.
Step 4: Fold with Care
Folding is an art form. Use a gentle hand to incorporate the whipped cream and egg whites into the melted chocolate. Start by adding a small amount of the whipped mixture to the chocolate to lighten it, then fold in the rest in stages. This prevents deflating the air bubbles and ensures a smooth, airy texture.
Advanced Techniques for Thickening Chocolate Mousse
Adding Gelatin for Extra Structure
If you’re struggling to get your mousse to set, consider adding a small amount of gelatin. Bloom the gelatin in cold water, then dissolve it in a little hot liquid before mixing it into the chocolate. This will give your mousse an extra boost of structure without affecting the flavor.
Using Cornstarch or Flour
Another option is to incorporate a small amount of cornstarch or flour into your mousse. Mix it with a bit of the melted chocolate before adding the rest of the ingredients. This will help thicken the mixture and give it a firmer texture.
Chilling Time is Key
Don’t rush the chilling process! Let your mousse set in the refrigerator for at least 2-3 hours, or overnight if possible. This gives the ingredients time to firm up and meld together, resulting in a perfectly thick and creamy dessert.
Tips and Tricks for Perfect Chocolate Mousse
Use Room Temperature Eggs
Eggs at room temperature whip up better than cold eggs. If you’re using egg whites, let them sit out for about 30 minutes before whipping. You can also place the bowl of egg whites over a pot of warm water to speed up the process.
Experiment with Different Ratios
Not all recipes are created equal. If you’re not satisfied with the consistency of your mousse, try adjusting the ratio of chocolate to cream. Adding more chocolate will give it a richer flavor and firmer texture, while more cream will make it lighter and fluffier.
Don’t Overmix
Overmixing can lead to a dense, unappealing mousse. Fold gently and stop as soon as the ingredients are fully combined. It’s okay if there are a few streaks of white—these will disappear as the mousse chills.
Common Mistakes to Avoid
Skipping the Whipping Stage
Whipping is essential for creating a light, airy mousse. If you skip this step or don’t whip long enough, your mousse will lack structure and volume.
Using Low-Quality Ingredients
Cheap chocolate or cream can ruin your mousse. Invest in high-quality ingredients for the best results. Your taste buds will thank you!
Not Chilling Long Enough
Patience is a virtue when it comes to chocolate mousse. Rushing the chilling process can leave you with a runny, disappointing dessert.
Delicious Variations of Chocolate Mousse
White Chocolate Mousse
Switch things up with a white chocolate mousse. This version is lighter and sweeter than its dark chocolate counterpart, making it perfect for those who prefer a milder flavor.
Raspberry Chocolate Mousse
Add a fruity twist by folding in fresh raspberries or raspberry puree. The tartness of the berries complements the richness of the chocolate perfectly.
Peanut Butter Chocolate Mousse
For a truly indulgent treat, try adding a spoonful of peanut butter to your chocolate mousse. The creamy, nutty flavor takes this dessert to the next level.
How to Store and Serve Chocolate Mousse
Storage Tips
Store your chocolate mousse in an airtight container in the refrigerator for up to 3 days. If you notice any condensation forming, gently blot it with a paper towel before serving.
Serving Suggestions
Take your chocolate mousse to the next level with these serving ideas:
- Top with whipped cream or fresh berries for a pop of color and flavor.
- Drizzle with a chocolate sauce for an extra decadent touch.
- Serve in cute dessert cups or glasses for a stylish presentation.
Conclusion: Mastering the Art of Chocolate Mousse
Thickening chocolate mousse doesn’t have to be a mystery. By following these tips and techniques, you’ll be able to create a dessert that’s both visually stunning and deliciously satisfying. Remember to pay attention to your ingredients, temperature, and technique, and don’t be afraid to experiment with different flavors and variations.
Now that you know how to thicken chocolate mousse, it’s time to put your skills to the test. Share your creations with friends and family, and don’t forget to leave a comment below with your favorite tips and tricks. Happy baking!
Table of Contents
- Understanding the Basics of Chocolate Mousse
- Common Reasons Why Your Chocolate Mousse is Runny
- How to Thicken Chocolate Mousse: Step-by-Step Guide
- Advanced Techniques for Thickening Chocolate Mousse
- Tips and Tricks for Perfect Chocolate Mousse
- Common Mistakes to Avoid
- Delicious Variations of Chocolate Mousse
- How to Store and Serve Chocolate Mousse
- Conclusion: Mastering the Art of Chocolate Mousse
:max_bytes(150000):strip_icc()/Chocolate_Mousse_008-14d2689c04f345cba110ea9f83f6f268.jpg)