So, you’ve got this laminated paper, and now you’re thinking, “How the heck do I remove this lamination?” Well, you’re not alone, my friend. Many people find themselves in the same boat, especially when they need to recycle or reuse documents that were once under that shiny plastic layer. Removing lamination on paper can seem like a tricky task, but don’t worry—we’ve got your back. In this guide, we’ll break it down step by step so you can tackle this challenge with confidence.
Whether you’re decluttering old office documents, salvaging important papers, or just trying to save some bucks by reusing laminated materials, knowing how to remove lamination is a skill worth mastering. It’s not just about getting rid of the plastic—it’s also about preserving the integrity of the paper underneath. Stick around, and we’ll show you exactly what to do!
Before we dive into the nitty-gritty, let’s set the record straight. Removing lamination isn’t rocket science, but it does require a bit of patience and the right tools. We’ll cover everything from simple household methods to professional techniques, so no matter your situation, you’ll find a solution that works for you. Ready? Let’s get started!
Understanding the Basics of Lamination
Before we jump into how to remove lamination on paper, it’s important to understand what lamination actually is. Simply put, lamination is the process of enclosing a document between two sheets of plastic film. This creates a protective barrier that shields the paper from damage, moisture, and wear and tear. While it’s great for preserving documents, sometimes you need to undo this process. Whether it’s for recycling, reusing, or simply decluttering, understanding the basics will help you make informed decisions.
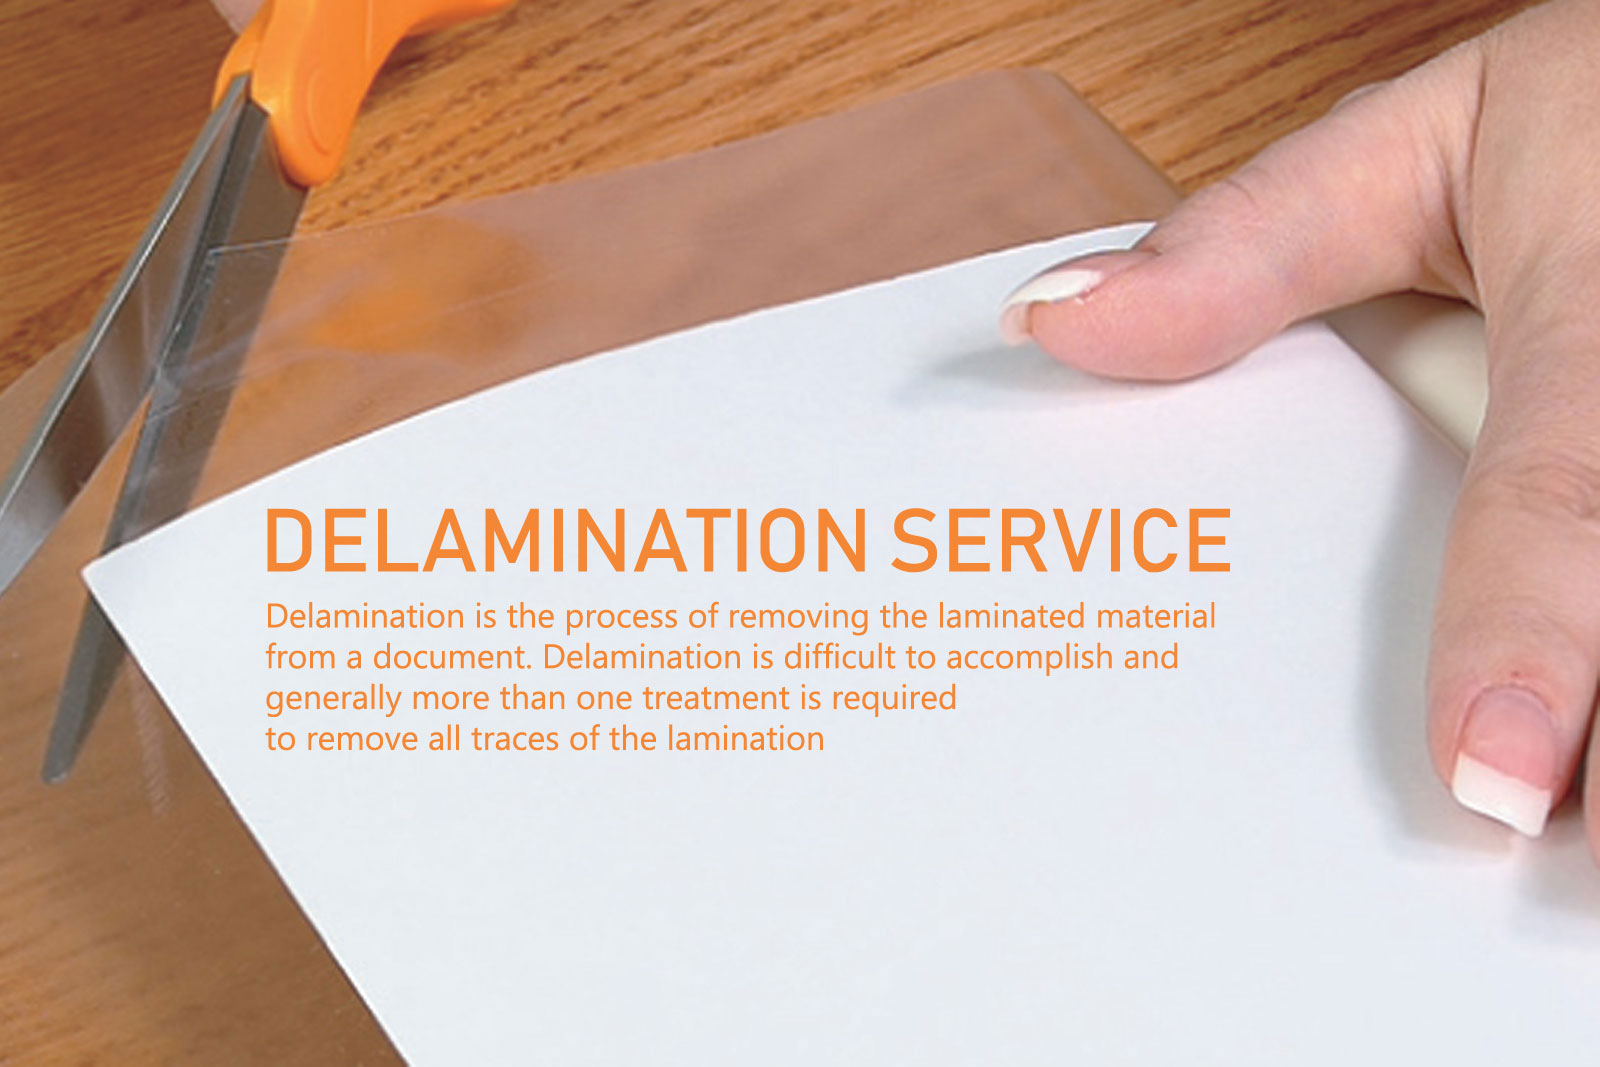
Why Remove Lamination?
There are plenty of reasons why someone might want to remove lamination on paper. Maybe you’ve got old business cards that need updating, or perhaps you’ve inherited a stack of laminated documents from a previous job. Whatever the case may be, here are a few common scenarios:
- Recycling: Laminated paper can’t be recycled the same way regular paper can. Removing the lamination allows you to recycle the paper properly.
- Reusing: If you’ve got valuable documents trapped under plastic, removing the lamination can save you from having to reprint them.
- Saving Money: Lamination can be expensive, and if you can reuse or repurpose documents, you’ll save yourself some cash in the long run.
Tools You’ll Need to Remove Lamination
Now that you know why you might want to remove lamination, let’s talk about the tools you’ll need. Don’t worry—you don’t need any fancy equipment for this job. Most of the items you’ll need are probably already lying around your house. Here’s a quick list:
- A sharp knife or box cutter
- A hairdryer or heat gun
- Gloves (optional, but recommended)
- A flat surface to work on
- A scraper or credit card (for prying the lamination apart)
These tools will help you safely and effectively remove the lamination without damaging the paper underneath. Just remember to handle sharp objects with care!
Step-by-Step Guide: How to Remove Lamination on Paper
Now for the main event! Here’s a step-by-step guide to help you remove lamination on paper like a pro:
Step 1: Prepare Your Workspace
First things first, set up a clean and flat workspace. Make sure the area is well-lit and free from distractions. You’ll also want to protect your surfaces with a cutting mat or some newspaper to avoid any accidental scratches or damage.
Step 2: Heat It Up
Using a hairdryer or heat gun, apply gentle heat to the edges of the laminated paper. This will soften the adhesive that holds the plastic film in place. Be careful not to overheat the paper, as this could cause it to curl or warp.
Step 3: Start Peeling
Once the adhesive has softened, use a scraper or credit card to gently lift the edge of the lamination. Work slowly and steadily, peeling the plastic away from the paper. If you encounter any stubborn spots, reapply heat and try again.
Step 4: Clean Up the Residue
After you’ve removed the lamination, you might notice some adhesive residue left on the paper. To clean this up, use a small amount of rubbing alcohol and a soft cloth. Gently rub the area until the residue disappears.
Step 5: Inspect Your Work
Take a moment to inspect the paper for any tears or damage. If everything looks good, congratulations—you’ve successfully removed the lamination!
Common Mistakes to Avoid
Removing lamination might seem straightforward, but there are a few pitfalls to watch out for. Here are some common mistakes and how to avoid them:
- Overheating: Applying too much heat can damage the paper. Use a low setting on your hairdryer or heat gun and move it around constantly to avoid burning.
- Rushing: Patience is key when removing lamination. If you try to peel too quickly, you risk tearing the paper or leaving behind chunks of plastic.
- Using the Wrong Tools: Stick to safe, sharp tools like box cutters or knives. Avoid using scissors, as they can easily slip and damage the document.
Professional Techniques for Removing Lamination
If you’re dealing with a large volume of laminated documents or need to ensure the paper remains in pristine condition, it might be worth considering professional techniques. Some businesses specialize in document restoration and can handle the process for you. While this option may cost more, it guarantees a higher success rate and reduces the risk of damaging your documents.
Tips for Preventing Future Lamination Issues
Now that you know how to remove lamination, here are a few tips to help you avoid similar problems in the future:
- Choose the Right Lamination: Not all lamination is created equal. Opt for removable or eco-friendly options if you think you’ll need to undo the process later.
- Label Your Documents: Keep track of which documents are laminated and why. This will help you make informed decisions about whether or not to remove the lamination.
- Consider Alternatives: If you’re laminating documents for protection, consider other options like plastic sleeves or folders that can be easily removed.
Data and Statistics: The Environmental Impact of Lamination
Did you know that millions of tons of laminated paper end up in landfills every year? According to a report by the Environmental Protection Agency (EPA), laminated materials are one of the hardest types of waste to recycle. By learning how to remove lamination on paper, you’re not only helping yourself—you’re also contributing to a more sustainable planet.
Conclusion: Take Action Today!
Removing lamination on paper might seem intimidating at first, but with the right tools and techniques, it’s a task anyone can master. Whether you’re decluttering old documents, recycling, or simply trying to save some money, this skill will come in handy more often than you think.
So, what are you waiting for? Grab your tools, follow the steps we’ve outlined, and start removing that lamination today! And don’t forget to share your experience with us in the comments below. Who knows—you might just inspire someone else to give it a try!
Table of Contents
- Understanding the Basics of Lamination
- Why Remove Lamination?
- Tools You’ll Need to Remove Lamination
- Step-by-Step Guide: How to Remove Lamination on Paper
- Common Mistakes to Avoid
- Professional Techniques for Removing Lamination
- Tips for Preventing Future Lamination Issues
- Data and Statistics: The Environmental Impact of Lamination
- Conclusion: Take Action Today!