Ever wondered how to sew a fabric hair bow that’s both stylish and unique? Well, you’re in luck! Whether you’re a beginner or a seasoned crafter, sewing fabric hair bows can be an exciting and rewarding project. With the right tools and techniques, you’ll be creating bows that’ll turn heads in no time. So, grab your fabric, needle, and thread because we’re diving right in!
Let’s face it, store-bought bows are great, but nothing beats the satisfaction of making something yourself. When you sew your own fabric hair bow, you have the freedom to choose the fabric, size, and style. This means you can create bows that perfectly match your outfit or your little one’s adorable hairstyles. Plus, it’s a super fun activity to bond with friends or family.
Before we get started, let’s talk about why sewing fabric hair bows is such a great skill to learn. Not only does it save you money, but it also allows you to unleash your creativity. You can experiment with different patterns, colors, and textures to make bows that are truly one-of-a-kind. And who knows, you might even start a little side hustle selling your handmade creations!
Why Sewing a Fabric Hair Bow is Worth Your Time
Alright, let’s break it down. Sewing a fabric hair bow is not just about crafting; it’s about creating something meaningful. These little accessories can add a touch of elegance to any hairstyle. Plus, they make awesome gifts for friends and family. Imagine the joy on someone’s face when they receive a handmade bow that you put your heart into. Now, that’s priceless!
Here’s the kicker: once you master the basics, you can get as creative as you want. From simple bows to more intricate designs, the possibilities are endless. And the best part? You don’t need any fancy equipment. Just a few basic tools and some patience, and you’re good to go.
Tools You’ll Need to Sew a Fabric Hair Bow
Before you dive into the world of fabric hair bows, it’s important to have the right tools. Here’s a quick rundown of what you’ll need:
- Fabric (cotton, silk, or any lightweight material works great)
- Scissors (sharp ones, preferably)
- Needle and thread (matching the color of your fabric)
- Hot glue gun (optional but super helpful)
- Alligator clips or hair elastic
- Ruler or measuring tape
- Pins for holding the fabric in place
See? Nothing too complicated. Most of these items are probably already sitting in your craft box. If not, they’re easily available at any craft store or online.
Choosing the Right Fabric for Your Hair Bow
When it comes to sewing fabric hair bows, the fabric you choose plays a huge role in how your bow turns out. You want something that’s lightweight yet sturdy enough to hold its shape. Cotton and silk are popular choices because they’re easy to work with and give a polished finish.
Pro tip: If you’re going for a more luxurious look, try using satin or velvet. These fabrics add a touch of elegance and are perfect for special occasions. Just make sure the fabric isn’t too thick or stiff, or it’ll be harder to manipulate.
How Much Fabric Do You Need?
This depends on the size of the bow you want to make. For a standard-sized bow, you’ll need about 8-10 inches of fabric. But if you’re going for a larger bow, you might need up to 15 inches. It’s always better to have a little extra fabric just in case.
One cool trick is to use fabric scraps. You know those little pieces of fabric you’ve been hoarding? Now’s the perfect time to put them to good use. Not only does this save you money, but it’s also a great way to reduce waste.
Step-by-Step Guide: How to Sew a Fabric Hair Bow
Now that you have all your tools and fabric ready, it’s time to get down to business. Follow these simple steps, and you’ll have a beautiful fabric hair bow in no time.
Step 1: Cut Your Fabric
Start by cutting your fabric into a long rectangle. As I mentioned earlier, the size depends on how big you want your bow to be. A good rule of thumb is to cut the fabric twice as long as you want the bow to be. For example, if you want a 4-inch bow, cut an 8-inch piece of fabric.
Remember to round the edges slightly. This gives the bow a more polished look and makes it easier to sew.
Step 2: Fold and Pin the Fabric
Once your fabric is cut, fold it in half lengthwise with the right sides facing each other. Use pins to hold the fabric in place. This ensures that the fabric stays together while you’re sewing.
Don’t worry if your edges aren’t perfectly straight. A little imperfection adds character to your bow!
Step 3: Sew the Fabric
Using your needle and thread, sew along the long edge of the fabric, leaving about a 1/4 inch seam allowance. Make sure to backstitch at the beginning and end to secure the stitches.
After sewing, turn the fabric right side out. Use a pencil or similar tool to push out the corners for a sharper look.
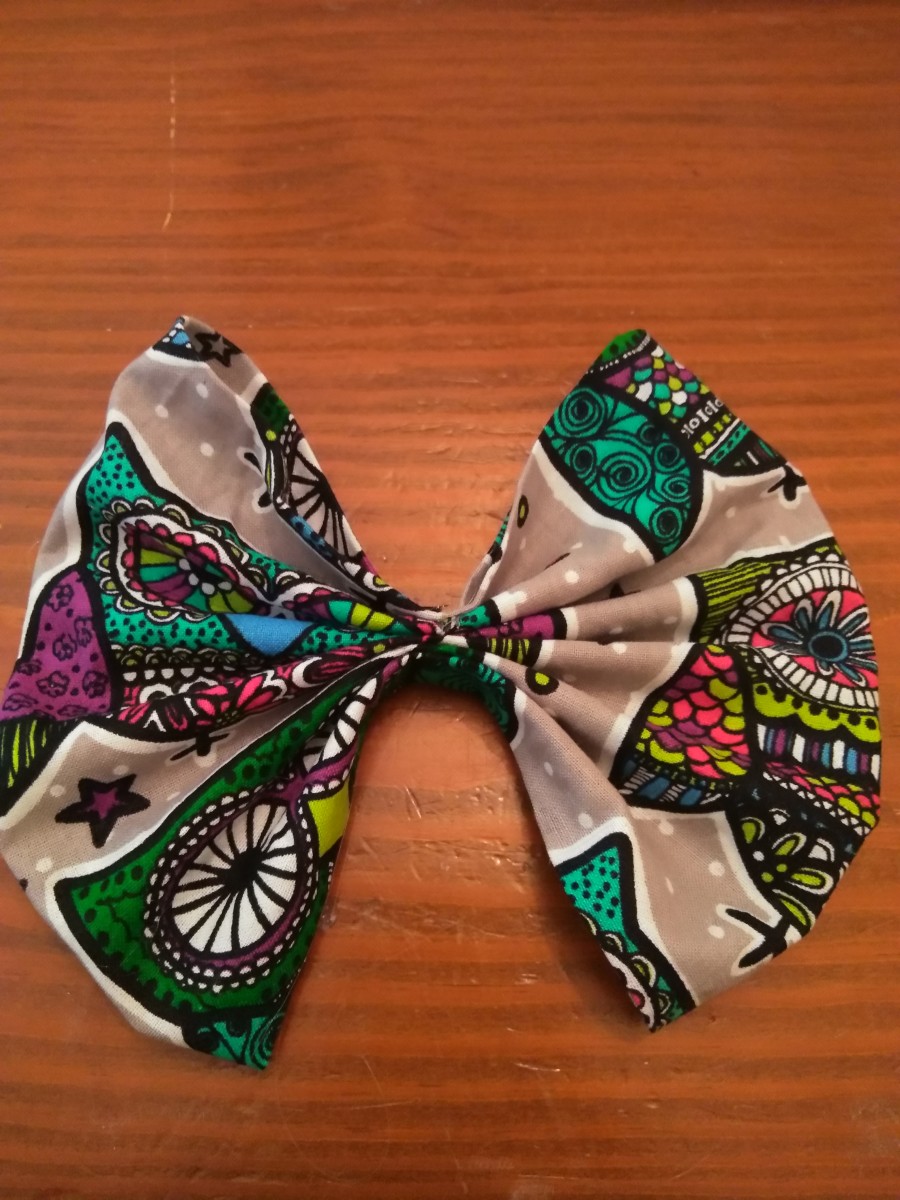
Step 4: Shape the Bow
This is where the magic happens. Take the sewn fabric and pinch it in the middle to create the bow shape. Use pins to hold the shape in place.
Experiment with different shapes and sizes. You can make a classic loop bow or try something more unique like a butterfly bow.
Step 5: Secure the Bow
Once you’re happy with the shape, sew a few stitches through the center of the bow to keep it in place. This is where the hot glue gun comes in handy. A small dab of glue can help secure the bow and prevent it from unraveling.
If you’re using alligator clips or hair elastic, attach them to the back of the bow using glue or stitches. Make sure they’re securely attached so the bow doesn’t fall off.
Tips and Tricks for Perfect Fabric Hair Bows
Now that you know the basics, here are a few tips to take your fabric hair bows to the next level:
- Use contrasting thread for a bold look or matching thread for a seamless finish.
- Iron your fabric before cutting to get crisp edges.
- Experiment with different textures, like adding ribbons or lace to your bows.
- Don’t be afraid to mix and match fabrics for a fun, eclectic look.
And remember, practice makes perfect. The more bows you make, the better you’ll get at it. So, don’t get discouraged if your first few attempts aren’t exactly what you envisioned. Keep at it, and soon you’ll be sewing bows like a pro.
Common Mistakes to Avoid When Sewing Fabric Hair Bows
Even the best crafters make mistakes from time to time. Here are a few common ones to watch out for:
- Using fabric that’s too thick or stiff, making it difficult to shape the bow.
- Not securing the bow properly, causing it to fall apart.
- Forgetting to round the edges, which can make the bow look less polished.
One mistake I see a lot is not leaving enough seam allowance. This can make it hard to turn the fabric right side out. Always leave at least a 1/4 inch seam allowance to avoid this issue.
How to Fix Mistakes
If you do make a mistake, don’t panic. Most mistakes can be easily fixed. For example, if your bow isn’t holding its shape, try adding a few more stitches or a dab of glue. If your fabric edges aren’t smooth, use a pair of sharp scissors to trim them.
The key is to stay calm and patient. Crafting is all about trial and error, and every mistake is a learning opportunity.
How to Customize Your Fabric Hair Bows
One of the best things about sewing fabric hair bows is that you can customize them to your heart’s content. Here are a few ideas to get you started:
- Add beads or sequins for a sparkly touch.
- Use different colored threads to create a fun contrast.
- Experiment with different shapes, like teardrop or double loops.
- Attach additional accessories, like feathers or flowers, for a unique look.
The possibilities are endless. Let your imagination run wild and create bows that reflect your personal style.
How to Sell Your Handmade Fabric Hair Bows
If you’re thinking about turning your newfound skill into a business, here are a few tips to help you get started:
First, decide on your target market. Are you selling to adults, kids, or both? This will help you determine the style and size of the bows you’ll make. Next, set up an online store or social media page to showcase your creations. High-quality photos and detailed descriptions are key to attracting customers.
Pro tip: Offer custom orders. This allows customers to choose their own fabric, size, and style, making each bow truly unique. And don’t forget to price your bows fairly. Consider the cost of materials, time, and effort when setting your prices.
Conclusion: Start Sewing Your Own Fabric Hair Bows Today!
So there you have it, everything you need to know about how to sew a fabric hair bow. From choosing the right fabric to customizing your bows, the possibilities are endless. With a little practice and patience, you’ll be creating bows that’ll make heads turn wherever you go.
Now it’s your turn. Grab your tools, pick out your favorite fabric, and start sewing. And don’t forget to share your creations with us in the comments below. We’d love to see what you come up with. Happy crafting, and remember, the world is your canvas!