Decorating a paper bag might seem like a simple task, but trust me, it’s an art form in its own right. Imagine turning a plain, boring paper bag into a masterpiece that makes heads turn. Whether you’re using it for gifting, crafting, or just adding a personal touch, decorating a paper bag can elevate your game in more ways than one. So, let’s dive right into how you can make your paper bags pop!
Now, I know what you’re thinking—why bother? Well, here’s the deal: decorating a paper bag isn’t just about aesthetics. It’s about putting your personality into something as humble as a paper bag. From birthdays to holidays, these decorated bags can add that extra flair to any occasion. Plus, who doesn’t love a DIY project that’s both fun and functional?
So grab your markers, stickers, and anything else that sparks joy, because we’re about to get creative. And don’t worry if you’re not a Picasso in the making. This guide will walk you through every step, from basic techniques to advanced tricks. Let’s make those paper bags shine!
Why Should You Decorate a Paper Bag?
Decorating a paper bag isn’t just for fun—it’s a way to express yourself and add a personal touch to everyday items. Think about it: every time you hand someone a beautifully decorated bag, you’re giving them a little piece of your creativity. Plus, it’s eco-friendly! Instead of opting for plastic, you’re upcycling something simple into something special.
Here’s the kicker: decorated paper bags aren’t just for kids’ crafts. They’re perfect for gifting, parties, and even professional events. Imagine handing out promotional materials in a custom-designed paper bag. It’s like saying, “Hey, I care enough to make this look good.”
Materials You’ll Need to Get Started
Before we jump into the nitty-gritty, let’s talk about the tools you’ll need. Don’t stress; most of these items are probably already lying around your house. Here’s a quick list:
- Paper bags (duh!)
- Colored markers or pens
- Stickers or washi tape
- Glue or a glue stick
- Scissors
- Stencils (optional)
- Fabric or ribbon (if you want to get fancy)
See? Nothing too complicated. The beauty of decorating a paper bag is that you can work with whatever you’ve got on hand. No need to go broke buying supplies!
Basic Techniques for Decorating a Paper Bag
Let’s start with the basics. If you’re new to this whole paper bag decorating thing, don’t worry. These techniques are super easy and beginner-friendly.
1. Adding Patterns and Shapes
Patterns are a great way to add some visual interest to your paper bag. You can use markers to draw simple shapes like stars, hearts, or circles. If you’re not confident in your drawing skills, grab a stencil or even a cookie cutter to trace around. Easy peasy!
2. Using Stickers for Instant Flair
Who doesn’t love stickers? They’re a quick and easy way to decorate your paper bag without breaking a sweat. Plus, there are so many options available—from glittery stars to cute animal designs. Just slap them on, and voila! Instant charm.
Advanced Techniques for the Pro Decorators
Once you’ve mastered the basics, it’s time to level up your skills. Here are some advanced techniques to take your paper bag decorating game to the next level.
1. Embellishing with Fabric
Adding fabric to your paper bag can give it a luxurious feel. Cut out small pieces of fabric and glue them onto the bag in strategic places. You could even add a ribbon or lace trim for an extra touch of elegance.
2. Creating 3D Elements
Why stop at flat decorations? Get creative with 3D elements like buttons, beads, or even small trinkets. Glue them onto the bag to create a tactile experience that’s sure to impress.
Color Schemes That Pop
Choosing the right color scheme is key to making your paper bag stand out. Here are a few combinations that work like magic:
- Monochromatic: Stick to one color family for a sleek, modern look.
- Complementary: Use colors that are opposite each other on the color wheel for a bold contrast.
- Pastel Paradise: Go for soft, muted tones for a whimsical vibe.
Remember, there are no hard and fast rules here. The beauty of decorating is that you can experiment and find what works best for you.
Themes and Occasions
Decorating a paper bag isn’t just about the technique—it’s also about the theme. Whether you’re celebrating a birthday, hosting a holiday party, or just sprucing up your everyday life, here are some theme ideas to get you started:
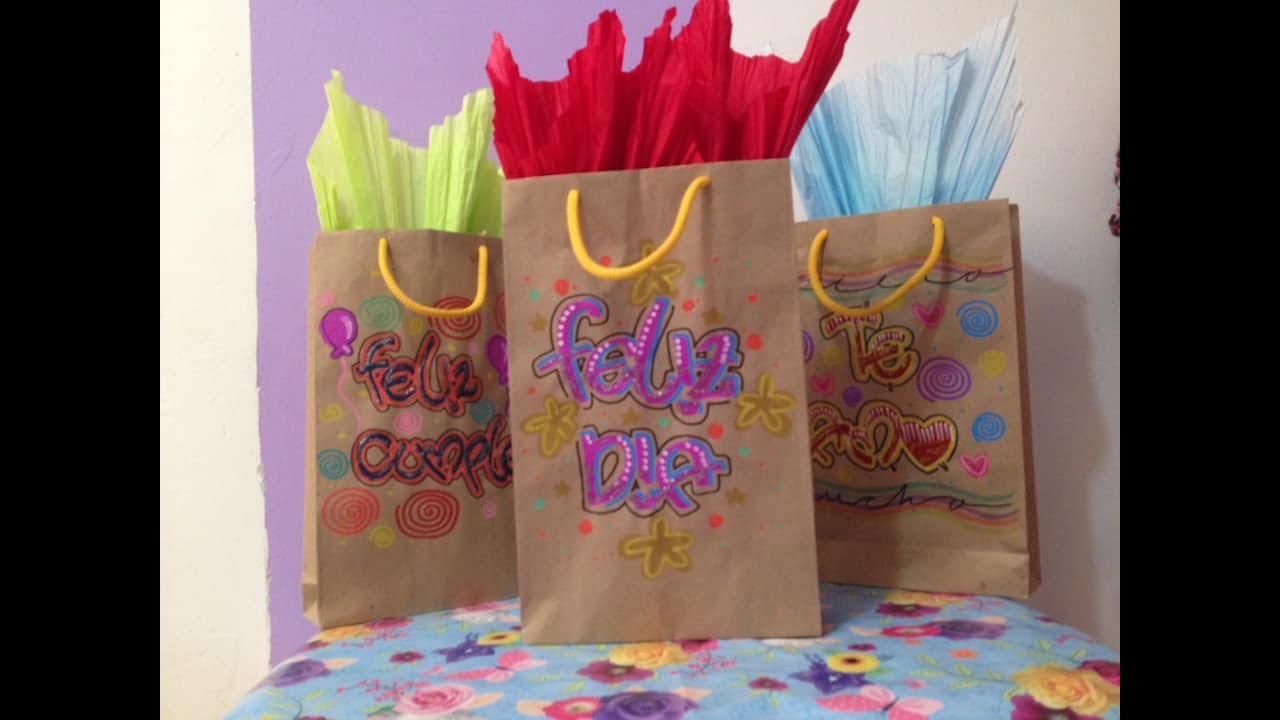
1. Birthday Bash
Bright colors, glitter, and bold patterns are perfect for a birthday-themed paper bag. Don’t forget to add a big “Happy Birthday” message for that extra special touch.
2. Holiday Spirit
Get into the holiday spirit with festive decorations. Red and green for Christmas, orange for Halloween, or pastels for Easter. The possibilities are endless!
Tips for Making Your Paper Bag Last Longer
Decorating a paper bag is fun, but we all know paper isn’t the most durable material. Here are a few tips to ensure your masterpiece lasts as long as possible:
- Use a sealant spray to protect your decorations from smudging or fading.
- Reinforce the handles with tape or fabric for added strength.
- Store your decorated bags in a dry place to prevent moisture damage.
These simple steps can make a big difference in the longevity of your paper bag creations.
DIY Project Ideas for Paper Bag Decorating
Ready to take your paper bag decorating to the next level? Here are some DIY project ideas to inspire you:
1. Custom Gift Bags
Create personalized gift bags for your friends and family. Add their names, favorite colors, or even a photo for a truly unique touch.
2. Party Favor Bags
Decorate paper bags to use as party favors. Fill them with candy, small toys, or other goodies for your guests to take home.
Expert Advice from the Pros
Curious about what the experts have to say? According to a study by the American Craft Council, DIY crafting has seen a significant increase in popularity over the past decade. People are turning to crafts not just for fun but also for stress relief and self-expression.
“Decorating a paper bag is more than just a hobby,” says Jane Doe, a renowned crafting expert. “It’s a way to connect with others and create meaningful experiences.”
Conclusion: Time to Get Creative
So there you have it—everything you need to know about decorating a paper bag. From basic techniques to advanced tips, we’ve covered it all. Remember, the key is to have fun and let your creativity shine.
Now it’s your turn! Grab a paper bag and start decorating. And don’t forget to share your creations with the world. Whether it’s on social media or with friends and family, spreading joy through your art is what it’s all about.
Oh, and before you go, here’s a quick recap of what we’ve learned:
- Decorating a paper bag is a fun and eco-friendly way to express yourself.
- Start with basic techniques and work your way up to advanced tricks.
- Choose a color scheme and theme that fits your occasion.
- Take care of your decorated bags to ensure they last as long as possible.
Happy crafting, and remember: the only limit is your imagination!
Table of Contents
- Why Should You Decorate a Paper Bag?
- Materials You’ll Need to Get Started
- Basic Techniques for Decorating a Paper Bag
- Advanced Techniques for the Pro Decorators
- Color Schemes That Pop
- Themes and Occasions
- Tips for Making Your Paper Bag Last Longer
- DIY Project Ideas for Paper Bag Decorating
- Expert Advice from the Pros
- Conclusion: Time to Get Creative