Hey there, snow enthusiast! Are you ready to dive into the magical world of ice snow? Whether you're planning a winter party, decorating your garden, or simply looking for a fun DIY project, learning how to make ice snow can be an incredible experience. This guide will walk you through everything you need to know about creating your own icy masterpiece, step by step.
Let's face it, snow is one of nature's most beautiful creations. But what if you don't live in a snowy region or want to bring that winter charm to your backyard? Fear not! With a few simple tools and techniques, you can create your very own ice snow. It's easier than you think, and the results can be breathtaking.
Before we dive into the nitty-gritty, let me tell you why this is such a cool (pun intended) activity. Not only is it a great way to bring the winter spirit indoors, but it's also an excellent opportunity to bond with friends and family. Plus, who doesn't love playing in the snow, no matter where you are? So, grab your gloves and let's get started!
What Exactly Is Ice Snow?
Ice snow, also known as artificial snow, is a man-made version of the real thing. It's created by freezing water droplets or using specialized equipment to mimic the texture and appearance of natural snow. Unlike the real deal, ice snow can be produced anytime, anywhere, making it perfect for events, decorations, and even scientific experiments.
One of the coolest things about ice snow is its versatility. You can use it for small-scale projects like crafting snowflakes or for large-scale events like winter festivals. And the best part? It's eco-friendly and can be reused multiple times if stored properly.
Why Learn How to Make Ice Snow?
There are plenty of reasons why you might want to learn how to make ice snow. First and foremost, it's a fantastic way to add a touch of winter magic to your surroundings, especially if you live in a warm climate. Imagine waking up to a snowy landscape without having to travel thousands of miles!
Additionally, creating ice snow can be a fun and educational activity for kids. It teaches them about the science behind freezing and melting, as well as the importance of sustainability. Plus, it's a great conversation starter at parties and gatherings.
Tools and Materials You'll Need
Before you start making ice snow, it's important to gather all the necessary tools and materials. Here's a quick list to get you started:
- Ice cubes or crushed ice
- A large container or bin
- A blender or food processor
- Water spray bottle
- Snow-making machine (optional)
- Insulated gloves
Depending on the method you choose, you might need additional equipment, but these basics will get you far. Let's break down each tool and why it's important.
The Importance of Ice Cubes
Ice cubes are the foundation of any good ice snow creation. They provide the necessary structure and texture to transform water into something resembling snow. You can either make your own ice cubes at home or buy them in bulk from a local store.
Why a Blender Is Your Best Friend
A blender or food processor is essential for breaking down the ice cubes into fine particles. The smaller the particles, the more realistic the snow will look. Just be careful not to overdo it, as you don't want to end up with slush!
Using a Snow-Making Machine
If you're planning a large-scale project, investing in a snow-making machine might be worth considering. These machines use compressed air and water to create snow-like particles, making the process faster and more efficient.
Step-by-Step Guide to Making Ice Snow
Now that you have all the tools and materials ready, let's dive into the step-by-step process of making ice snow. Follow these instructions carefully, and you'll be a snow-making pro in no time!
Step 1: Prepare Your Ice
Start by filling your container with ice cubes or crushed ice. Make sure you have enough to cover the area you want to decorate. If you're working with a large space, consider using multiple containers to speed up the process.
Step 2: Blend the Ice
Take small batches of ice and blend them in your food processor until they resemble snow. Be careful not to overblend, as this can cause the ice to melt faster. If you notice the ice starting to melt, stop blending and move on to the next step.
Step 3: Add Water
Using a spray bottle, lightly mist the crushed ice with water. This helps bind the particles together, creating a more realistic snow effect. Be sparing with the water, as too much can turn your snow into slush.
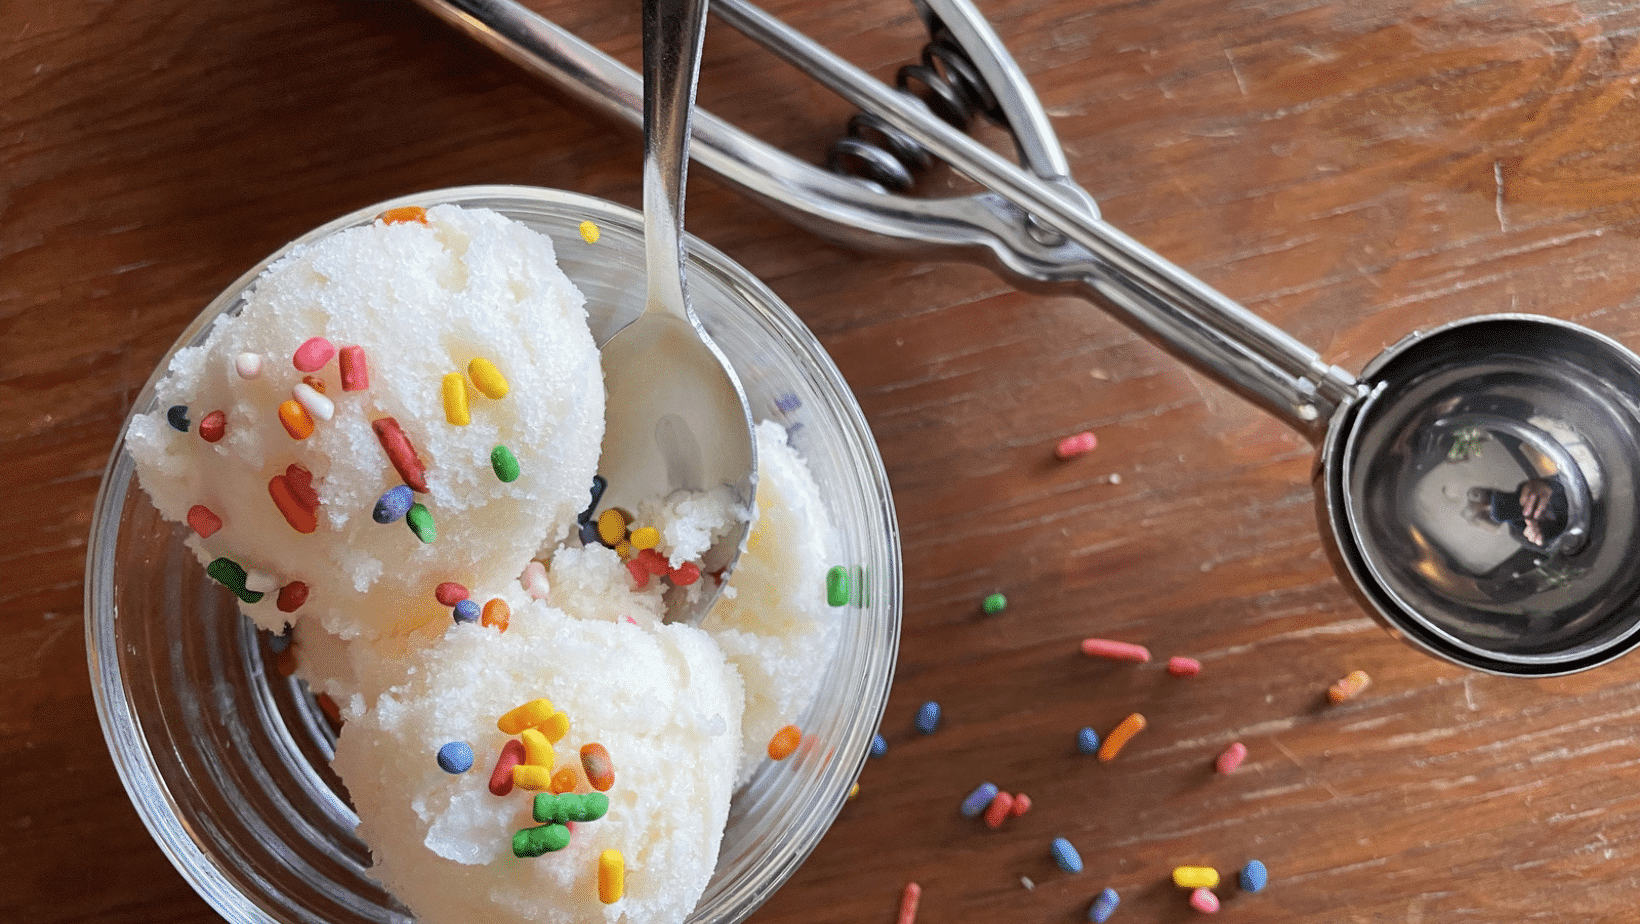
Step 4: Shape Your Snow
Once your ice snow is ready, use your hands or gloves to shape it into the desired form. You can create snowballs, snowmen, or even intricate snow sculptures if you're feeling artistic. The possibilities are endless!
Tips and Tricks for Perfect Ice Snow
Creating ice snow isn't rocket science, but there are a few tips and tricks that can help you achieve the best results. Here are some of our top recommendations:
- Work in a cool environment to prevent the ice from melting too quickly.
- Use distilled water for clearer, more translucent snow.
- Experiment with different ice cube sizes to see which works best for your project.
- Store your ice snow in an insulated container to extend its lifespan.
Remember, practice makes perfect. The more you experiment with different techniques, the better your results will be.
Common Mistakes to Avoid
Even the most experienced snow makers can make mistakes. Here are a few common pitfalls to watch out for:
- Overblending the ice, which can lead to melting.
- Using too much water, resulting in slushy snow.
- Working in a warm environment, causing the ice to melt prematurely.
By avoiding these mistakes, you'll be well on your way to creating flawless ice snow every time.
Applications of Ice Snow
Ice snow isn't just for decoration. It has a wide range of applications across various industries. Here are a few examples:
- Event planning: Ice snow is a popular choice for winter-themed parties and weddings.
- Film and theater: It's used in movies and plays to create realistic snowy landscapes.
- Science education: Teachers use ice snow to demonstrate the principles of freezing and melting.
No matter how you choose to use it, ice snow is a versatile and exciting material that can add a touch of magic to any occasion.
Environmental Considerations
As with any man-made product, it's important to consider the environmental impact of ice snow. While it's generally eco-friendly, there are a few things you can do to minimize your carbon footprint:
- Use reusable ice trays and containers.
- Recycle your ice snow by melting it and using the water for other purposes.
- Choose energy-efficient appliances when making large quantities of ice.
By being mindful of your choices, you can enjoy the beauty of ice snow while also protecting the planet.
Conclusion
In conclusion, learning how to make ice snow is a fun and rewarding activity that anyone can enjoy. From preparing your materials to shaping your snow, each step offers a unique opportunity to unleash your creativity and bring the winter spirit to life.
So, what are you waiting for? Grab your tools, gather your friends, and start creating your very own winter wonderland today! And don't forget to share your creations with us in the comments below. We'd love to see what you come up with.
Table of Contents:
- What Exactly Is Ice Snow?
- Why Learn How to Make Ice Snow?
- Tools and Materials You'll Need
- Step-by-Step Guide to Making Ice Snow
- Tips and Tricks for Perfect Ice Snow
- Common Mistakes to Avoid
- Applications of Ice Snow
- Environmental Considerations
Remember, the key to success is practice and patience. Happy snow making, and stay cool!