Ever wondered how to dismantle a lighter? You're not alone. Whether you're trying to fix a broken lighter, clean it, or just satisfy your curiosity, taking apart a lighter can be an intriguing experience. But hold up—there’s more to it than meets the eye. Before you start unscrewing and prying, let’s dive into the world of lighters and make sure you’re doing it safely and effectively.
Now, I know what you're thinking—how hard can it be to dismantle something as small as a lighter? Turns out, it’s not all that simple. A lighter is a compact yet intricate device, and messing with it without proper knowledge could lead to some serious trouble. So, buckle up and let’s explore the ins and outs of this tiny marvel of engineering.
In this article, we’ll walk you through every step of dismantling a lighter, from understanding its components to safely disassembling it. We’ll also cover important safety tips, troubleshooting common issues, and even share some fun facts about lighters along the way. Ready to get your hands dirty? Let’s go!
Table of Contents
- Understanding the Anatomy of a Lighter
- Safety First: Preparing to Dismantle a Lighter
- Tools You’ll Need to Dismantle a Lighter
- Step-by-Step Guide on How to Dismantle a Lighter
- Common Issues and How to Fix Them
- Reassembling Your Lighter Like a Pro
- Maintenance Tips for Your Lighter
- Troubleshooting FAQs
- A Brief History of Lighters
- Wrapping It Up
Understanding the Anatomy of a Lighter
Before we dive headfirst into dismantling a lighter, it’s crucial to understand what makes it tick—or should I say, click. A lighter may look simple on the outside, but inside, it’s a well-engineered gadget that combines mechanics, chemistry, and sometimes even electronics.
Key Components of a Lighter
Here’s a quick breakdown of the main parts you’ll encounter when dismantling a lighter:
- Body: The outer casing that holds everything together. It’s usually made of plastic or metal.
- Fuel Chamber: This is where the butane or lighter fluid is stored. Be careful—it’s pressurized!
- Flint: A small piece of metal that creates sparks when rubbed against the wheel.
- Wheel: The spinning wheel that generates friction with the flint to produce a flame.
- Ignition Mechanism: The button or lever you press to activate the flame.
- Flame Adjuster: A tiny screw that controls the size of the flame.
Knowing these components will help you navigate the dismantling process with confidence. Now, let’s talk about staying safe while you’re tinkering with your lighter.
Safety First: Preparing to Dismantle a Lighter
Safety should always come first, especially when dealing with something as flammable as a lighter. Here are a few precautions to keep in mind:
- Empty the Fuel: Make sure the lighter is completely out of fuel before attempting to dismantle it. You don’t want any surprises!
- Work in a Well-Ventilated Area: If there’s any residual fuel, you’ll want to avoid inhaling it.
- Use Protective Gear: Consider wearing gloves to protect your hands from sharp edges or chemicals.
- Keep Away from Heat Sources: This one’s a no-brainer—don’t dismantle a lighter near an open flame or heat source.
By following these safety tips, you’ll ensure a smooth and accident-free dismantling experience. Now that you’re all set, let’s gather the tools you’ll need.
Tools You’ll Need to Dismantle a Lighter
You don’t need a full toolkit to dismantle a lighter, but having the right gadgets will make the process much easier. Here’s what you’ll need:
- Screwdriver: A small flathead or Phillips screwdriver, depending on the type of screws on your lighter.
- Needle-Nose Pliers: Perfect for grabbing tiny parts and prying things open.
- Phillips Head Bit: If your lighter has Torx screws, you’ll need a specialized bit to remove them.
- Ziploc Bag: A great way to keep all the tiny parts organized.
Having these tools on hand will make the dismantling process smoother and more efficient. Now, let’s get down to business.
Step-by-Step Guide on How to Dismantle a Lighter
Alright, here’s the main event. Follow these steps carefully to dismantle your lighter safely and effectively:
Step 1: Empty the Fuel Chamber
Turn the lighter upside down and press the ignition button repeatedly to release any remaining fuel. If it’s a butane lighter, you might need to unscrew the bottom cap to fully drain it.
Step 2: Remove the Outer Casing
Using your screwdriver, carefully remove any visible screws holding the lighter together. If there are no screws, you might need to pry the casing apart gently with your needle-nose pliers.
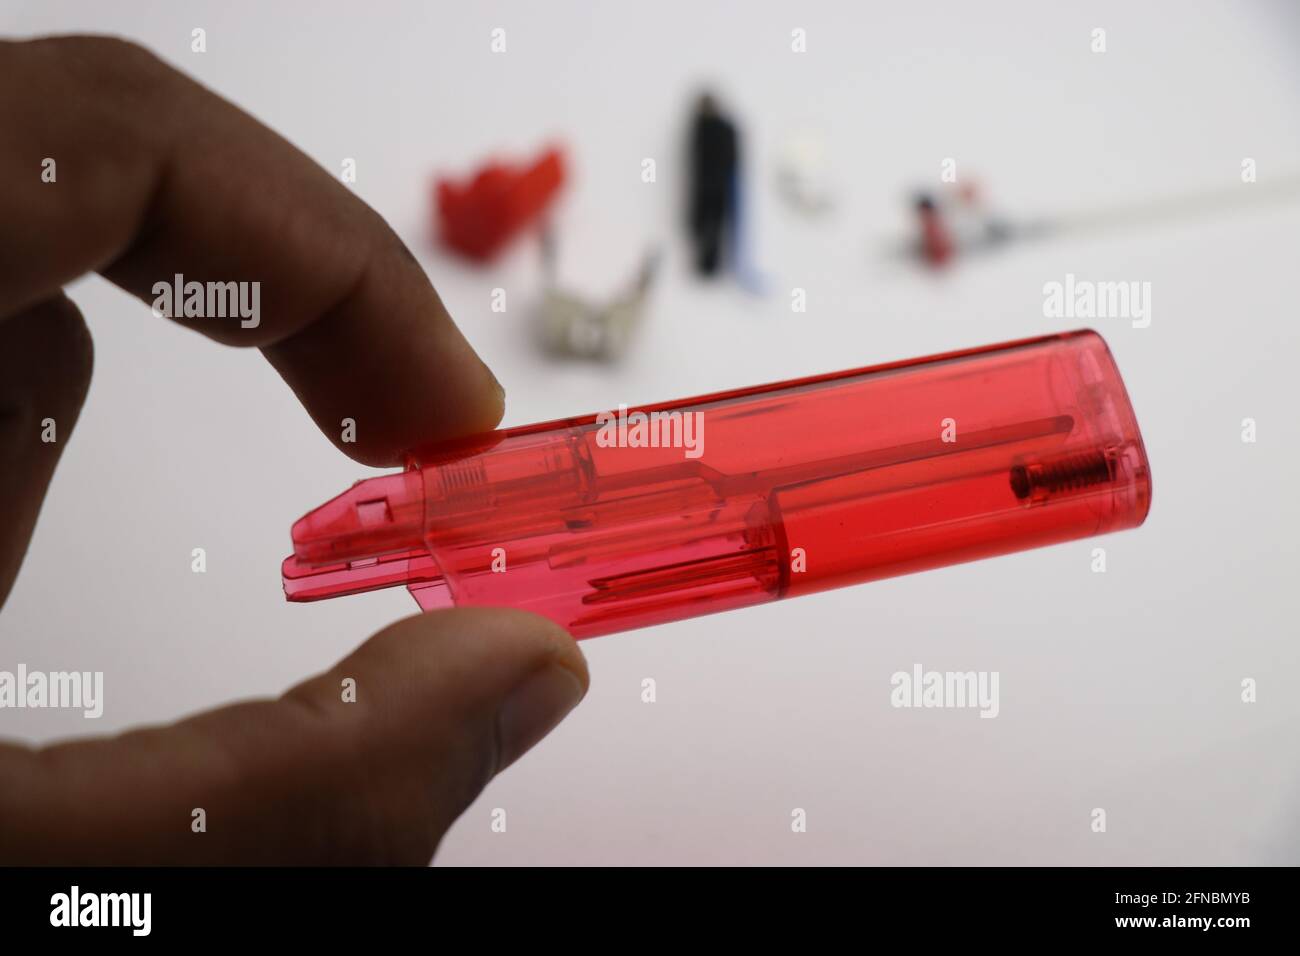
Step 3: Disassemble the Internal Components
Once the casing is open, you’ll see the internal workings of the lighter. Start by removing the flint and wheel assembly, followed by the ignition mechanism and flame adjuster.
Step 4: Clean and Inspect the Parts
Take a moment to clean each component with a soft cloth. Inspect them for any signs of wear or damage. Replace any parts that look worn out or broken.
Voilà! You’ve successfully dismantled your lighter. But wait—there’s more. Let’s tackle some common issues you might encounter along the way.
Common Issues and How to Fix Them
Even the most seasoned lighter dismantlers run into problems from time to time. Here are a few common issues and how to fix them:
- No Spark: Check if the flint is worn out or missing. Replace it if necessary.
- Weak Flame: Adjust the flame adjuster screw to increase the flame size.
- Leaking Fuel: Make sure all the seals and gaskets are intact. Replace any damaged ones.
By addressing these issues, you’ll ensure your lighter is in tip-top shape. Now, let’s talk about putting it all back together.
Reassembling Your Lighter Like a Pro
Reassembling a lighter is just as important as dismantling it. Follow these steps to put everything back together:
- Start by reinstalling the internal components in the reverse order you removed them.
- Make sure everything is securely in place before closing the casing.
- Reattach the outer casing and tighten any screws.
- Test the lighter to ensure it’s working properly.
With your lighter back in one piece, it’s time to learn how to keep it in good condition.
Maintenance Tips for Your Lighter
To keep your lighter functioning smoothly, follow these maintenance tips:
- Clean Regularly: Wipe down the exterior and clean the ignition mechanism periodically.
- Replace Parts as Needed: Don’t wait until a part is completely worn out before replacing it.
- Store Properly: Keep your lighter in a cool, dry place away from direct sunlight.
By taking good care of your lighter, you’ll extend its lifespan and ensure it’s always ready when you need it.
Troubleshooting FAQs
Got questions? We’ve got answers. Here are some common questions about dismantling lighters:
- Can I dismantle any type of lighter? Most standard lighters can be dismantled, but electronic lighters or those with complex mechanisms might require specialized tools.
- What should I do if my lighter won’t light? Check the flint, fuel level, and ignition mechanism. Replace any faulty parts.
- Is it safe to refill a lighter? Yes, as long as you use the correct type of fuel and follow safety precautions.
Now that we’ve covered the basics, let’s take a step back and explore the fascinating history of lighters.
A Brief History of Lighters
Did you know that the first lighter was invented in 1823 by a German chemist named Johann Wolfgang Döbereiner? Back then, it was a bulky device that used hydrogen gas to produce a flame. Fast forward to today, and lighters have evolved into sleek, portable gadgets that fit in the palm of your hand.
Over the years, innovations like butane fuel, piezoelectric ignition, and even rechargeable electronic lighters have transformed the industry. It’s amazing how far we’ve come!
Wrapping It Up
There you have it—a comprehensive guide on how to dismantle a lighter. From understanding its anatomy to safely disassembling and reassembling it, you now have the knowledge and skills to tackle this task with confidence.
Remember, safety is key, and taking good care of your lighter will ensure it lasts for years to come. If you found this article helpful, don’t forget to share it with your friends and leave a comment below. And if you’re looking for more DIY projects or tips, be sure to check out our other articles.
Happy dismantling, and stay lit!