Ever wondered how gymnasts keep their grip without slipping? The secret weapon? Gymnastics chalk! But what if you could make it yourself? Yup, you heard me right. Making gymnastics chalk is easier than you think, and today we’re gonna dive into the nitty-gritty of creating this magical powdery stuff that keeps those flips flawless.
You’ve probably seen gymnasts rubbing chalk all over their hands before they hit the bars or rings. But have you ever stopped to think about what’s actually in that chalk? It’s not just random dust—it’s carefully crafted magnesium carbonate powder that absorbs sweat and boosts grip. And guess what? You can totally DIY it if you want to save some cash or customize your own blend.
Now, if you’re anything like me, you might be asking, “Why would I even bother making gymnastics chalk when I can just buy it?” Well, my friend, making it yourself gives you control over the texture, scent, and even the strength of the chalk. Plus, it’s a fun little project that’ll leave you feeling like a science wizard. Let’s get started!
What Exactly Is Gymnastics Chalk?
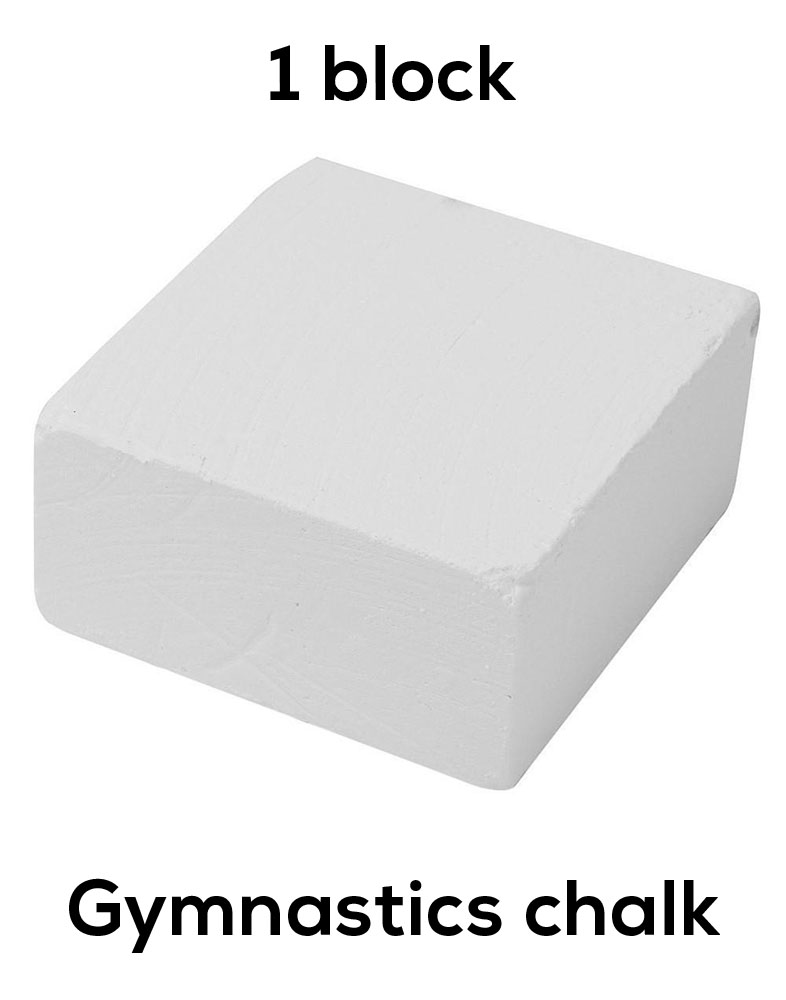
Gymnastics chalk is essentially magnesium carbonate powder, a fine white substance that helps absorb moisture and enhances grip. It’s not the same as sidewalk chalk, so don’t go grabbing a piece from your kid’s stash. This chalk is specially formulated for athletic purposes, and while you can buy it ready-made, making it at home is totally doable.
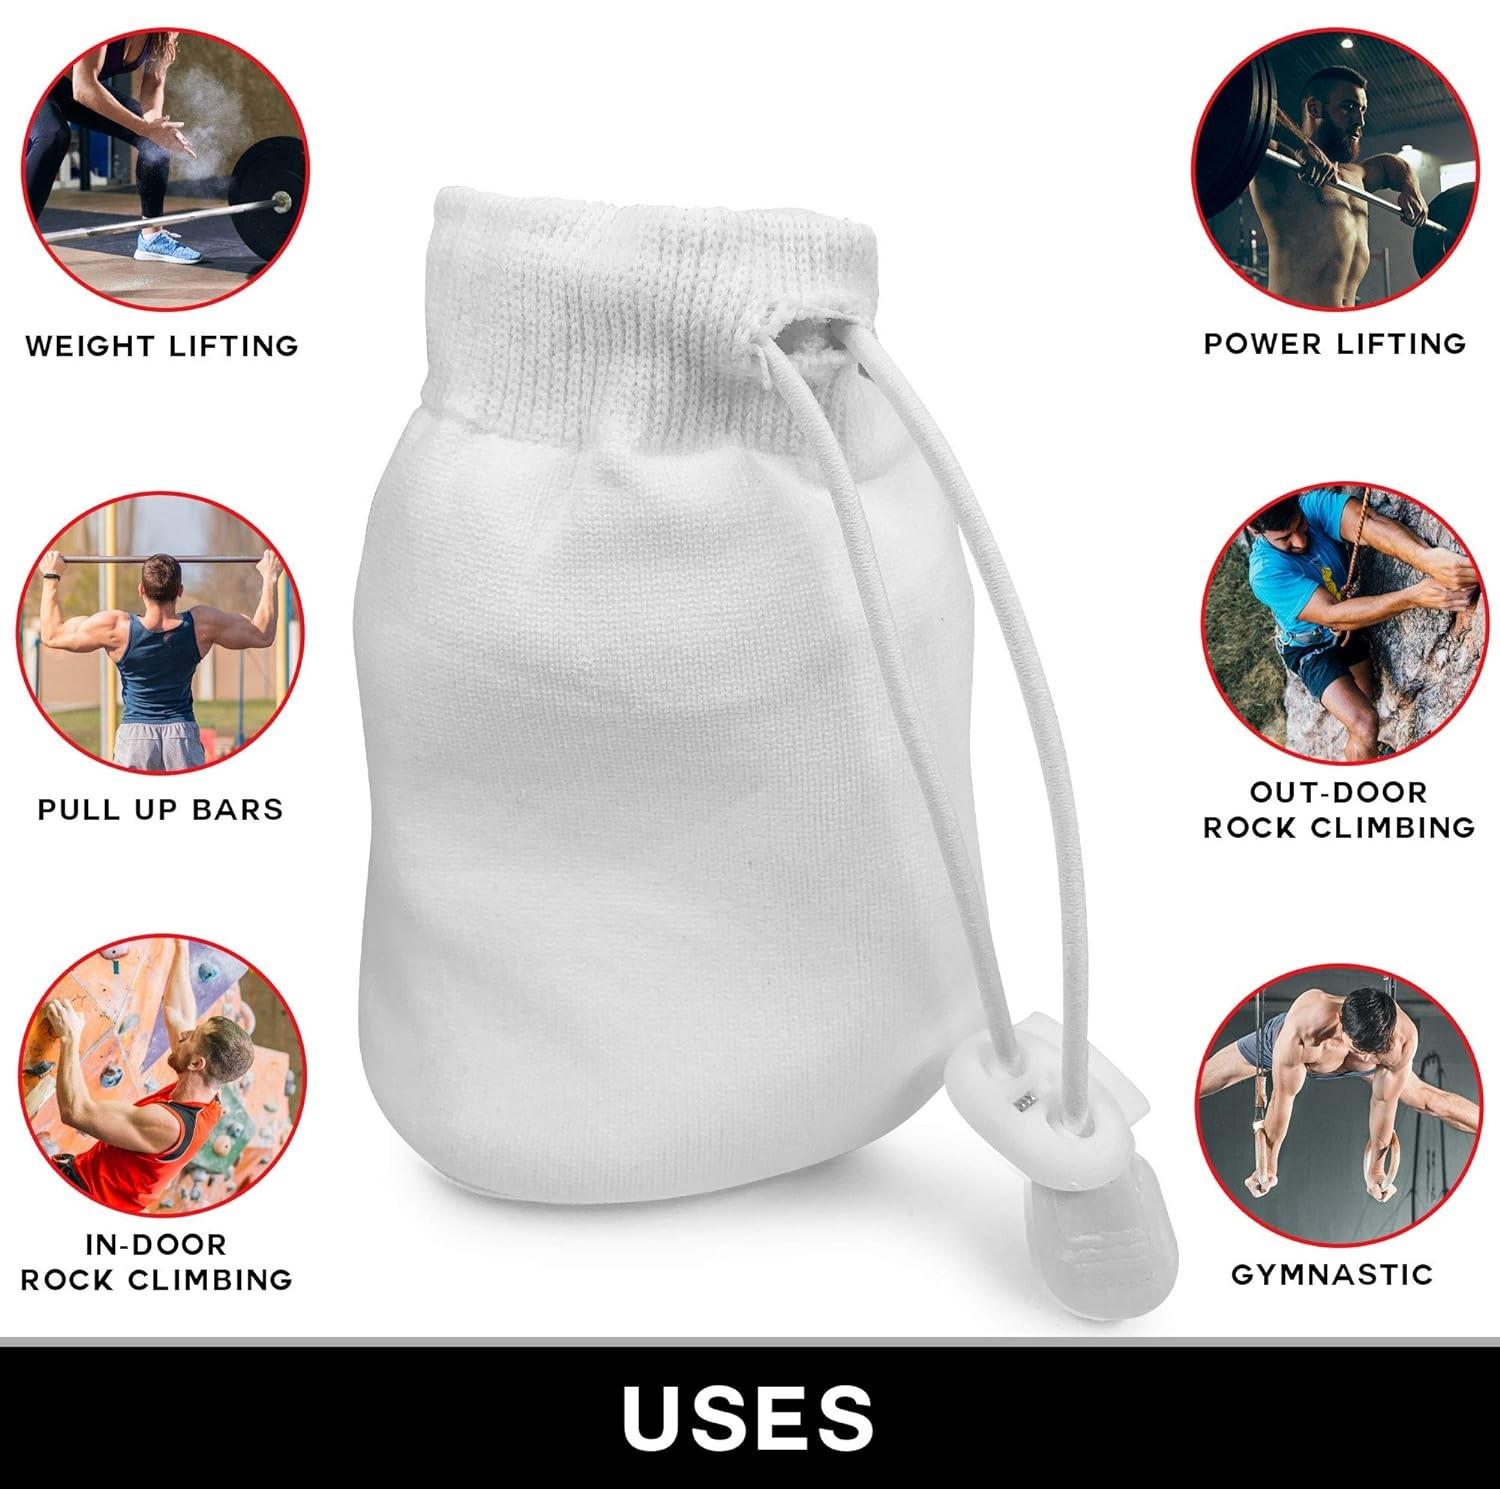
Here’s the deal: gymnastics chalk isn’t just for gymnasts. Climbers, weightlifters, and even martial artists use it to keep their hands dry and secure during intense workouts. So, whether you’re flipping on the balance beam or deadlifting at the gym, having a good grip is essential.
Why Should You Make Your Own Gymnastics Chalk?
Making your own gymnastics chalk has a ton of benefits. First off, it’s way cheaper than buying it pre-made. Second, you can customize it to your liking. Want it scented? No problem. Want it extra fine? Done. Plus, it’s a fun little experiment that’ll make you feel like a mad scientist in your kitchen.
- Cost-effective: Save money by making it yourself.
- Customizable: Adjust the texture, scent, and potency.
- Eco-friendly: Reduce waste by reusing containers and avoiding single-use packaging.
What You’ll Need to Make Gymnastics Chalk
Before we jump into the process, let’s talk about what you’ll need. Don’t worry, it’s not a long list. You probably already have most of these items lying around your house.
Materials and Tools:
- Magnesium carbonate powder (you can find this online or at sporting goods stores)
- A fine mesh strainer or sieve
- A mixing bowl
- A storage container (preferably airtight)
- Optional: essential oils for scent, food coloring for color
Now, if you’re thinking, “Wait, what’s magnesium carbonate powder?” don’t panic. It’s basically the raw material that gymnastics chalk is made from. It’s super easy to find, and it’s the key ingredient in this whole DIY adventure.
Step-by-Step Guide to Making Gymnastics Chalk
Alright, let’s get down to business. Here’s a step-by-step guide to making your very own gymnastics chalk. Trust me, it’s easier than you think.
Step 1: Gather Your Ingredients
Start by gathering all your materials. If you’re using essential oils or food coloring, now’s the time to grab those too. Make sure everything is clean and ready to go.
Step 2: Sift the Magnesium Carbonate
Pour the magnesium carbonate powder into your mixing bowl and sift it through a fine mesh strainer. This step ensures that your chalk is super fine and free of any clumps. Nobody likes clumpy chalk, am I right?
Step 3: Add Optional Ingredients
If you want to add a scent or color, now’s the time to do it. A few drops of essential oil will give your chalk a pleasant aroma, and a tiny bit of food coloring can add a pop of color. Just be careful not to overdo it—less is more here.
Step 4: Mix It Up
Use a whisk or a fork to mix everything together until it’s evenly distributed. If you’re using scent or color, make sure it’s fully incorporated into the powder.
Step 5: Store It Properly
Transfer your freshly made gymnastics chalk into an airtight container. This will keep it fresh and prevent it from absorbing moisture from the air. Voila! You’ve just made your very own gymnastics chalk.
Common Mistakes to Avoid
While making gymnastics chalk is pretty straightforward, there are a few common mistakes you’ll want to avoid.
- Using the wrong type of powder: Stick to magnesium carbonate—don’t use sidewalk chalk or talcum powder.
- Not sifting the powder: Skipping this step can leave you with clumpy chalk that’s no fun to use.
- Overdoing the scent or color: A little goes a long way, so start with a small amount and adjust as needed.
Trust me, these mistakes are easy to avoid if you follow the steps carefully. And hey, even if you mess up a little, it’s not the end of the world. Just try again!
Tips for Using Gymnastics Chalk
Now that you’ve made your own gymnastics chalk, here are a few tips for using it effectively.
Tip 1: Use It Sparingly
You don’t need a ton of chalk to get the job done. A light dusting is usually enough to absorb moisture and enhance grip.
Tip 2: Store It Properly
Keep your chalk in an airtight container to maintain its quality. Exposure to air can make it clumpy or ineffective over time.
Tip 3: Experiment with Texture
If you prefer a finer or coarser texture, adjust your sifting process accordingly. Some people like their chalk super fine, while others prefer it a bit chunkier.
Where to Buy Magnesium Carbonate Powder
If you don’t already have magnesium carbonate powder, you’ll need to get some. Here are a few places where you can find it:
- Sporting goods stores
- Online retailers like Amazon or eBay
- Specialty fitness stores
When shopping for magnesium carbonate powder, make sure it’s food-grade if you plan to use it for anything other than gymnastics. This ensures it’s safe and free of harmful additives.
Health and Safety Considerations
While making gymnastics chalk is generally safe, there are a few things to keep in mind:
- Avoid inhaling the powder: Use a mask if you’re sensitive to dust.
- Wash your hands after handling: This prevents any residue from lingering on your skin.
- Keep it out of reach of children: While it’s not toxic, it’s best to store it in a safe place.
By following these simple precautions, you can enjoy your DIY gymnastics chalk without any worries.
Conclusion: Why Making Gymnastics Chalk Rocks
So there you have it—a complete guide to making your very own gymnastics chalk. Not only is it fun and easy, but it’s also cost-effective and customizable. Whether you’re a gymnast, climber, or weightlifter, having a reliable grip is essential, and homemade gymnastics chalk can help you achieve just that.
Now it’s your turn! Grab your materials, roll up your sleeves, and get ready to create some chalk magic. And when you’re done, don’t forget to share your experience in the comments below. Who knows? You might inspire someone else to give it a try.
Oh, and if you liked this article, be sure to check out some of our other awesome guides. Trust me, you won’t regret it!
Table of Contents
- What Exactly Is Gymnastics Chalk?
- Why Should You Make Your Own Gymnastics Chalk?
- What You’ll Need to Make Gymnastics Chalk
- Step-by-Step Guide to Making Gymnastics Chalk
- Common Mistakes to Avoid
- Tips for Using Gymnastics Chalk
- Where to Buy Magnesium Carbonate Powder
- Health and Safety Considerations
- Conclusion