Hanging a frame might seem like a no-brainer, but trust me, there’s an art to it. If you’ve ever tried to hang something with a sawtooth hanger and ended up with a lopsided masterpiece, you’re not alone. Whether you’re decorating your living room or sprucing up your office space, mastering the art of hanging frames properly is essential. In this guide, we’ll walk you through everything you need to know about how to hang a frame with a sawtooth hanger—step by step, easy peasy.
Let’s face it, picture frames can be tricky little buggers. You want them to look perfect, but sometimes they just refuse to cooperate. A sawtooth hanger is one of the most common types of frame hardware, and it’s super versatile. But knowing how to use it correctly can make all the difference between a gallery wall that looks like a pro did it and one that looks like… well, let’s just say it’s not Insta-worthy.
So, buckle up because we’re about to dive deep into the world of sawtooth hangers. By the end of this article, you’ll be hanging frames like a pro and impressing your friends with your newfound skills. Oh, and don’t worry—we’ve got plenty of tips, tricks, and even some fun facts to keep things interesting!
Why Sawtooth Hangers Are Your Best Friend
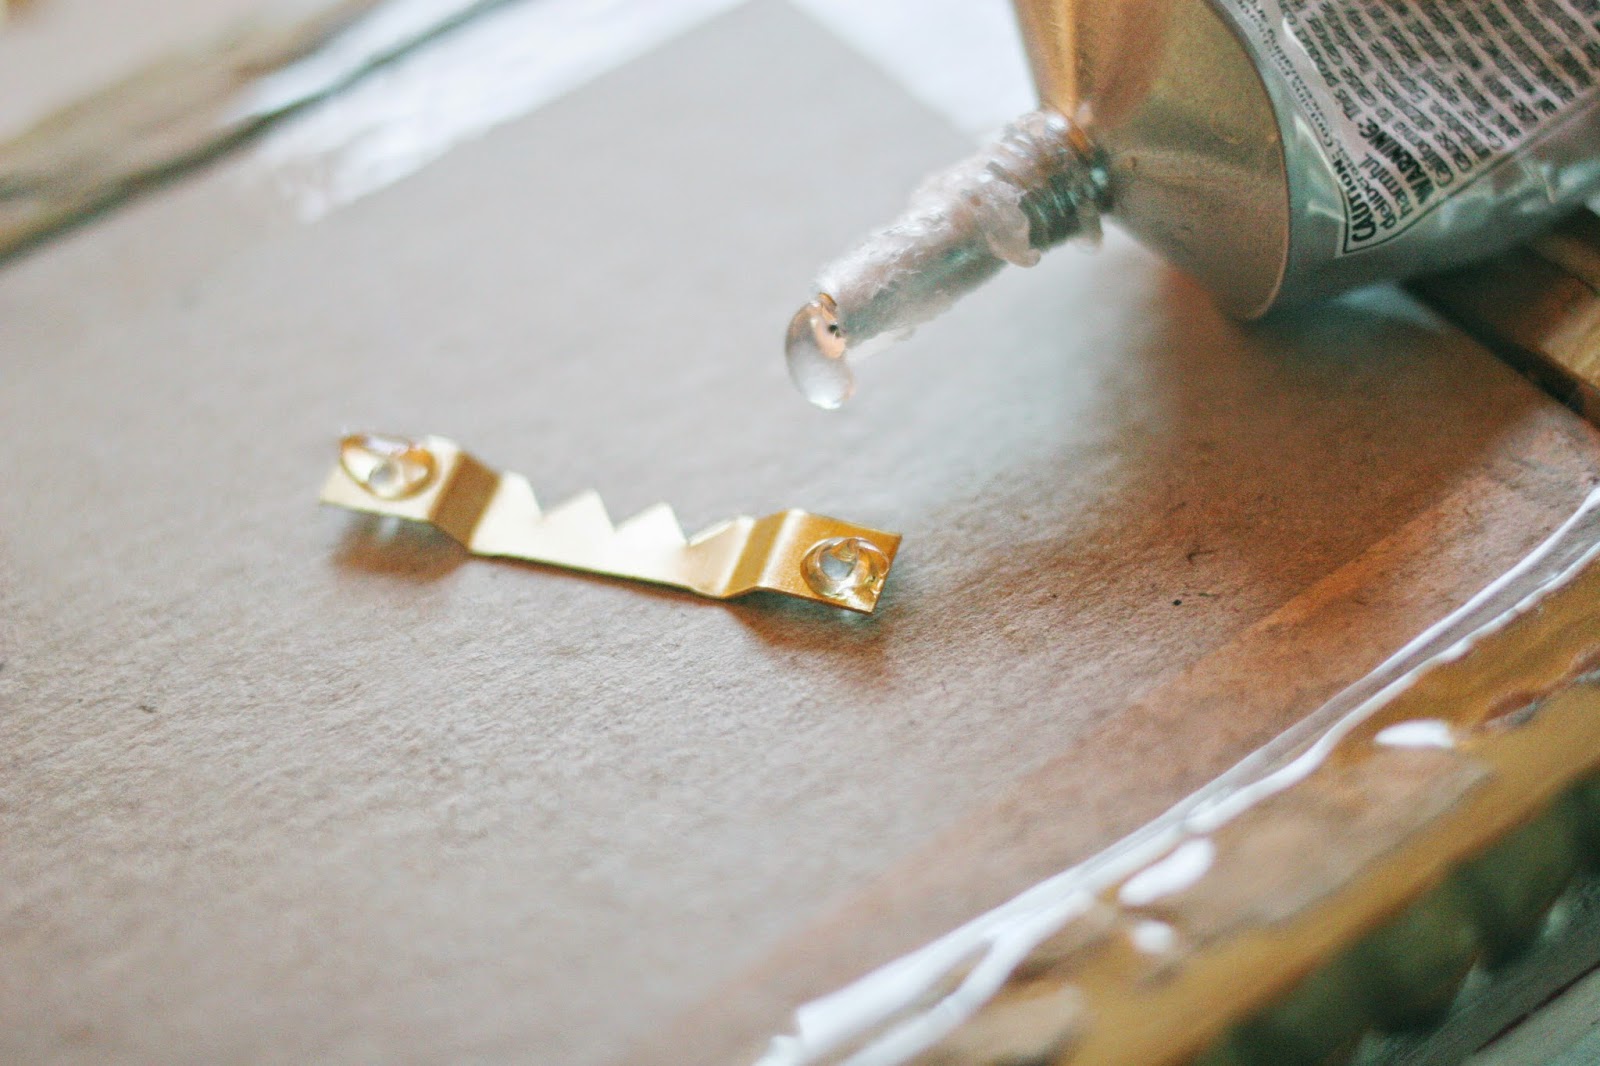
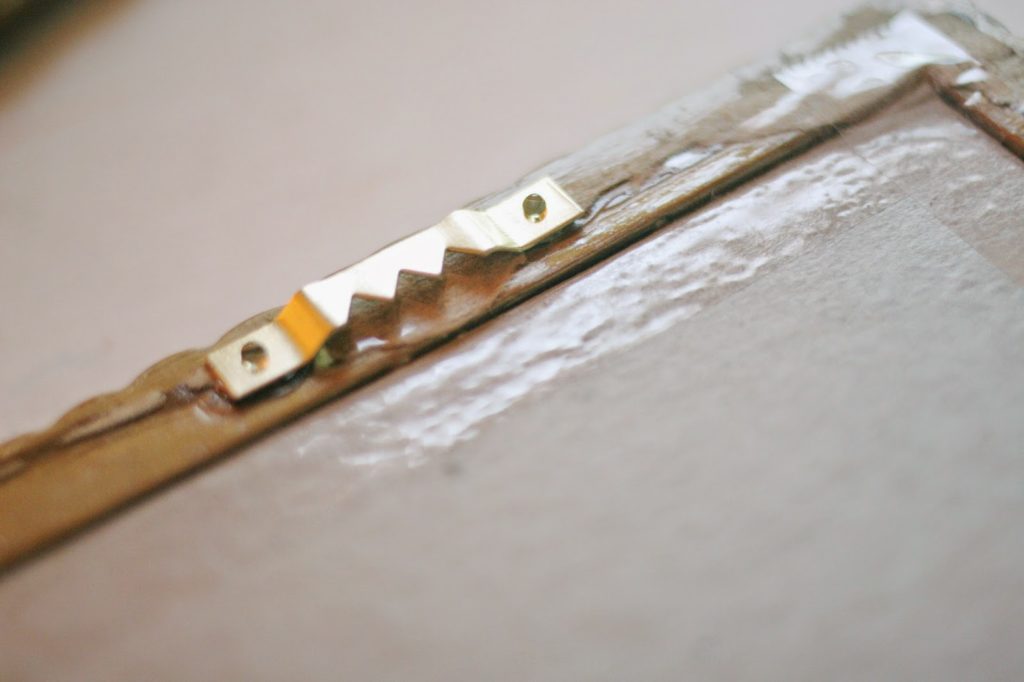
First things first, what exactly is a sawtooth hanger? It’s a small piece of metal hardware that attaches to the back of your frame and has teeth that resemble a saw. These teeth grip the nail or screw on your wall, making it super easy to hang your frame securely. Unlike other types of hangers, sawtooth hangers are lightweight and perfect for smaller frames or pieces of art.
Here’s why sawtooth hangers rock:
- They’re super easy to install—no fancy tools required!
- They distribute weight evenly, so your frame stays level.
- They’re affordable and widely available at craft stores or online.
- They work great for lightweight frames, like photos or prints.
But wait, there’s more! Sawtooth hangers are also great for beginners because they’re less intimidating than other hanging systems. No need to worry about complicated brackets or wires—just pop it on the wall and voila!
Gathering Your Supplies
Before you start hammering away, let’s talk about what you’ll need to hang your frame with a sawtooth hanger. Trust me, having the right tools makes all the difference. Here’s a quick checklist:
What You’ll Need:
- A hammer (preferably a lightweight one)
- Nails or screws (depending on your wall type)
- A measuring tape
- A pencil
- A level (optional but highly recommended)
- Your frame with a sawtooth hanger already attached
Pro tip: If you’re hanging on drywall, consider using wall anchors for extra support. And if you’re dealing with plaster or brick walls, you might want to invest in masonry screws or toggle bolts. Always know your wall type before you start hammering!
Step-by-Step Guide: How to Hang a Frame with a Sawtooth Hanger
Now that you’ve got your supplies ready, let’s get down to business. Here’s a step-by-step guide to hanging your frame perfectly:
Step 1: Measure Twice, Hammer Once
Start by measuring where you want your frame to go. Use your measuring tape to determine the exact spot where the nail or screw will go. Remember, the sawtooth hanger will sit on top of the nail, so you’ll need to account for that. Mark the spot with a pencil.
Fun fact: Did you know that professional decorators often use a “plumb line” to ensure their frames are perfectly vertical? If you’ve got one, now’s the time to use it!
Step 2: Hammer in the Nail
Once you’ve marked your spot, grab your hammer and gently tap the nail into the wall. Make sure the nail is at a slight angle—this will help the sawtooth hanger grip it better. Don’t hammer it all the way in—leave about a quarter-inch sticking out so the hanger can rest on it.
Pro tip: If you’re worried about damaging your walls, consider using painter’s tape to protect the area around your nail. It’s like a little insurance policy for your walls!
Step 3: Hang Your Frame
Now for the fun part—hanging your frame! Carefully slide the sawtooth hanger onto the nail or screw. Wiggle it gently to make sure it’s secure. If your frame feels wobbly, double-check that the nail is at the right angle and that the hanger is seated properly.
Step 4: Check for Level
This is where your level comes in handy. Place it on top of your frame to make sure it’s perfectly straight. If it’s not, adjust the nail slightly until everything lines up. You want your frame to look flawless, right?
Fun fact: Did you know that hanging frames too high is one of the biggest decorating mistakes people make? Aim for eye level or slightly lower for maximum impact.
Step 5: Step Back and Admire Your Work
Once your frame is securely hung and perfectly level, take a step back and admire your handiwork. Doesn’t it look amazing? You’ve officially leveled up your hanging skills!
Troubleshooting Common Issues
Even the best of us run into problems sometimes. Here are a few common issues you might encounter when hanging a frame with a sawtooth hanger, along with some solutions:
Problem: The Frame Keeps Falling
Solution: Check that the nail is securely in place and at the correct angle. If it’s still falling, try using a heavier-duty nail or screw. You might also want to consider adding a second sawtooth hanger for extra support.
Problem: The Frame Won’t Stay Level
Solution: Double-check your measurements and make sure the nail is aligned properly. If the frame still won’t stay level, you might need to adjust the sawtooth hanger itself. Some frames come with adjustable hangers that allow you to tweak the position.
Problem: The Wall Is Cracking
Solution: This is usually a sign that the nail or screw isn’t strong enough for the weight of the frame. Try using a wall anchor or a heavier-duty fastener. And if you’re dealing with plaster or brick, definitely go for masonry screws or toggle bolts.
Choosing the Right Sawtooth Hanger
Not all sawtooth hangers are created equal. When selecting one for your frame, consider the following factors:
- Weight Capacity: Make sure the hanger can support the weight of your frame. Most sawtooth hangers are designed for lightweight frames, but if you’ve got something heavier, you’ll need to upgrade.
- Material: Look for hangers made from durable materials like steel or brass. These will last longer and provide better support.
- Size: The size of the hanger should match the size of your frame. Too small, and it won’t hold properly; too large, and it might look out of place.
Fun fact: Did you know that some sawtooth hangers come with built-in rubber pads to protect your walls? It’s like having a little cushion for your frames!
DIY Tips for Customizing Your Frames
If you’re feeling extra creative, why not customize your frames with unique sawtooth hangers? Here are a few ideas to get you started:
Idea 1: Add Decorative Hangers
Why settle for plain old metal when you can have something stylish? Look for sawtooth hangers with decorative finishes, like gold or bronze, to match your frame’s style.
Idea 2: Create a Gallery Wall
Hanging multiple frames with sawtooth hangers is a great way to create a gallery wall. Just make sure you plan out your layout beforehand to avoid a cluttered look.
Idea 3: Mix and Match
Don’t be afraid to mix different types of hangers on the same frame. For example, you could use a sawtooth hanger on top and a D-ring hanger on the bottom for added stability.
Safety First: Protecting Your Walls and Frames
Hanging frames might seem simple, but there are a few safety precautions you should keep in mind:
- Always test the weight capacity of your hanger before hanging anything heavy.
- Use wall anchors or heavy-duty screws for plaster or brick walls.
- Consider using painter’s tape to protect your walls from scratches or dents.
Pro tip: If you’re hanging frames in a high-traffic area, make sure they’re securely fastened to avoid accidents.
Conclusion: Mastering the Art of Hanging Frames
There you have it—everything you need to know about how to hang a frame with a sawtooth hanger. From choosing the right tools to troubleshooting common issues, we’ve covered it all. Remember, practice makes perfect, so don’t be afraid to experiment and find what works best for you.
Now that you’ve got the skills, why not share your newfound expertise with your friends? Or better yet, leave a comment below and let us know how your hanging adventures go. And if you’re looking for more decorating tips, be sure to check out our other articles. Happy hanging!
Daftar Isi
- Why Sawtooth Hangers Are Your Best Friend
- Gathering Your Supplies
- Step-by-Step Guide: How to Hang a Frame with a Sawtooth Hanger
- Troubleshooting Common Issues
- Choosing the Right Sawtooth Hanger
- DIY Tips for Customizing Your Frames
- Safety First: Protecting Your Walls and Frames
- Conclusion: Mastering the Art of Hanging Frames
- Daftar Isi